Radio installation, Radio.installation – Hangar 9 1/4-Scale J-3 Cub ARF User Manual
Page 20
20
Required Parts
•.Fuselage.assembly.
•.4-40.nut.(4)
•.Metal.clevis.(4).
•.Rudder.cable
•.Rigging.couplers.(4).
•.Cable.crimps.(4)
•.2-56.nuts.(3).
•.Rudder.spring.(2)
•.Rudder.tiller.bracket.
•.Radio.tray.cover
•.Safety.fuel.tubing.(4)
•.Rado.tray.cover
•.2-56.x.5/8-inch.machine.screw.(9)
•.Hook.and.loop.strap.(2)
•.#2.x.5/8-inch.sheet.metal.screw.(4)
•.33
.
1
/
4
-inch.(845mm).elevator.pushrod.(2)
•.4-40.ball.end.w/hardware.(4)
•.Control.horn.w/backplate.(4)
Required Tools and Adhesives
•.Drill.
•.Large.servo.arm.(3)
•.Threadlock.
•.Hobby.knife
•.Felt-tipped.pen.
•.Thin.CA
•.Crimping.tool/vice.grips.
•.Pliers
•.1/4-inch.(6mm).foam
•.Drill.bit:.1/16-inch.(1.5mm),.5/64-inch.(2mm)
.
.Step 1
Locate.the.33
.
1
/
4
-inch.(845mm).elevator.pushrod.and.a.4-
40.ball.end..Thread.the.ball.end.onto.one.end.of.the.rod.a.
minimum.of.14.turns.
.
.Step 2
Attach.the.ball.end.to.a.large.servo.horn..Use.side.cutters.
to.remove.the.remaining.arm.from.the.horn.
.
.Step 3
Slide.the.pushrod.into.the.elevator.pushrod.tube.inside.
the.fuselage..You.will.need.to.trim.the.covering.from.the.
pushrod.exit.using.a.hobby.knife.
.
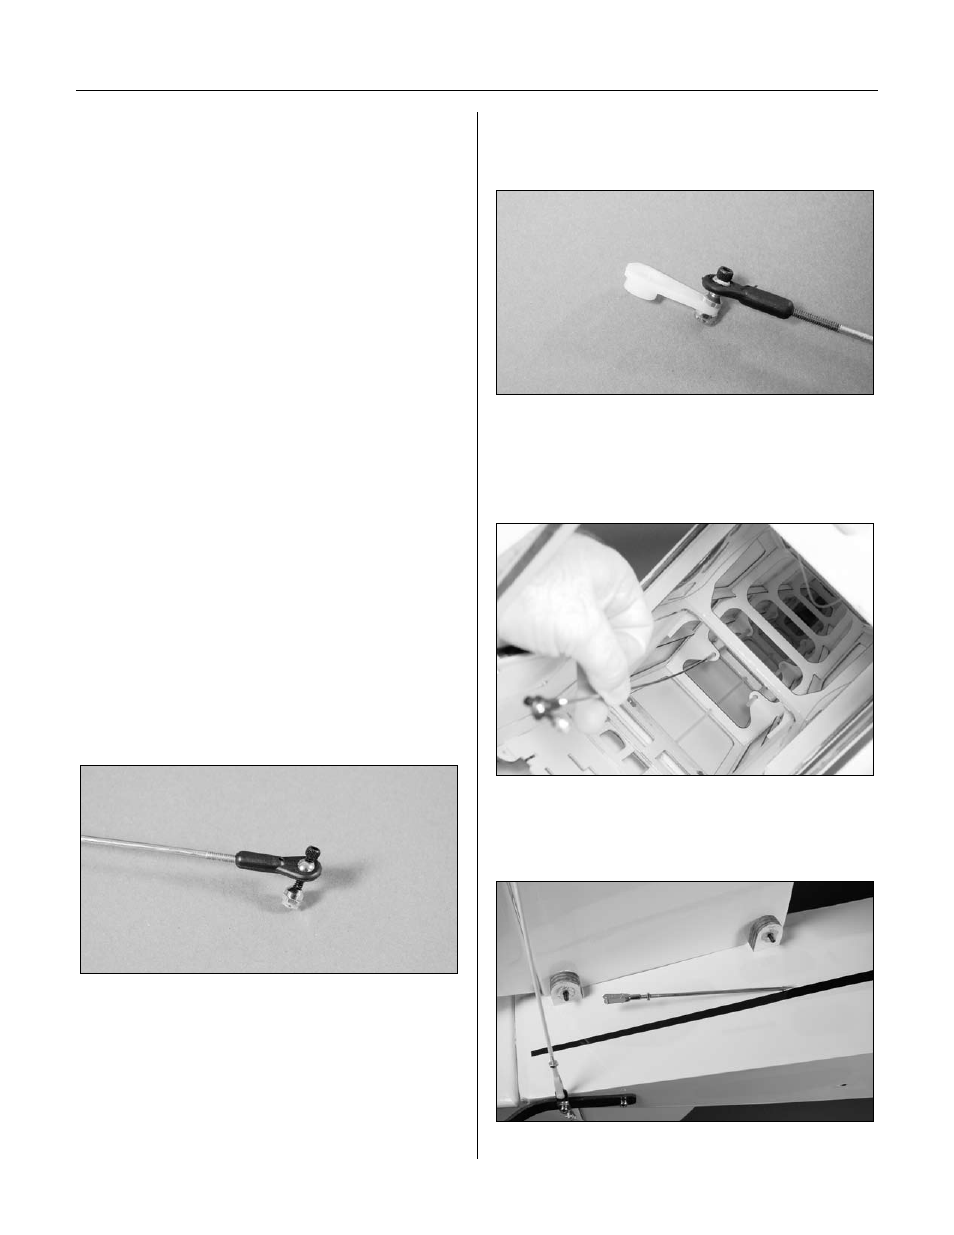
.Step 4
Slide.a.piece.of.safety.fuel.tubing.onto.a.metal.clevis.
Thread.a.4-40.nut.and.metal.clevis.onto.the.pushrod.
Radio Installation