Preparation, Operations, Synchronized editing – Panasonic NV-HS1000EC User Manual
Page 50: Editing when not using an edit cable, Assembly editing
Attention! The text in this document has been recognized automatically. To view the original document, you can use the "Original mode".
Editing when not Using an Edit Cable
To connect a VTR or Movie Camera
without an Edit Socket and use This VTR
as the Recording VTR
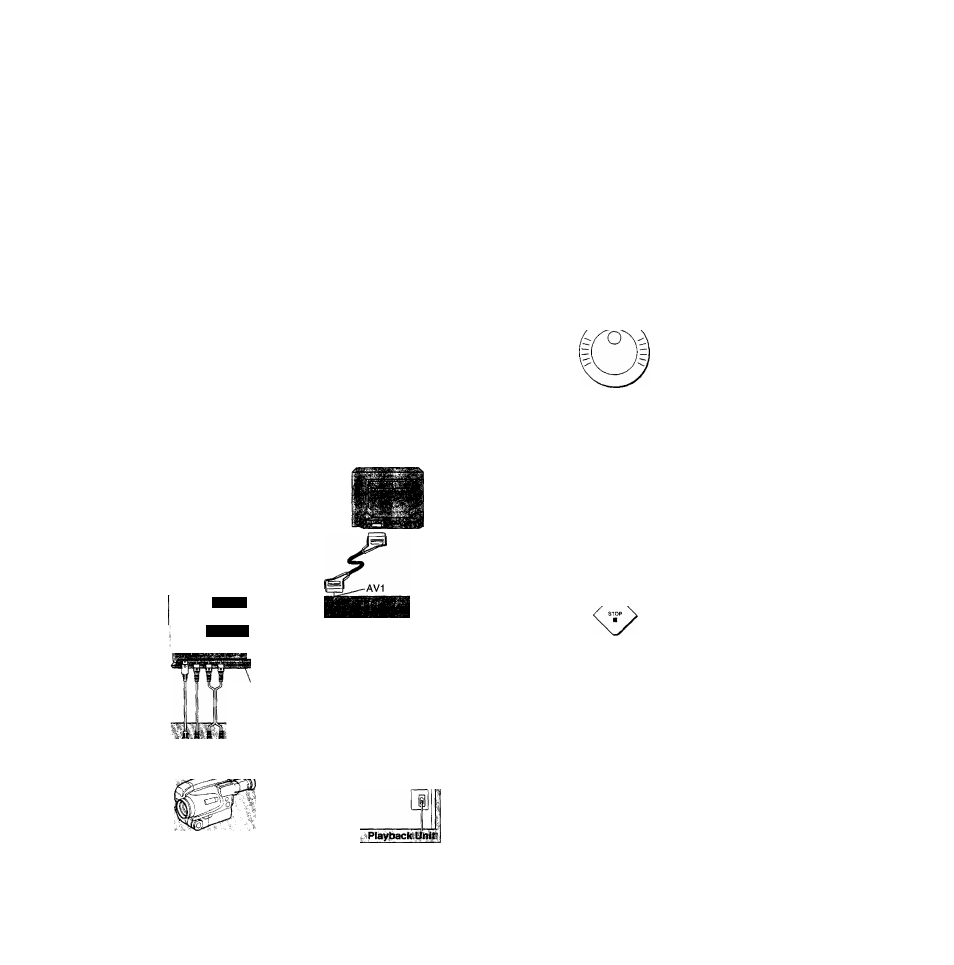
•Connect the AV1 socket on this VTR to the TV.
•Connect the AV2 socket or the AUDIO/ViDEO/S-VIDEO
IN (AV3) sockets on this VTR to the playback unit.
•Select A2 or A3 by pressing /\V on this VTR.
A2: Through the AV2 socket
A3; Through the AV3 sockets on front panel
Set INPUT SELECT on this VTR.
S-VIDEO; Through the S-VIDEO IN and AUDIO IN
sockets
LINE; Through the VIDEO IN and AUDIO IN
sockets
•Set EDIT MODE on this VTR to RECORDER.
•Control is performed by the respective units.
Preparation
•Make the necessary connections.
• Insert a recorded cassette into the playback unit, and a
cassette with an intact erasure prevention tab into the
recording VTR.
•Confirm that the TV is on.
Assembly Editing
Operations
1
Press
PAUSE/STILL
on the recording
VTR.
0
O
Search for the end of the previous
^ recording.
2
Press
REC
to set for the new recording.
o
Recording VTR
SYNC. EDIT
‘AV2
9 O
if- "if If
^ Start playback on the playback unit.
C
Press
PAUSE/STILL
again to start the
^ new recording.
0
0 Press
STOP
to stop recording.
Synchronized Editing
By connecting a VTR or movie camera with synchronized
editing capability to this VTR using a synchro connection
cord (optional), it is possible to synchronize the playback
start and stop of the playback unit with the recording start
and stop of this VTR.
1 Put the recording VTR into the recording pause mode by
pressing REC and PAUSE/STILL.
2 Put the playback unit into the still playback mode at the
point where editing is to begin.
3 Press PAUSE/STILL on the recording VTR.
•The playback unit switches over to the playback mode,
and copying begins automatically.