Installing a power supply, Removing the power supply bay filler panel – Dell PowerEdge 2800 User Manual
Page 52
Installing a Power Supply
1.
If you are adding a second power supply, remove the power supply filler panel. See "
Removing the Power Supply Bay Filler Panel
."
2.
Holding the release lever in the open position, slide the new power supply into the chassis until the release lever contacts the system chassis. See
.
3.
Close the release lever until the power supply is fully seated.
4.
Lock the retention lever in place using the thumbscrew. See
5.
Connect the power cable to the power supply and plug the cable into a power outlet.
After installing a new power supply in a system with two power supplies, allow several seconds for the system to recognize the power supply and determine
whether it is working properly. The power-on indicator will turn green to signify that the power supply is functioning properly (see
Figure 2
-4
).
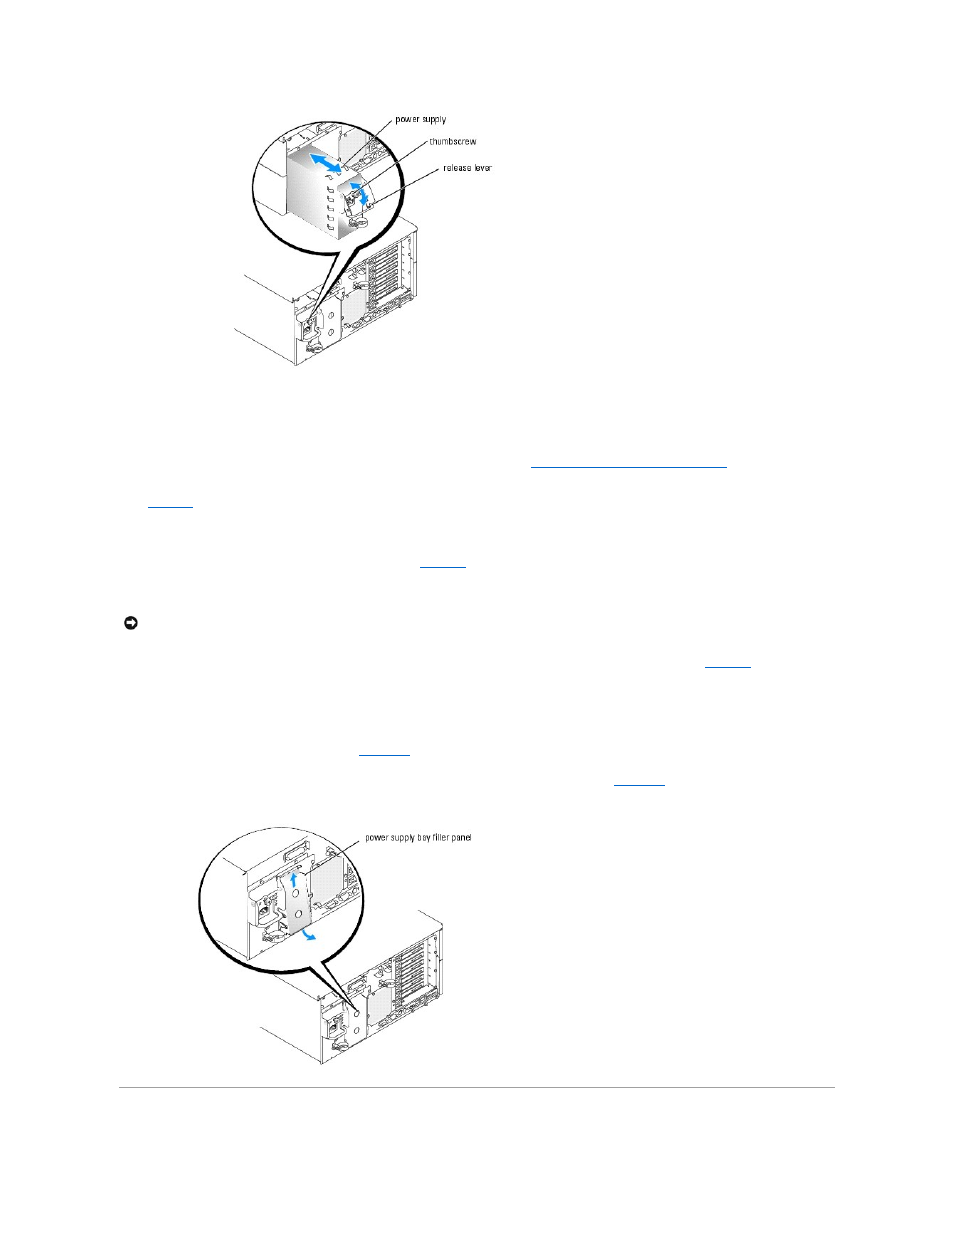
Removing the Power Supply Bay Filler Panel
1.
Grasp the filler panel using the two holes. See
.
2.
Lift the panel upwards, then rotate the lower edge of the panel away from the system back panel. See
.
Figure 6-10. Removing the Power Supply Bay Filler Panel
NOTICE:
When connecting the power cable, insert the cable through the strain-relief loop.