Setting the computer name and pin – Dell 966 All In One Photo Printer User Manual
Page 121
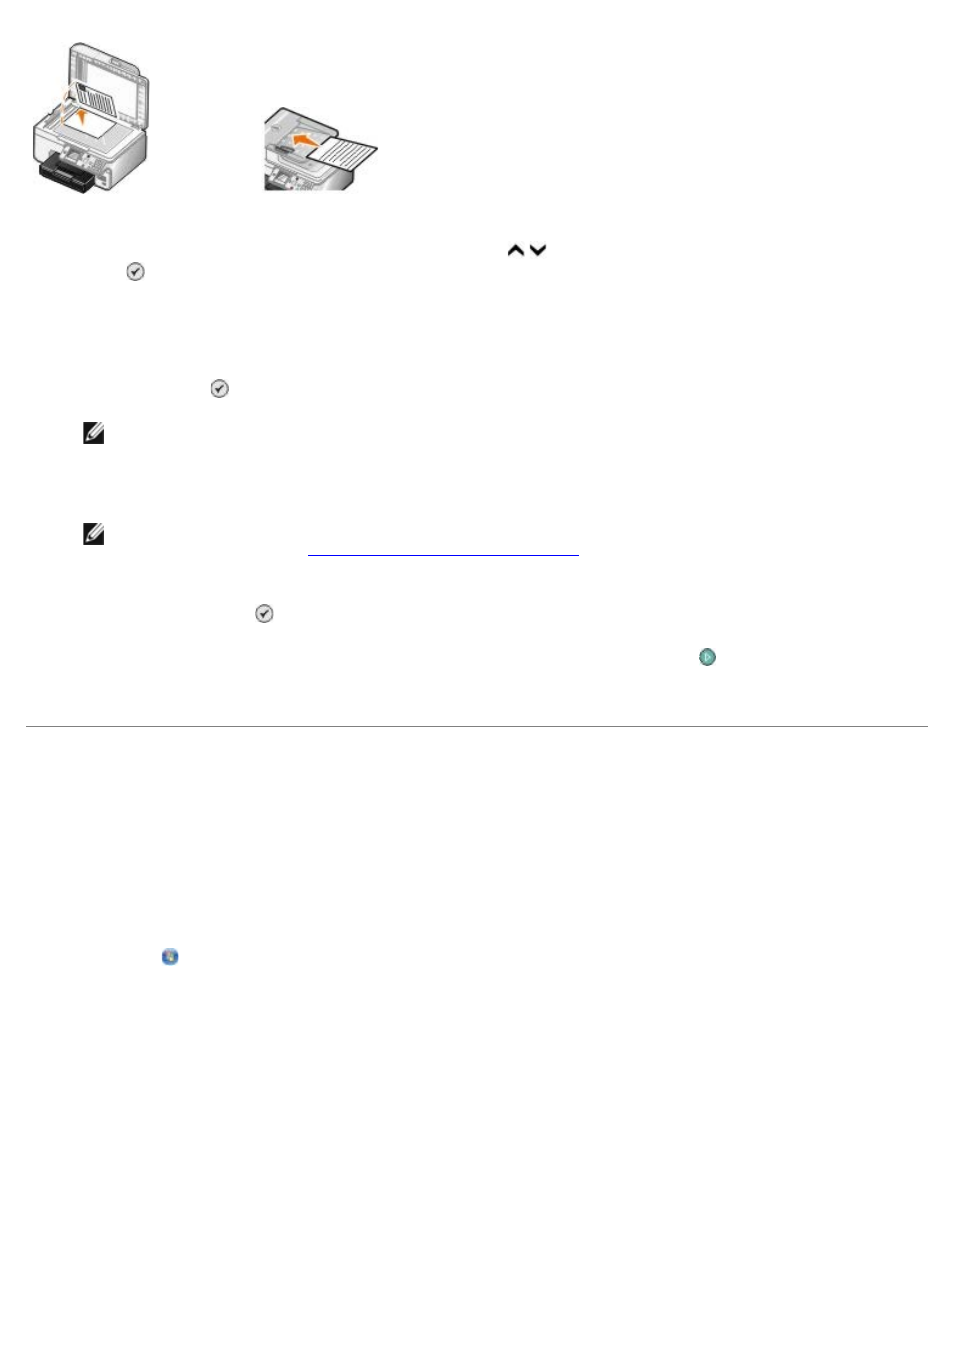
4. From the main menu, press the up or down Arrow button to scroll to Scan, and then press the Select
button .
The printer automatically detects if it is connected to a network. If it is connected to a network, the Host
Selection screen appears. If it is not connected to a network, the Scan Mode menu appears.
5. From the Host Selection screen, choose the computer to which you want to send the document, and then press
the Select button .
NOTE:
The computer must have the printer software installed. Use the Drivers and Utilities CD to install the
printer software.
6. Enter the four-digit PIN specified for the host computer.
NOTE:
You can view or change the PIN or the name of the computer to which you want to send your scan.
Setting the Computer Name and PIN
. The PIN is not required by default; it is only
requested if the PIN has been set.
7. Press the Select button .
8. Make any necessary changes to your scan settings, and then press the Start button .
The scan opens on the computer you selected.
Setting the Computer Name and PIN
Set a scan-to-network PIN to restrict users from sending a scanned document to your computer. You can also specify a
name for your computer which you need to select when scanning across a network.
1. Click Start® Programs or All Programs® Dell Printers® Dell Photo AIO Printer 966.
For Windows Vista:
a. Click ® Programs.
b. Click Dell Printers.
c. Click Dell Photo AIO Printer 966.
2. Select Dell All-In-One Center.
The Dell All-In-One Center opens.
3. Click Maintain/Troubleshoot.
4. From the Maintain/Troubleshoot window, click Maintain or fix quality problems.
The Printing Preferences dialog opens.
5. From the Maintenance tab, click Network Support.