Scanning, Scanning single-page documents or photos – Dell 966 All In One Photo Printer User Manual
Page 118
Scanning
Scanning Single-page Documents or Photos
Saving an Image on Your Computer
Scanning Multiple-page Documents
E-Mailing a Scanned Image or Document
Enlarging or Reducing Images or Documents
Setting the Computer Name and PIN
Editing Scanned Text Using Optical Character Recognition (OCR)
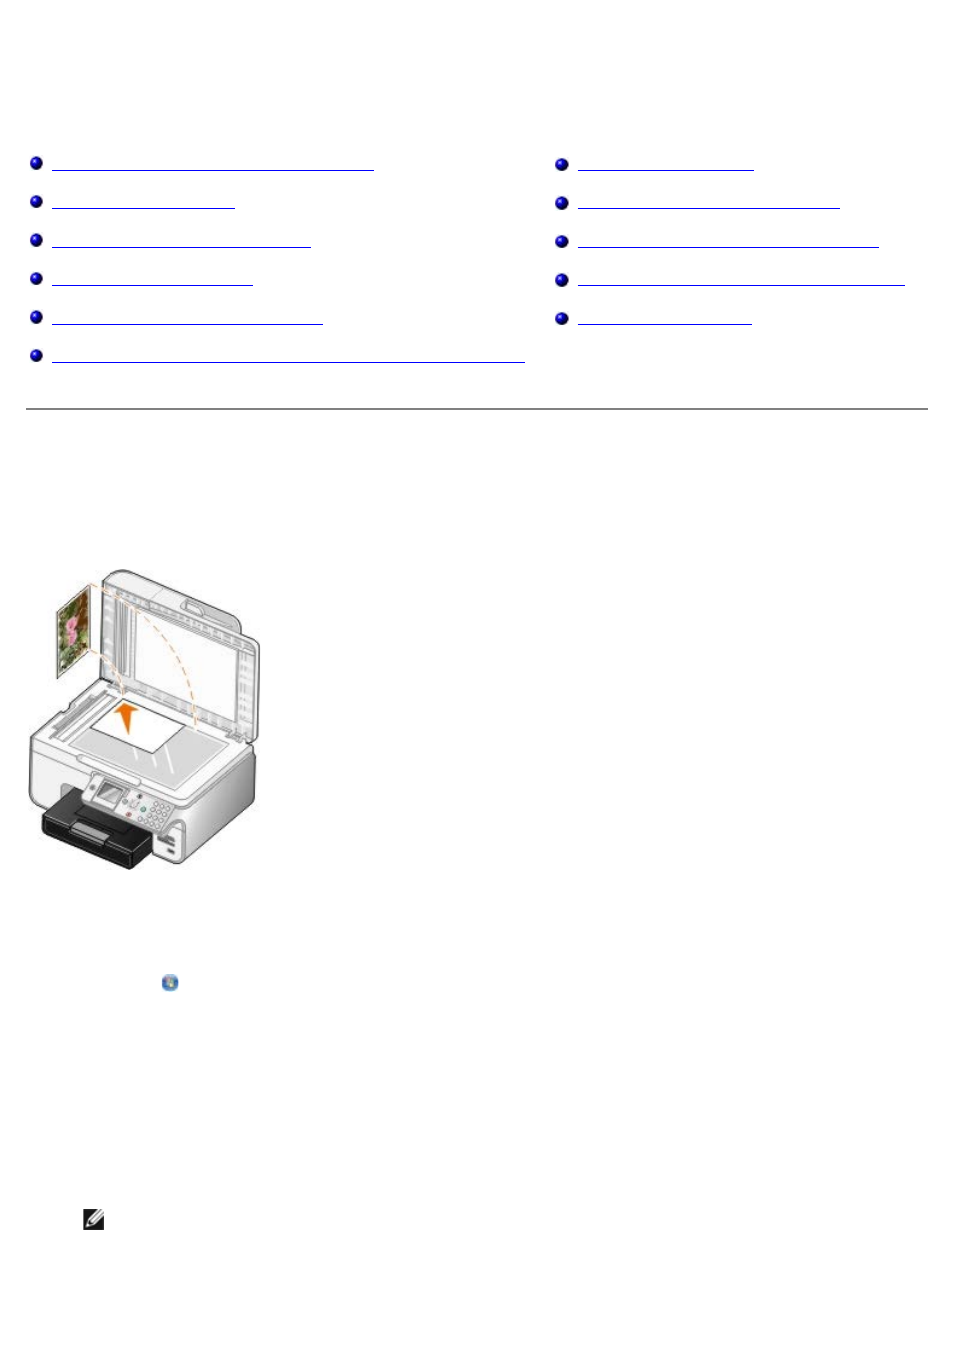
Scanning Single-page Documents or Photos
1. Turn on your computer and printer, and make sure they are connected.
2. Load your original document or photo.
3. Click Start® Programs or All Programs® Dell Printers® Dell Photo AIO Printer 966.
For Windows Vista:
a. Click ® Programs.
b. Click Dell Printers.
c. Click Dell Photo AIO Printer 966.
4. Select Dell All-In-One Center.
The Dell All-In-One Center opens.
5. From the Send scanned image to: drop-down menu, select the program you want to use.
NOTE:
If the program you want to use is not listed, select Search for more... in the drop-down menu. On
the next screen, click Add to locate and add the program to the list.
6. Click See More Scan Settings to customize your scan.