Chapter 3: configuration, G-ware – ClearOne XAP TH2 User Manual
Page 15
Technical Services Group ~ 1-800-283-5936 (USA) ~ 1-801-974-3760
ClearOne’s G-Ware software provides an easy interface for configuring and
controlling your XAP TH2. This chapter assumes you have already installed G-Ware
and have created a site. If you need help installing G-Ware, creating a new site, or
would like to see system requirements, consult the XAP 800 manual or help file.
To add a XAP TH2 to a site file
You can add XAP TH2(s) to your site file by connecting to your networked site and
letting G-Ware automatically create icons for the detected units. Or you can work
offline and manually add the unit(s) to the site file and connect to the site at a later
time.
1.
Open G-Ware software from the Start menu,
or by double-clicking the desktop icon, and
select the site to which you will be adding the
XAP TH2.
2.
Click the Connect button on the G-Ware
toolbar or select Connect from the Connect
Menu. Choose Sync to Unit(s). G-Ware will
automatically create icons for any new units it
detects on the network and place them in the
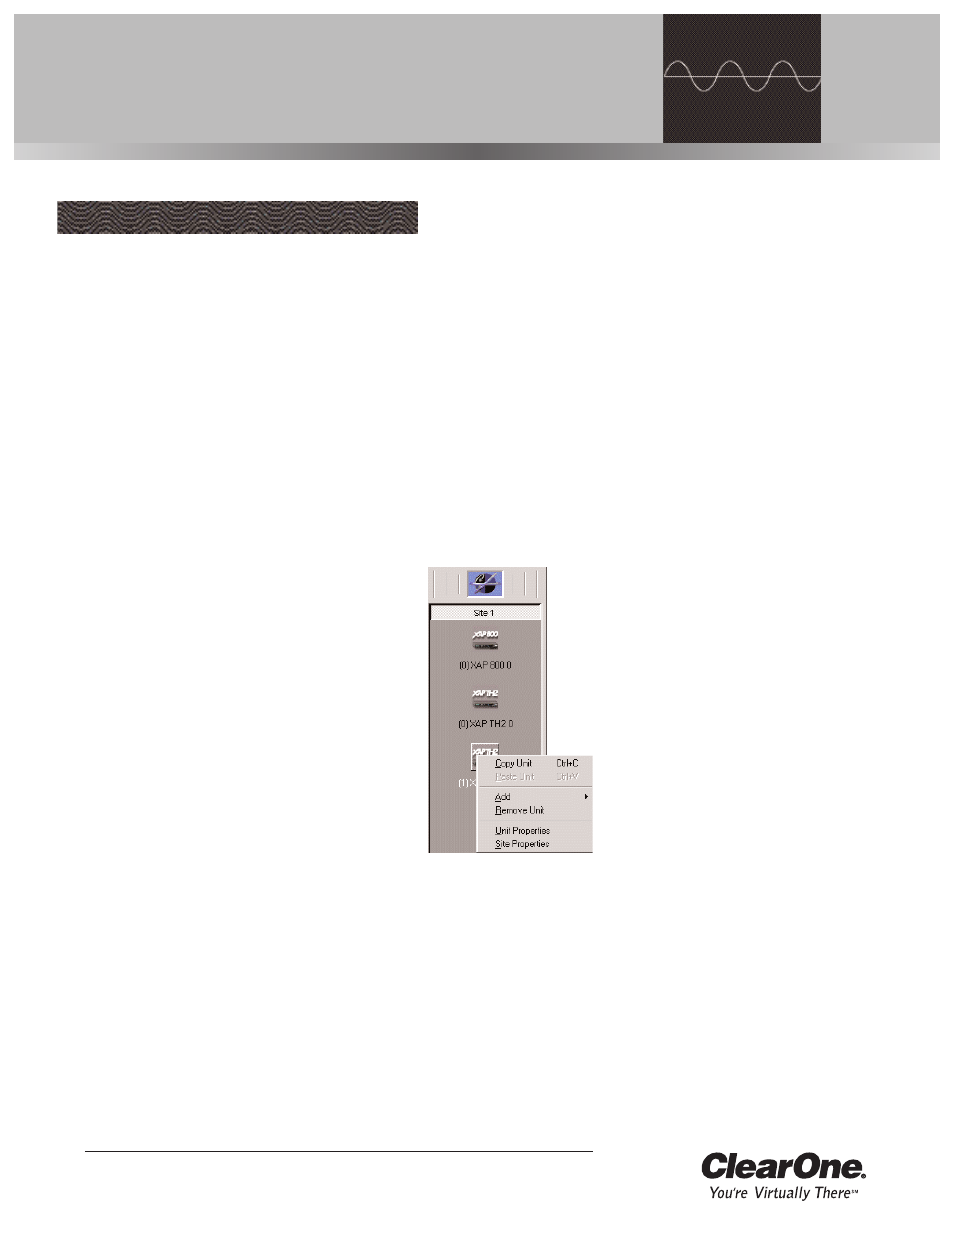
Site pane. Right-click the unit icon and select
Unit Properties
.
If you are working offline, click the Add button on
the G-Ware toolbar and select XAP TH2. The
XAP TH2 Unit Properties window opens.
To configure Unit Properties
1.
Type a descriptive Unit Name in the space provided. The Unit
Identification
and Firmware Version will be supplied by the unit
when a connection is made.
CHAPTER 3: Configuration
G-Ware
Figure 3.1. Unit icons in Site
Pane with Unit menu displayed
When connecting to
your site, you can choose
to sync to Unit(s) or
Document. If you sync to the
Unit(s), you will update your
G-Ware site file with the current
state of the unit(s). If you sync to
the Document, you will update
your units with the settings you
have saved in the site file.
✍ ✍