Auto density, Auto density level, Prefix setting – Sindoh M611 User Manual
Page 172: Auto density -34, Auto density level -34, Prefix setting -34
Settings and Changes of Each Function
4-
34
Auto Density
The scanned dark background images can be compensated to be brighter from this setting.
1
Go to [Menu] [Settings] [Fax Settings] [Fax Tx Settings] [Auto Density] to set this function.
2
Press 【▲】 or 【▼】 to select the settings of “Auto Density”.
3
Press 【OK】 to save the selected settings.
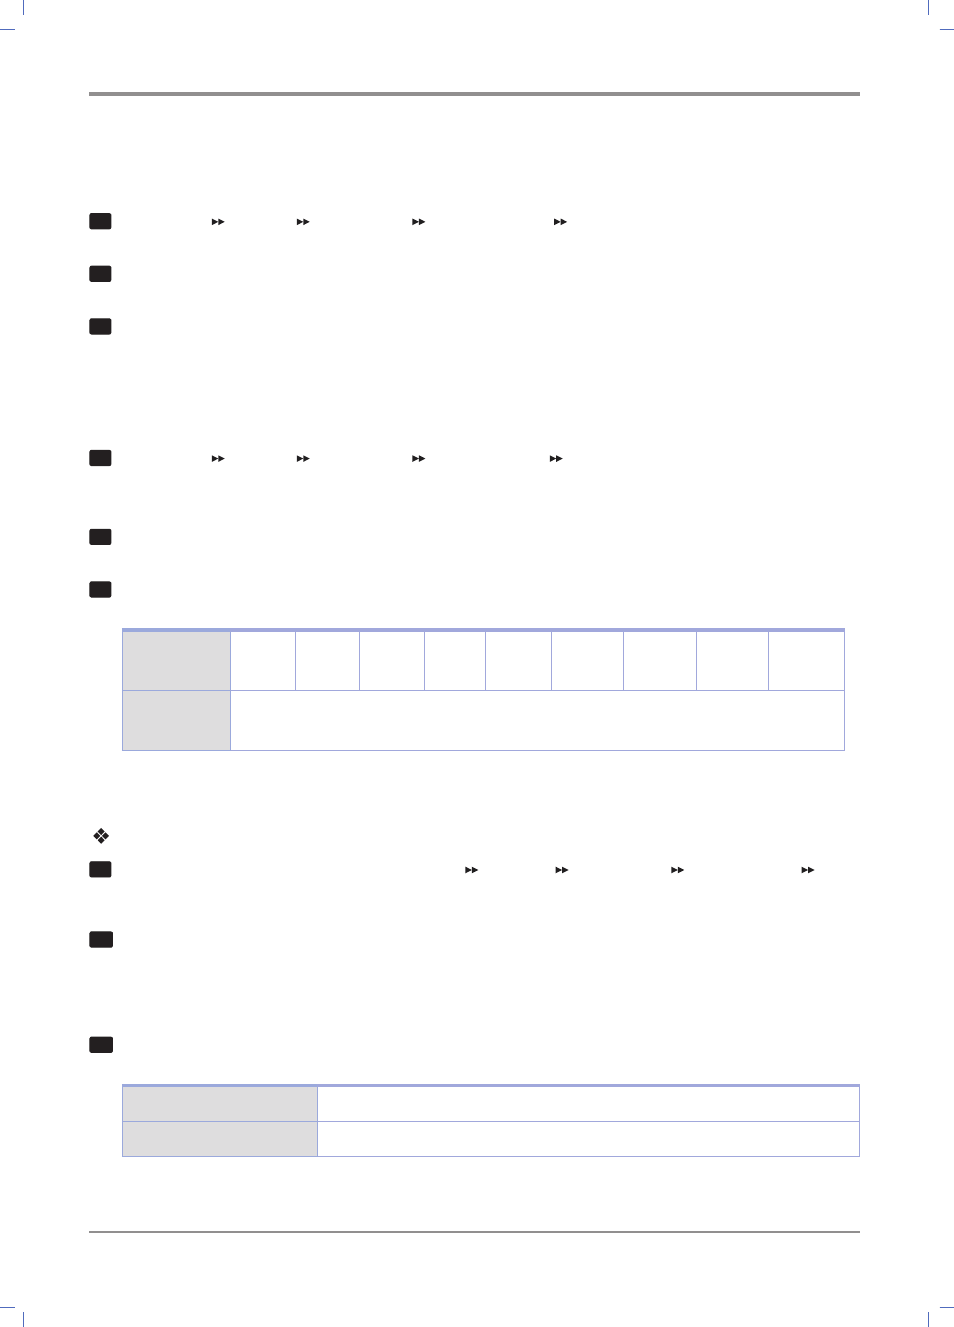
Auto Density Level
The scanned dark background images can be set to be brighter from this setting.
1
Go to [Menu] [Settings] [Fax Settings] [Fax Tx Settings] [Auto Density] to On, you can select in
[Auto Density Level]
2
Press 【◀】 or 【▶】 to select the settings of “Auto Density Value”.
3
Press 【OK】 to save the selected settings.
Auto Density
Value
Lighter
+4
Lighter
+3
Lighter
+2
Lighter
+1
Normal
Stronger
+1
Stronger
+2
Stronger
+3
Stronger
+4
Auto Density
Level
Lighter ← Normal → Stronger
Prefix Setting
Dial Prefix Setting
1
You can decide the prefix number through [Menu] [Settings] [Fax Settings] [Fax Tx Setting] [Dial
Prefix ]
2
Press 【▲】 or 【▼】 to set the dial prefix.
-
When you select [On], you should set the dial prefix additionally.
For more informatio refer to Dial Prefix.
3
Press the【OK】button to save the dial prefix setting.
Off -> Default Setting
Do not add prefix to the dial number.
On
Add prefix to the dial number.