Installation instructions – Brandmotion 9002-6500-V2 User Manual
Page 6
INSTALLATION INSTRUCTIONS
6500 Instructions 12-15-12.doc
Page 6 of 10
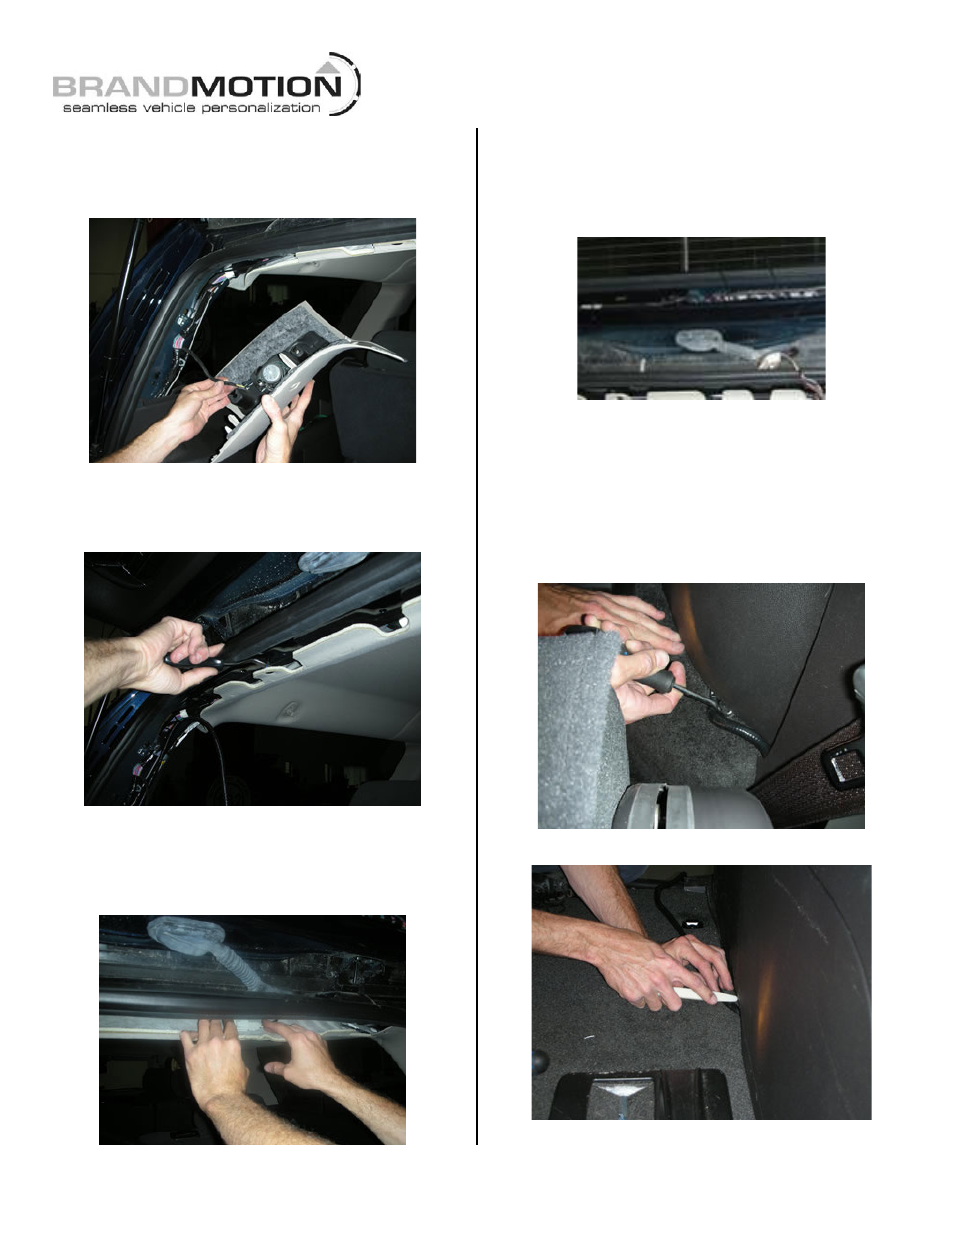
33. Remove the D-pillar panel and unhook the speaker
wire by pulling the connectors apart with your
fingers. (Figure 24)
Figure 24
34. Remove the pushpin in the left side edge of the
headliner. (Figure 25)
Figure 25
35. Pull the trailing edge of the headliner down to route
the Chassis Harness under the leading edge of the
headliner and towards the driver’s side D-pillar.
(Figure 26)
Figure 26
36. Remove both ends of the electrical bridge between
the liftgate and rear of the vehicle. Route the RCA
connector end of the supplied Chassis Harness
through the bridge (Figure 27).
Figure 27
37. Route the supplied Chassis Harness down the D-
pillar behind the trim.
38. Remove the driver’s side third row seat.
39. Starting from the middle of the driver’s side rear
quarter trim panel, use a plastic trim tool to tuck the
supplied chassis harness under the trim panel. Work
towards the rear, then towards the front. (Figures
28 and 29)
Figure 28
Figure 29