Defining the panelview location data – Rockwell Automation 2711 PanelBuilder 1200 Transfer Utility User Manual
Page 39
Transferring Via the Data Highway Plus
Chapter 4
and Remote I/O
4-13
Before you can transfer an application file, you must configure your
computer so it can communicate with the PLC controller on the Data
Highway Plus. You must define the address of the computer on the
network and the type of hardware driver.
To begin configuring the computer’s communications:
1
Start your PanelView 1200 Transfer Utility.
2
Open the Transfer menu and choose Pass-Through Upload from
PanelView (DH+ and Remote I/O).
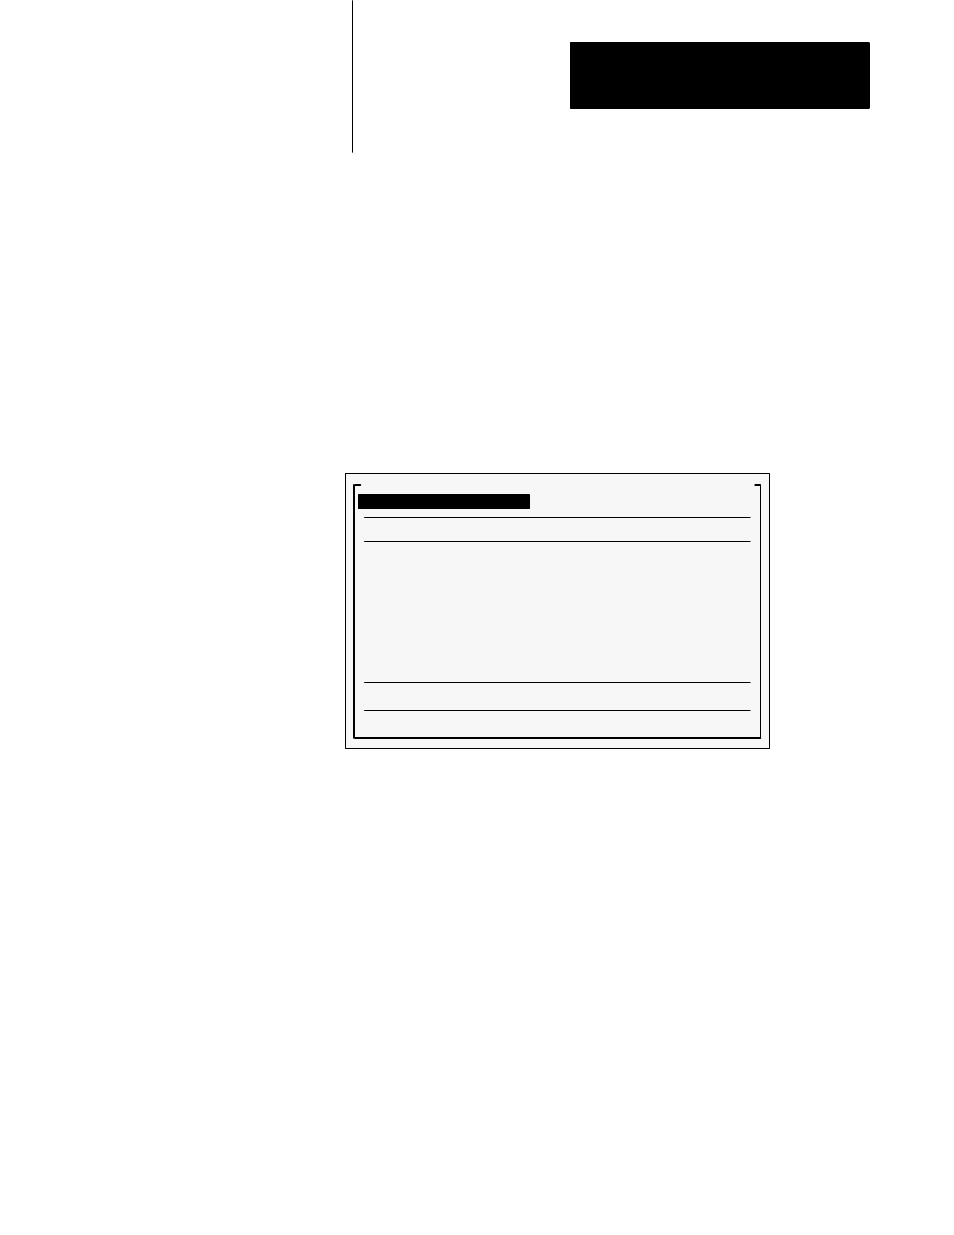
The Pass-Through Upload from PanelView (DH+ and Remote I/O)
menu appears.
22584
Pass-Through Upload from PanelView (DH+ and Remote I/O)
Start Upload
Load PanelView Location Data
PanelView Location Data
Rack
Group
Module (High/Low Byte)
PLC Type
PLC DH+ Address (0-77)
Local Bridge Address
Not Used
Remote Bridge Address
Not Used
Programming Terminal Configuration
Quit
Defining the PanelView Location Data
Before you can upload, you must establish where the block transfer
Pass-Through address is located on the PanelView 1200 terminal. If you
aren’t sure where the block transfer Pass-Through address is located, you
can check the rack assignments in the Pass-Through Download Options
menu on the PanelView 1200 terminal. You access this menu from the
Configuration menu.
Important
You can’t upload unless the PanelView 1200 terminal contains a
valid application file. The application must have a block transfer
Pass-Through address assigned.
You must define where the block transfer Pass-Through address is located.
You can choose to load an existing application file’s location data into the
PanelView Location Data fields.
Configuring Your Computer’s
Communications for
Uploading