Installing or replacing an apple drive module, Installing or replacing an apple drive module 59 – Apple Xserve (Slot Load) User Manual
Page 59
Installing or Replacing Server Components
59
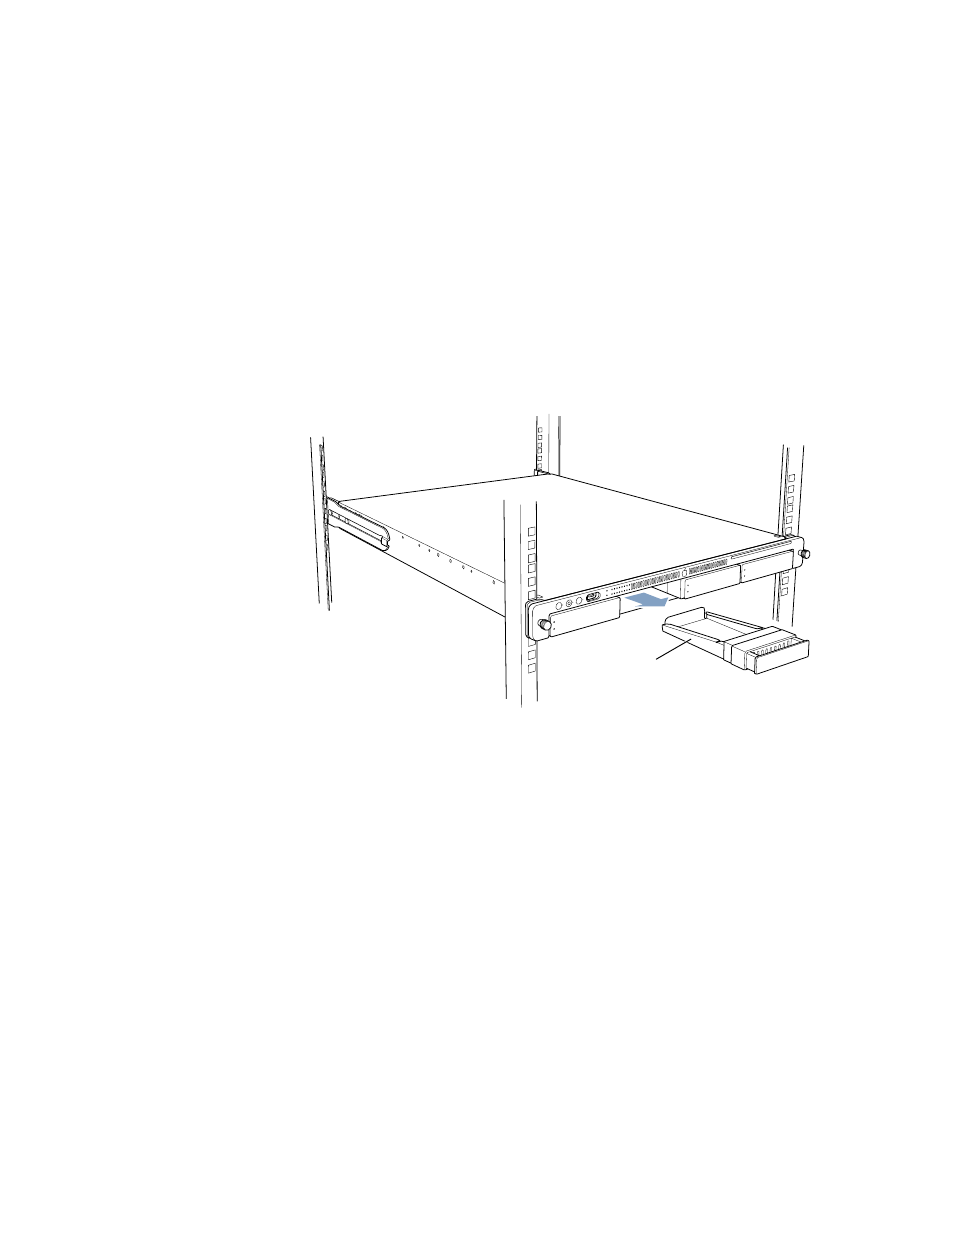
Installing or Replacing an Apple Drive Module
The drive modules in the server are hot-pluggable; that is, you can remove one and replace it
with another drive while the server is operating. A status light on each drive indicates when
it’s safe to remove a drive without losing any information.
Follow these steps to install or replace a drive module.
1
If necessary, use the enclosure key to unlock the security lock on the server’s front panel.
2
Remove the blank drive module or the drive currently installed.
m If there is no drive installed, press the handle on the front of the blank drive module so
that the handle pops out, then pull the blank drive module out of the front panel.
m If there is a drive module already in the bay:
a
Make sure the drive currently in the bay is not being used by any application and that
the drive is not being shared by the server. (See the Mac OS X Server documentation
for information about shared drives.)
b
Unmount the drive by using the server’s command-line tools or by dragging the drive’s
icon to the Trash (if the server has a monitor and keyboard connected).
Remove the blank
drive module from the bay.