Your nokia e51, Welcome, Settings wizard – Nokia E51 User Manual
Page 9: Standby modes, Active standby, Standby, Menu, Common actions in several applications
Your Nokia E51
The images in this guide may differ from your device display.
Welcome
When you switch on your device for the first time, the Welcome application
opens. Select from the following:
•
Tutorial
provides information about your device and shows you how to
use it.
•
Switch
enables you to transfer content, such as contacts and calendar
entries, from a compatible Nokia device.
•
Settings wizard
helps you configure various settings.
•
Operator
contains a link to your operator's home portal.
To open the Welcome application later, select
Menu
>
Help
>
Welcome
.
The available items may vary between regions.
Settings wizard
Select
Menu
>
Tools
>
Sett. wizard
.
Settings wizard configures your device for settings based on your network
operator information. To use these services, you may have to contact your
service provider to activate a data connection or other services.
The availability of the different settings items in Settings wizard depends on
the features of the device, SIM card, wireless service provider, and the
availability of the data in the Settings wizard database.
If Settings wizard is not available from your service provider, it may not
appear in the menu of your device.
To start the wizard, select
Start
. When you use the wizard for the first time,
you are guided through the settings configuration. If there is no SIM card
inserted, you need to select the home country of your service provider, and
your service provider. If the country or service provider suggested by the
wizard is not correct, select the correct one from the list. If the settings
configuration is interrupted, the settings are not defined.
To access the main view of the Settings wizard after the wizard has finished
the settings configuration, select
OK
.
In the main view, select
Options
and from the following:
•
Operator
— Configure operator-specific settings such as MMS, internet,
WAP, and streaming settings.
•
E-mail settings
— Configure e-mail settings.
•
Video sharing
— Configure video sharing settings.
If you are not able to use Settings wizard, visit the Nokia phone settings web
site.
Standby modes
Your device has two different standby modes: active standby mode and
standby mode.
Active standby
After you have switched on your device and it is
ready for use, but you have not entered any
characters or made other selections, the device is
in the active standby mode. In the active standby
mode, you can view different indicators such as
network operator indicators or indicators for
alarms, and applications you want to access fast.
To select applications that you want to access
from active standby, select
Menu
>
Tools
>
Settings
>
General
>
Personalisation
>
Standby mode
>
Active standby apps.
.
To change the functions of the selection keys in
active standby, select
Menu
>
Tools
>
Settings
>
General
>
Personalisation
>
Standby mode
>
Shortcuts
.
To use the basic standby mode, select
Menu
>
Tools
>
Settings
>
General
>
Personalisation
>
Standby mode
>
Active standby
>
Off
.
Standby
In the basic standby mode, you can see your
service provider, time, and different indicators,
such as indicators for alarms.
To view the most recently dialled numbers, press
the call key. Scroll to a number or name, and press
the call key again to call the number.
To call your voice mailbox (network service), press
and hold 1.
To view calendar information, scroll right.
To write and send text messages, scroll left.
To change these shortcuts, select
Menu
>
Tools
>
Settings
>
General
>
Personalisation
>
Standby mode
>
Shortcuts
.
Menu
Select
Menu
.
The menu is a starting point from which you can
open all applications in the device or on a memory
card.
The menu contains applications and folders,
which are groups of similar applications. All
applications you install in the device yourself are
by default saved in the
Installations
folder.
To open an application, scroll to it, and press the
scroll key.
To view the applications in a list, select
Options
>
Change view
>
List view
. To return to the grid
view, select
Options
>
Change view
>
Grid
view
.
To make the application icons and folders animated, select
Options
>
Icon
animation
>
On
.
To view the memory consumption of different applications and data stored
on the device or memory card and to check the amount of free memory,
select
Options
>
Memory details
.
To create a new folder, select
Options
>
New folder
.
To rename a new folder, select
Options
>
Rename
.
To rearrange the folder, scroll to the application you want to move, and select
Options
>
Move
. A check mark is placed beside the application. Scroll to a
new location, and select
OK
.
To move an application to a different folder, scroll to the application you
want to move, and select
Options
>
Move to folder
, the new folder, and
OK
.
To download applications from the web, select
Options
>
Download
applications
.
Common actions in several
applications
You can find the following actions in several applications:
To change the profile, or switch off or lock the device, press the power key
briefly.
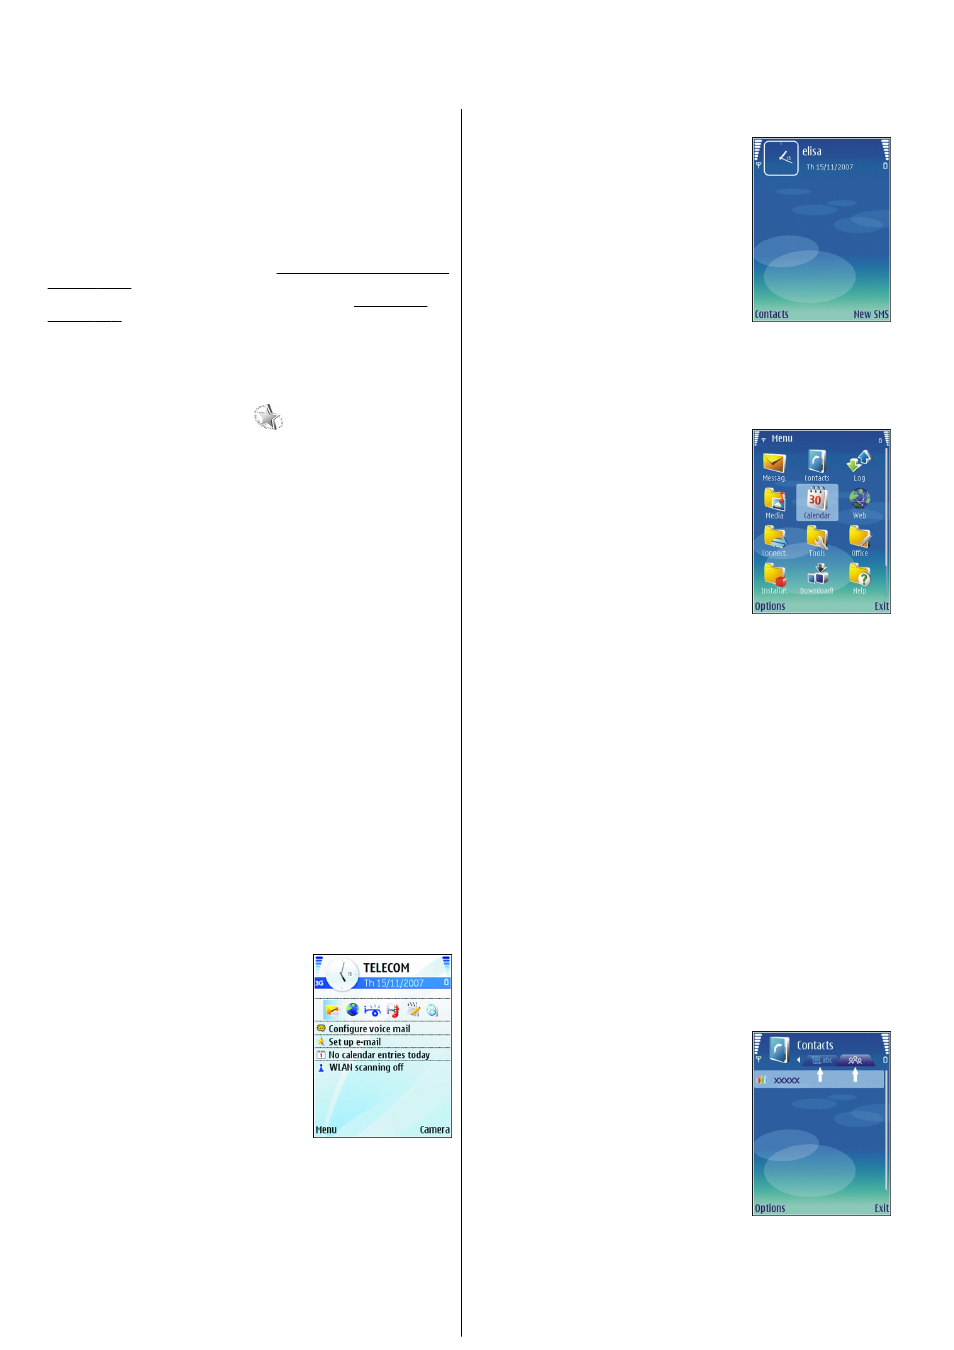
If an application consists of several tabs (see
figure), open a tab by scrolling right or left.
To save the settings that you have configured in
an application, select
Back
.
To save a file, select
Options
>
Save
. There are
different saving options depending on the
application you use.
To send a file, select
Options
>
Send
. You can
send a file in an e-mail or multimedia message, or
using Bluetooth connectivity or infrared.
To copy, press and hold the shift key, and select
the text with the scroll key. Press and hold the shift
key, and select
Copy
. To paste, scroll to where you
want to paste the text, press and hold the shift key, and select
Paste
. This
method may not work in applications that have their own copy and paste
commands.
To select different items, such as messages, files, or contacts, scroll to the
item you want to select. Select
Options
>
Mark/Unmark
>
Mark
to select
one item or
Options
>
Mark/Unmark
>
Mark all
to select all items.
9