Changing the wide screen mode 11, Operating the picture adjustment, Changing the wide screen mode – Pioneer AVIC-X1BT User Manual
Page 113: Operating the picture adjust- ment
111
Chapter
8
Cu
st
om
ising t
h
e A
u
dio So
u
rce
S
etting
AV
Changing the Wide Screen Mode
• For safety reasons, video images cannot
be viewed while your vehicle is in motion.
To view video images, you must stop in a
safe place and put on the handbrake
before setting your route (see page 10
Interlock for details).
• Press the WIDE/PIC ADJ button to select
the desired setting.
Press the WIDE/PIC ADJ button repeatedly
to switch between the following settings:
FULL (full) — JUST (just) — CINEMA (cin-
ema) — ZOOM (zoom) — NORMAL (nor-
mal)
FULL (full)
A 4:3 picture is enlarged in the horizontal direc-
tion only, enabling you to enjoy a 4:3 TV picture
(normal picture) without any omissions.
JUST (just)
The picture is enlarged slightly at the centre and
the amount of enlargement increases horizon-
tally toward the ends of the picture, enabling you
to enjoy a 4:3 picture without sensing any dispar-
ity even on a wide screen.
CINEMA (cinema)
A picture is enlarged by the same proportion as
FULL or ZOOM in the horizontal direction and
by an intermediate proportion between FULL and
ZOOM in the vertical direction; ideal for a cin-
ema-sized picture (wide screen picture) where
captions lie outside the frame.
ZOOM (zoom)
A 4:3 picture is enlarged in the same proportion
both vertically and horizontally; ideal for a cin-
ema-sized picture (wide screen picture).
NORMAL (normal)
A 4:3 picture is displayed as it is, giving you no
sense of disparity since its proportions are the
same as that of the normal picture.
❒ Different settings can be memorised for each
video source.
❒ When video is viewed in a wide screen mode
that does not match its original aspect ratio, it
may appear differently.
❒ Remember that use of this system for com-
mercial or public viewing purposes may con-
stitute an infringement on the author’s rights
protected by the Copyright Law.
❒ Video will appear grainy when viewed in
CINEMA or ZOOM mode.
❒ The navigation map and the rear view camera
picture is always FULL.
Operating the Picture Adjust-
ment
• For safety reasons, video images cannot
be viewed while your vehicle is in motion.
To view video images, you must stop in a
safe place and put on the handbrake
before setting your route (see page 10
Interlock for details).
1
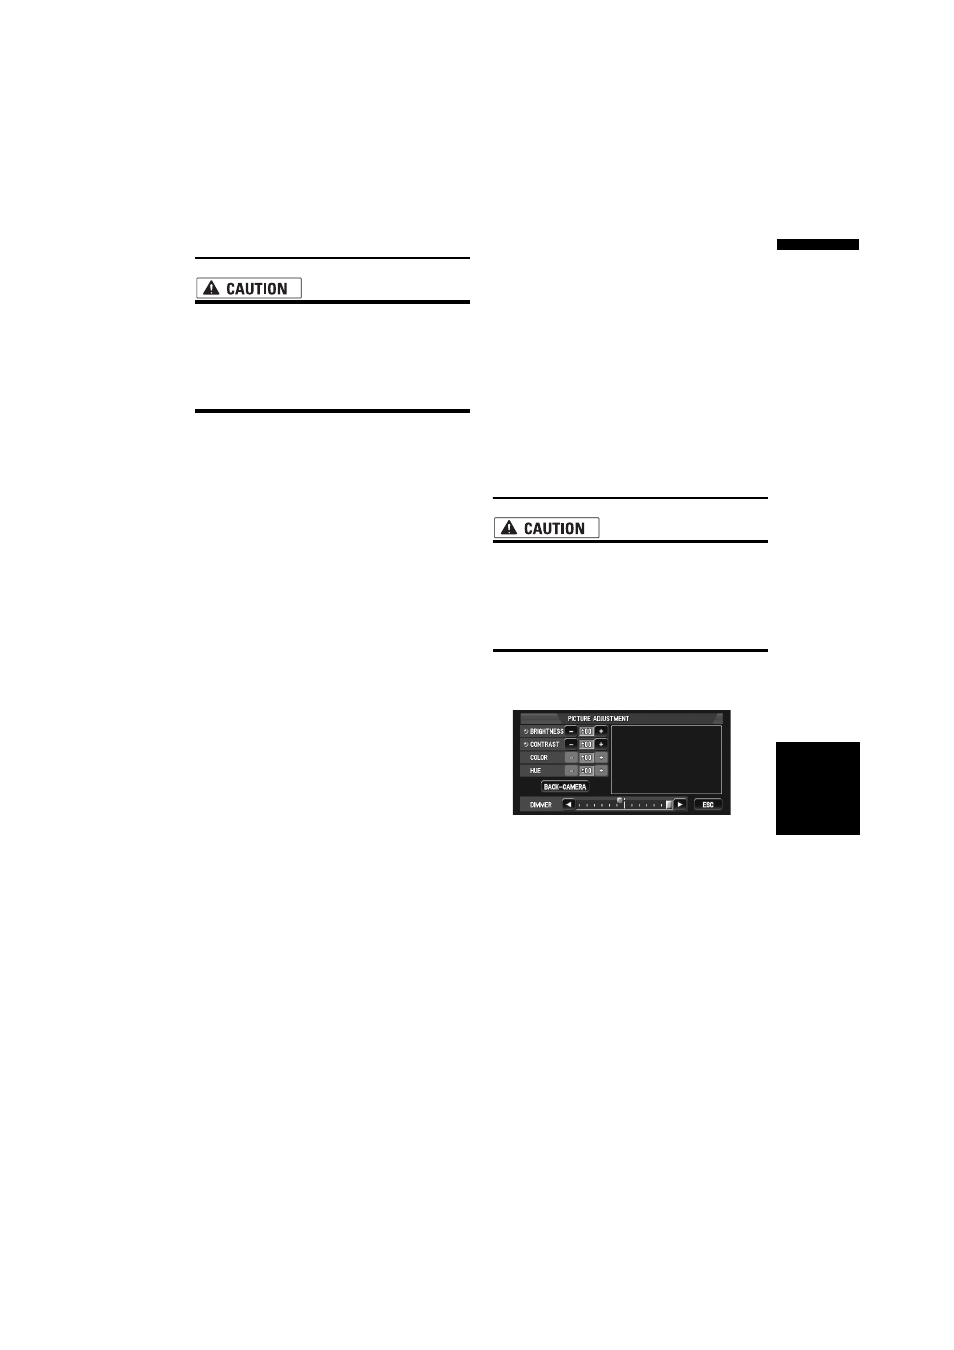
Press the WIDE/PIC ADJ button and hold
to display PICTURE ADJUSTMENT.
BRIGHTNESS — Adjust the black intensity
CONTRAST — Adjust the contrast
COLOR — Adjust the colour saturation
HUE — Adjust the tone of colour (red is
emphasized or green is emphasized)
DIMMER — Adjust the brightness of display
BACK-CAMERA — Switch to the picture
adjustment display for the rear view camera
❒ Touching “SOURCE” (or “NAVI”) while
adjusting the rear view camera image
returns you to the previous screen. (Except
when the vehicle’s gear stick is in reverse
[R].)
Opera
ting t
h
e Picture A
d
ju
stment