Pulsalarm leak detection diaphragm maintenance, Leak detection diaphragm removal, 7 pulsalarm leak detection diaphragm maintenance – Pulsafeeder Pulsar Shadow User Manual
Page 44: 1 leak detection diaphragm removal
38
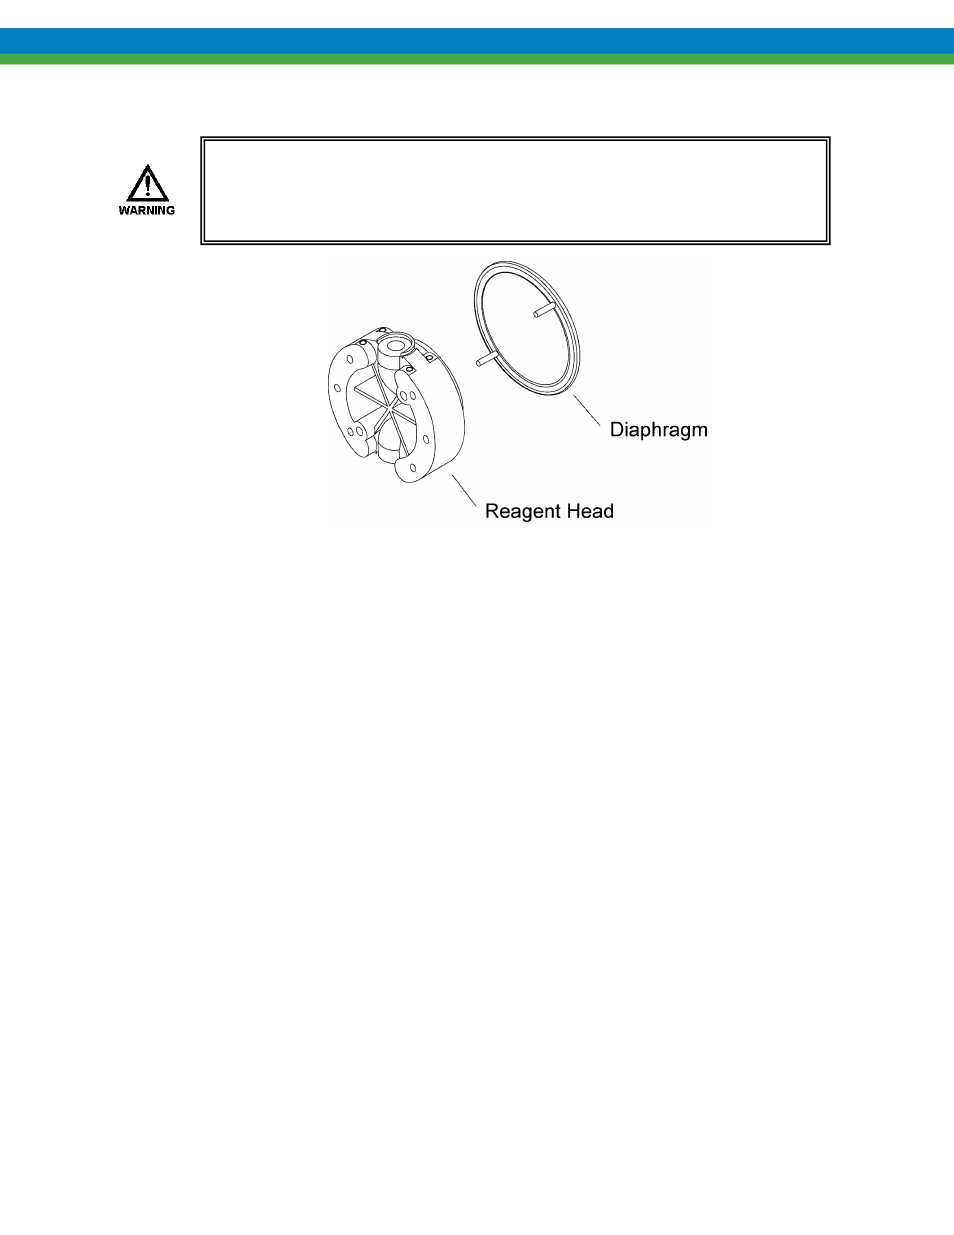
11.7 PULSAlarm Leak Detection Diaphragm Maintenance
Figure 27
11.7.1 Leak Detection Diaphragm Removal
Use the following procedure to remove the Leak Detection Diaphragm:
1. Disconnect the power source to the drive motor.
2. Relieve all pressure from the piping system, and close the inlet and outlet shutoff valves
3. Take all precautions to prevent environmental and personnel exposure to hazardous materials.
4. Place a suitable container underneath the pump head to catch any liquid leakage.
5. Disconnect process piping and drain any process liquid, following material safety precautions.
6. Remove all but one top reagent head bolt. Oil will leak out between the pump head and reagent head
as the bolts are loosened.
7. Tilt the head and pour out any liquids retained by the check valves into a suitable container,
continuing to follow safety precautions as appropriate.
8. Remove the alarm switch assembly or pressure gauge from the reagent head.
9. Remove the bleed valve assembly and flat gasket from the reagent head.
10. Rinse or clean the reagent head with an appropriate material.
11. Remove the diaphragm by running a blunt blade along the periphery and prying it out.
After diaphragm failure, pressurized process fluid can be present in any
part of the PULSAlarm leak detection vacuum system. Take appropriate
precautions and handle with care.