Allied Telesis AT-9448Ts/XP (Basic Layer 3) User Manual
Page 86
Chapter 6: Adding and Removing Switches
86
9
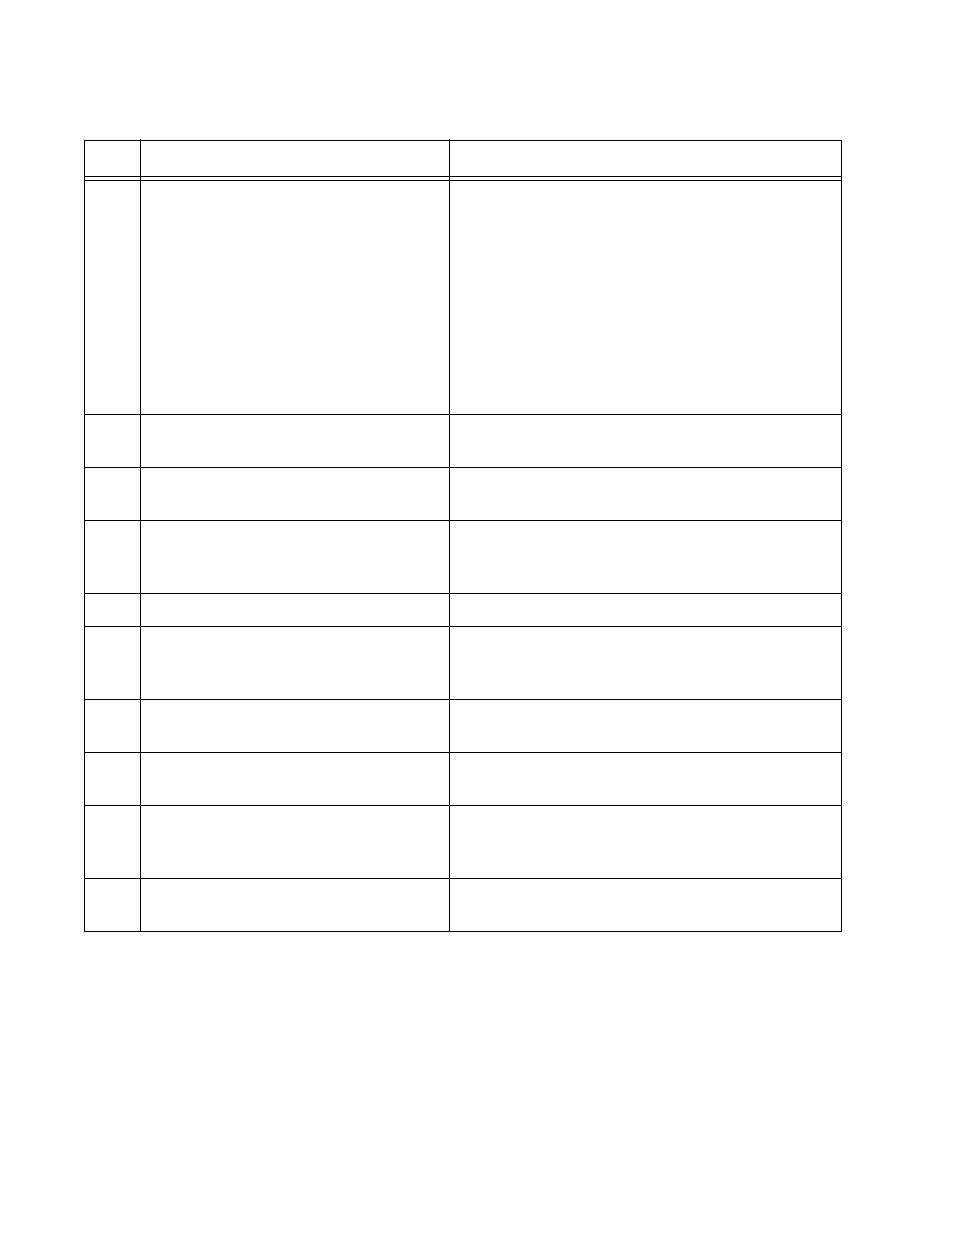
Verify that the new switch has the
correct version of the AT-S63
Management Software. It has to be
Version 3.0.0 or later and it has to be
the same version as the management
software on the other switches. (If you
do not know the version number of the
management software on the stack,
start a local or remote management
session on the stack. The version
number is displayed in the window.)
“Verifying the AT-S63 Version Number” on
page 52
10
If you need to update its management
software, perform this procedure.
“Updating the AT-S63 Management Software” on
page 53
11
Assign the new switch its stack ID
number.
“Assigning Static Module ID Numbers to the
Member Switches” on page 57
12
Power off the switch by disconnecting
the power cord from the power source
and from the back panel of the unit.
--
13
Power off the stack.
--
14
Connect the new member switch to
the stack by cabling the AT-StackXG
Stacking Module.
“Cabling the AT-StackXG Stacking Modules” on
page 60
15
Power on the stack.
“Powering On the Switches of the Stack” on
page 63
16
Verify that the stack is operating
properly with the new member switch.
“Verifying the Installation” on page 65
17
If there is a problem, refer to this
section for troubleshooting
suggestions.
“Troubleshooting the Discovery Process” on
page 67
18
Connect the network cables to the
ports on the switch.
“Cabling the Twisted Pair and Fiber Optic Ports”
on page 74
Table 10. Adding a New Member Switch to a Stack
Task
Procedure