Removing the current master switch, Filename – Allied Telesis AT-9448Ts/XP (Basic Layer 3) User Manual
Page 77
AT-9400Ts Stack Installation Guide
77
This command displays the switch’s active boot configuration file. If the
lines display different filenames, the active file is displayed in the first
line. For more information about this command, refer to the AT-S63
Management Software Command Line User’s Guide.)
3. Enter this command to upload the file to your workstation:
upload method=xmodem srcfile=
filename
.cfg
The filename variable is the name of the active boot configuration file
displayed with the SHOW CONFIG command in the previous step.
When entering the filename, be sure to include the .CFG extension.
4. At the confirmation prompt, type “Y” for yes.
5. After you enter the command, begin the file transfer using your
terminal emulator program. The upload, which takes only a few
seconds, is completed when the command prompt is displayed again.
6. Go to the next procedure.
Removing the
Current Master
Switch
Now that you have uploaded the configuration file to your workstation, you
can remove the master switch from the stack and the equipment rack.
1. Power off the master switch by disconnecting the power cord from the
power source and from the back panel of the switch.
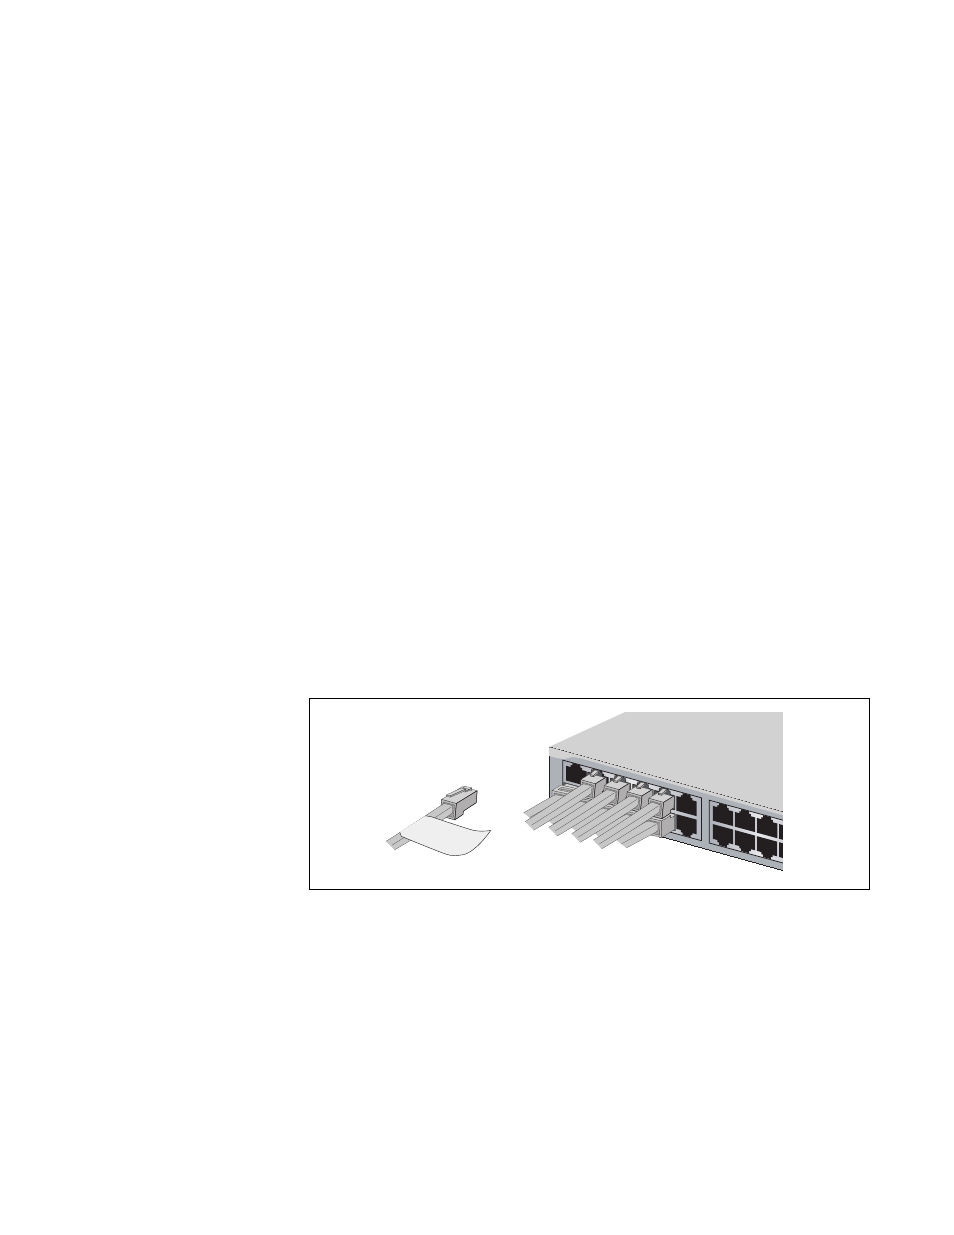
2. Label and disconnect all of the network cables from the twisted pair
ports on the switch.
Figure 38. Removing the Network Cables
1
3
5
7
9
11
13
15
17
12
14
16
18
1