AMX NetLinx Master-Ethernet Card/Module NXC-ME260 User Manual
Nxc-me260
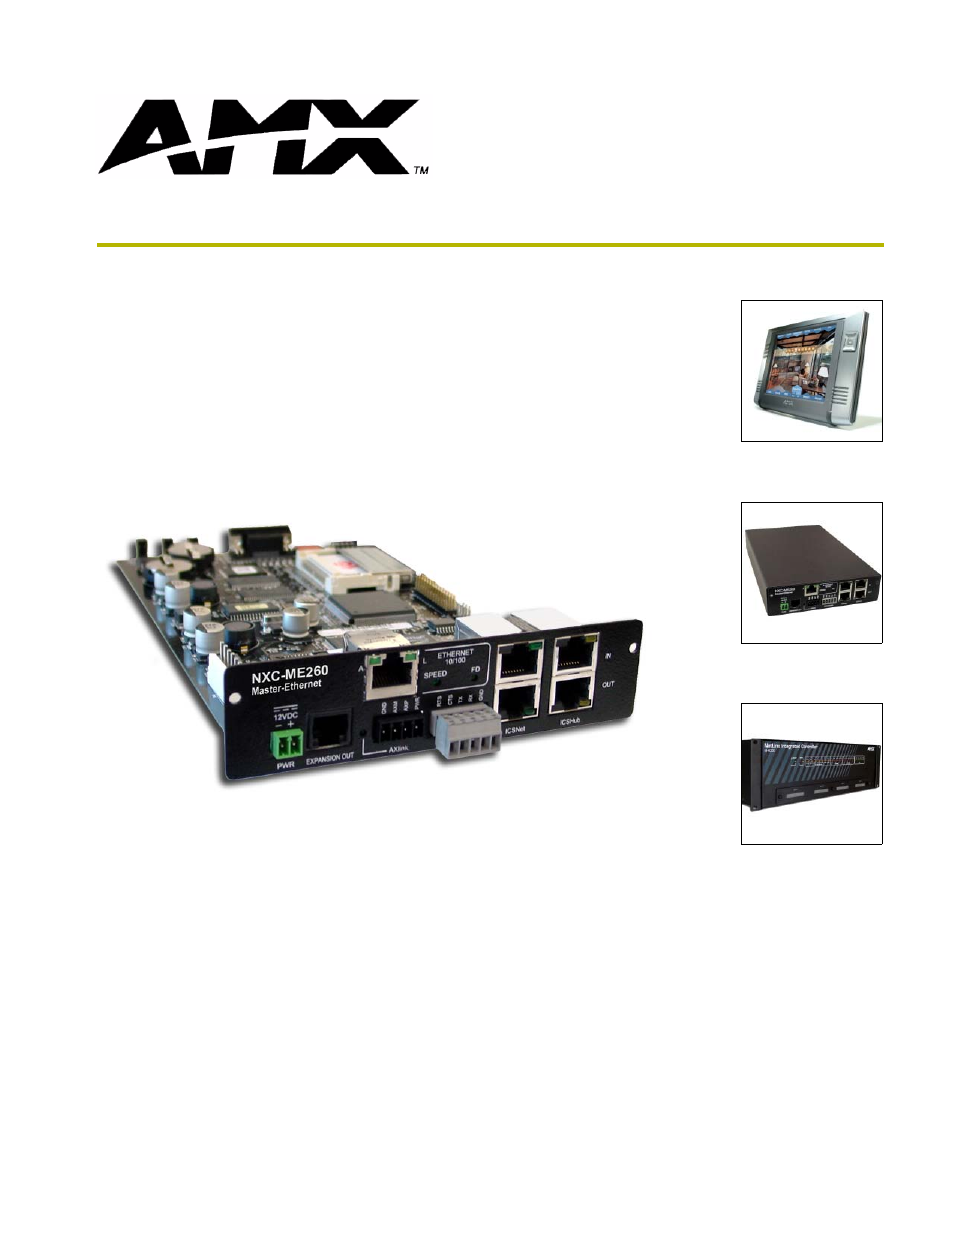
Table of contents
Document Outline
- NXC-ME260 NetLinx Master-Ethernet Card/Module
- Product Information
- Installation and Wiring
- Setting the Program Port DIP Switch
- Modes and Front Panel LED Blink Patterns
- Wiring Guidelines
- Program Port Connections and Wiring
- ICSNet RJ-45 Connections/Wiring
- ICSHub RJ-45 Connections/Wiring
- Ethernet 10/100 Base-T RJ-45 Connections/Wiring
- SPE Port Connection/Wiring
- NXC-ME260 Installation and Mounting Procedures
- Replacing the Lithium Batteries
- Communication and Firmware Update
- Communicating with the Master via the Program Port
- Setting the System Value
- Changing the Device Address on a Netlinx Device
- Resetting the Factory Default System and Device Values
- Obtaining the Master’s IP Address (using DHCP)
- Assigning a Static IP to the NetLinx Master
- Communicating with the NetLinx Master via an IP
- Installing New NetLinx Master Firmware via an IP
- NetLinx Security and Web Server
- NetLinx Security web browser and feature support
- New Master Firmware Security Features
- NetLinx Security Terms
- Accessing the NetLinx Master via an IP Address
- WebControl Tab
- Default Security Configuration
- Security Tab
- Security tab - Enable Security page
- Security tab - Add Group page
- Security tab - Modify Group page
- Security tab - Group Directory Associations page
- Security tab - Add User page
- Security tab - Modify User page
- Security tab - User Directory Associations page
- Security tab - SSL Server Certificate page
- Security tab - Export Certificate Request page
- Security tab - Import Certificate page
- System Tab
- Show Devices Tab
- Network Tab
- Master Security Setup Procedures
- Setting the system security options for a NetLinx Master (Security Options Menu)
- Adding a Group and assigning their access rights
- Modifying an existing Group’s access rights
- Showing a list of authorized Groups
- Deleting an existing Group
- Adding a Group directory association
- Confirming the new directory association
- Deleting a directory association
- Adding a User and configuring their access rights
- Modifying an existing User’s access rights
- Showing a list of authorized Users
- Deleting a User
- Adding a User directory association
- Confirming the new directory association
- Deleting a directory association
- SSL Certificate Procedures
- Common Steps for Requesting a Certificate from a CA
- Accessing an SSL-Enabled Master via an IP Address
- What to do when a Certificate Expires
- NetLinx Security with a Terminal Connection
- NetLinx Security Features
- Initial Setup via a Terminal Connection
- Accessing the Security configuration options
- Option 1 - Set system security options for NetLinx Master (Security Options Menu)
- Option 2 - Display system security options for NetLinx Master
- Option 3 - Add user
- Option 4 - Edit User
- Option 5 - Delete user
- Option 6 - Show the list of authorized users
- Option 7 - Add Group
- Option 8 - Edit Group
- Option 9 - Delete Group
- Option 10 - Show List of Authorized Groups
- Option 11 - Set Telnet Timeout in seconds
- Option 12 - Display Telnet Timeout in seconds
- Option 13 - Make changes permanent by saving to flash
- Main Security Menu
- Default Security Configuration
- Logging Into a Session
- Logout
- Programming