Dwyer TIC User Manual
Page 45
44
5
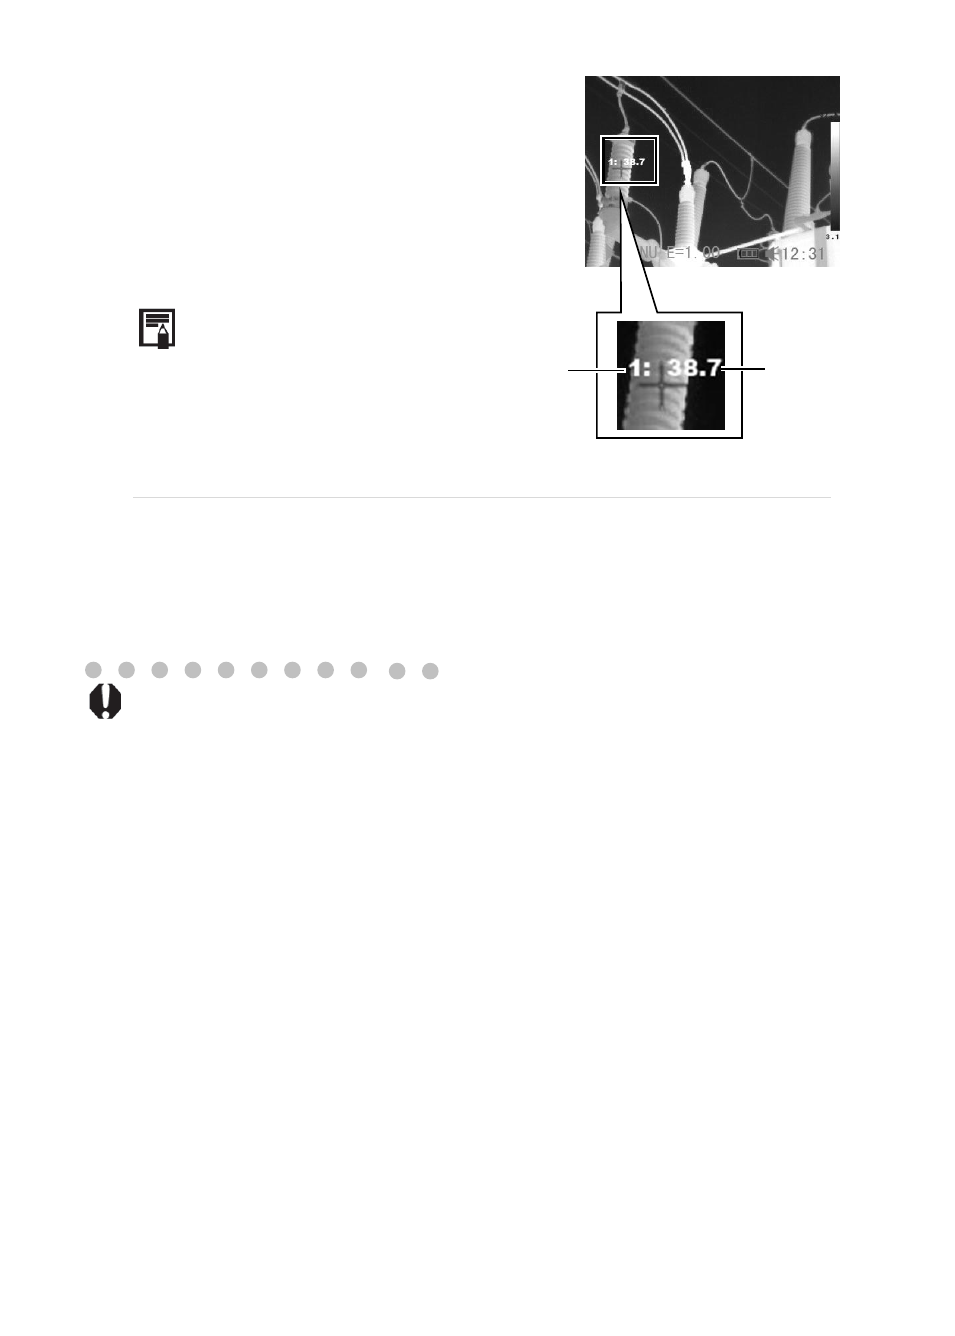
Moving the spot.
•
Start from Step 1 to set or select a spot a
analysis spot.
•
Press the UP, DOWN, LEFT, RIGHT arrow
on the omni selector to move the activated
spot.
•
Press Menu/Enter key to fix the position of
the spot.
Temperature reading of spot
changes in real-time.
6
Removing the spot
•
Start from Step 1 to set or select an analysis spot.
•
Press C key to remove the spot.
*TIC-10 has only one analysis spot; TIC-20 has four analysis spots. The
menu showed in the photo of step 4 is different according to different models.
Spot NO.
Temperature
reading
See also other documents in the category Dwyer Sensors:
- DPMX (2 pages)
- DPMP-4 (2 pages)
- DPMP-5 (2 pages)
- DPML-4 (2 pages)
- DPML-5 (2 pages)
- DPMW (2 pages)
- MPM (36 pages)
- SPPM-HSG (1 page)
- SPPM (4 pages)
- SPPM-C (4 pages)
- A-SPPM-TC (2 pages)
- ULB (18 pages)
- CRF2 (4 pages)
- CLT (2 pages)
- PBLT2 (1 page)
- PBLTX (4 pages)
- SBLT2 (1 page)
- SBLTX (4 pages)
- MBLT (2 pages)
- FBLT (2 pages)
- ULT (8 pages)
- UTC (20 pages)
- ULTM (20 pages)
- ULSL (30 pages)
- 1500 (16 pages)
- 2600 (52 pages)
- 2500 (16 pages)
- 16A (1 page)
- 16A (44 pages)
- 1600 (8 pages)
- 1600 (36 pages)
- 8600 (40 pages)
- 8C (6 pages)
- 32B (32 pages)
- SCZ10 (20 pages)
- 8C (24 pages)
- 32A (36 pages)
- 32DZ (40 pages)
- SCD (10 pages)
- SCD-PS (2 pages)
- SCD-8 (2 pages)
- SCD-LED (2 pages)
- 650 (2 pages)
- 651 (2 pages)
- 659RTD (2 pages)