Metex 8760CLP Total Free Chlorine & pH Analyzer User Manual
Page 31
AQUAMETRIX INC.
1-800-742-1413 www.aquametrix.com
31
6. Remove the fluid-filled ampoule from the cup. Mix the contents of the ampoule by inverting it several
times, allowing the bubble to travel from end to end each time.
7. Wipe all liquid from the exterior of the ampoule and wait 1 minute.
8. After 1 minute, use the appropriate comparator to determine the level of chlorine in the sample. Write
down the chlorine value.
9. Install the chlorine calibration value, determined in step 8, into the 8760CL as follows:
Press SAMPLE then SELECT to display [tFCl]. Press SELECT to display [CAL], then press SELECT to
display [Get], then press Up arrow to display [SEt]. Press SELECT to display numeric value, then press
ENTER to get the numeric value to flash. Edit the numeric value to the new value determined from step
8. When the flashing value is the chlorine value from step 8, press ENTER to get the analyzer to accept
the value, then press SELECT to display flashing [do]. Press ENTER to get the 8760CL to accept the
chlorine calibration by displaying [Done].
10. Press SAMPLE to display the [tFCl] or total available chlorine reading in mg/L or ppm . Write down this
value.
11. Press Down arrow key to display [HOCl] or free available chlorine in mg/L or ppm. Write down this
value.
12. Press SELECT to display [tFCl], then press SELECT, then the Up arrow key to display [EFF]. Press
SELECT to display the sensor efficiency in percent. Write down this value.
NOTE:
Keeping a written calibration record will show how your unit trends over time.
The 8760CL analyzer is now reading chlorine and tracking chlorine changes in the water sample.
Low-range Comparator:
0 ppm to 1 ppm
High-range Comparator:
1 ppm to 5 ppm
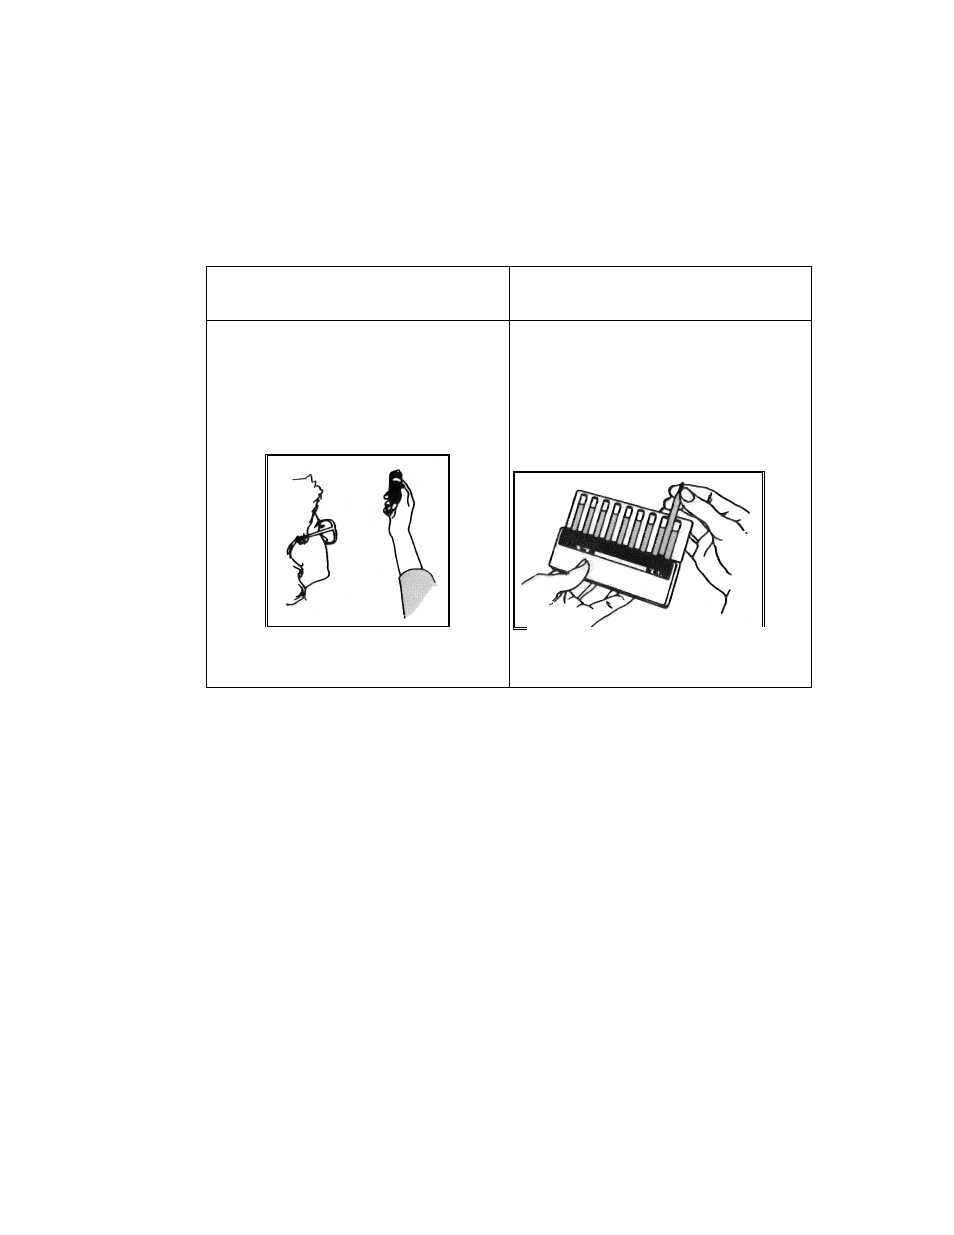
The ampoule is placed in the center tube, flat
end downward. The top of the cylinder is then
directed toward a source of bright light while
viewing from the bottom. Hold the
comparator in a nearly horizontal position and
rotate it until the standard below the ampoule
shows the closest match.
The comparator should be illuminated by a
strong white light directly above the
comparator. The filled ampoule should be
placed between the color standards for
viewing. It is very important that the ampoule
be compared by placing it on both sides of the
standard tube before concluding that it is
darker, lighter, or equal to the standard.
Table 1: How to use the comparators
Illustration: 28 Using the low-range
comparator
Illustration 29: Using the high-range
comparator