Metex 8760CLP Total Free Chlorine & pH Analyzer User Manual
Page 26
AQUAMETRIX INC.
1-800-742-1413 www.aquametrix.com
26
e) Take the sensor and rinse the fill solution cavity
with fresh fill solution, P/N AM-A1100239. Hold
the sensor in an upright position with the fill solution
cavity facing upwards and fill with P/N
AM-A1100239 so that the gold tip is completely
covered with liquid. Ensure that there are no air
bubbles in the solution.
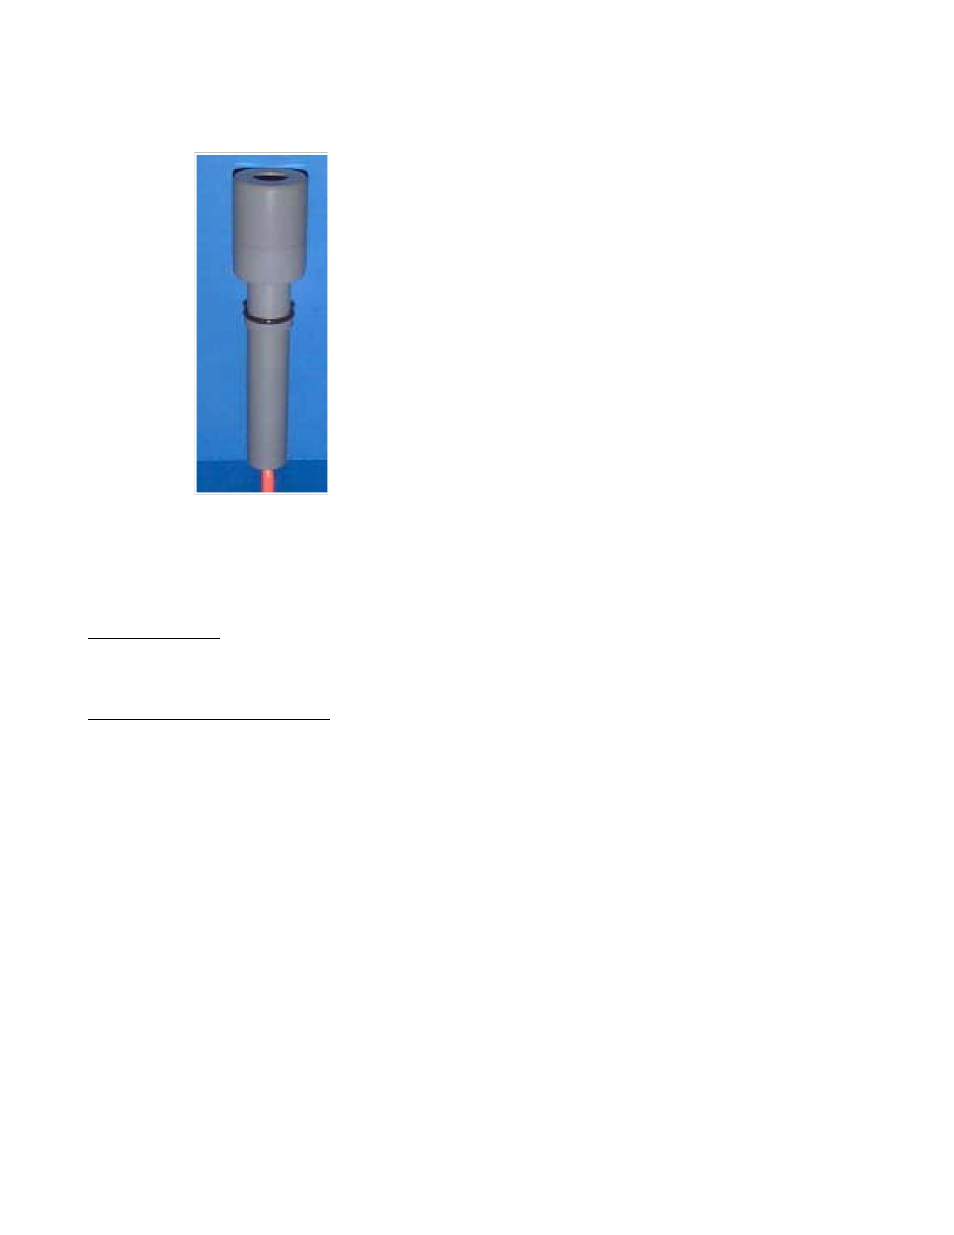
f) Take the assembled toolkit with the larger
diameter hole and place over top of the fluid filled
sensor tip (refer to illustration 22). Press down
firmly until a stop is felt and a click is heard. Some
fluid will escape; this is normal and to be expected.
g)Remove the toolkit from sensor tip.
h)Dry the chlorine sensor and blot the tip. Examine
the tip — the membrane should be smooth with no
wrinkles or cuts and the surface contours of the gold
electrode should be clear. There should be no lines
from trapped bubbles between the membrane and the
gold electrode. If there are no visible problems as
described here, then the chlorine sensor is ready to be
put into service.
B. Assembly without Membrane Replacement Toolkit
Required Materials
i. P/N AM-A2104036 Membrane kit
ii. P/N AM-A1100239 Chlorine sensor fill solution
Membrane Replacement Procedure
NOTE: Successful membrane replacement without toolkit P/N AM-A2104035 can be difficult. It is
strongly suggested that the toolkit be purchased for ease-of-use.
a) Take the sensor and rinse the fill solution cavity with fresh fill solution, P/N AM-A1100239. Hold
the sensor in an upright position with the fill solution cavity facing upwards and fill with P/N
AM-A1100239 so that the gold tip is completely covered with liquid. Ensure that there are no air
bubbles in the solution.
b) Place one membrane from P/N AM-A2104036, centered and shiny side down, over the filled sensor
tip.
c) Take the membrane retainer (refer to illustration 20) and carefully slide down over the membrane
until a stop is felt. Some fluid will escape; this is normal and to be expected.
d) Dry the chlorine sensor and blot the tip. Examine the tip — the membrane should be smooth with no
wrinkles or cuts and the surface contours of the gold electrode should be clear. There should be no
lines from trapped bubbles between the membrane and the gold electrode. If there are no visible
problems as described here, then the chlorine sensor is ready to be put into service.
Illustration 22: Step f) of membrane replacement
procedure