IAI America RCA2-SA6R User Manual
Page 81
73
13. Maintenance Inspection
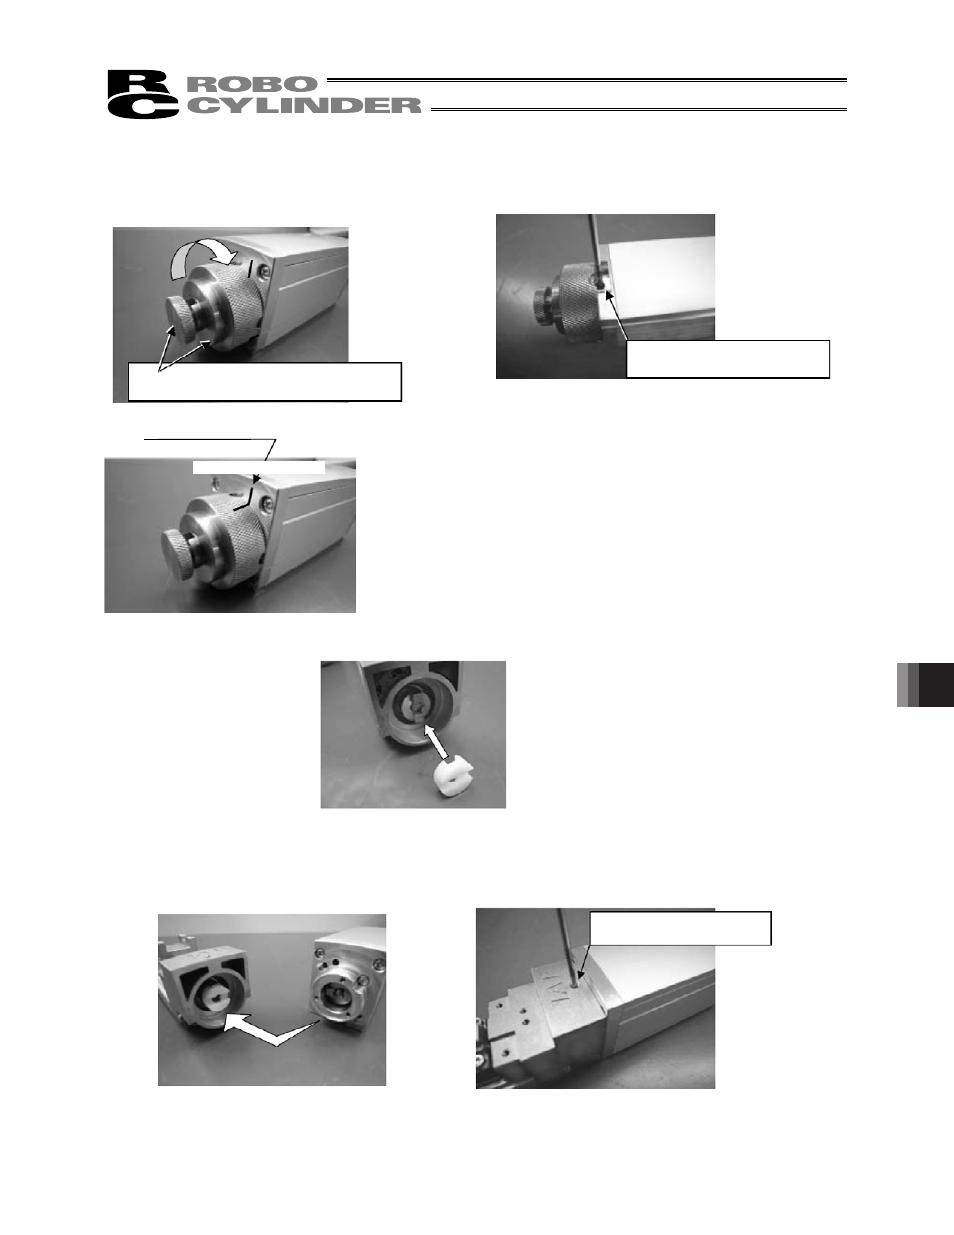
[11] Turn the replacement jig (large) and the replacement jig (small) by the same amount. When the
coupling fastening screws appear through the tool holes, tighten them with a 2 mm hex wrench.
(There are two fastening screws.)
[12] Align the marks made in [9]. After the marks are aligned, remove the replacement jig (large) and the
replacement jig (small).
[13] Apply the specified grease (TL101Y grease made by NOK) to the coupling spacer (front and rear),
then install the coupling spacer on the actuator side.
[14] Install the replacement motor unit on the actuator side, then tighten the fastening screws with a 2 mm
hex wrench.
(The actuator side groove and replacement motor unit protrusion should have been aligned in [12],
but if not, align them here.)
Rotate same amount to keep aligned
Tighten with hex wrench
Tighten with hex wrench