FlexLink Configura User Manual
Page 31
automatically add the required guide rails to your system. Render an image to view the
result.
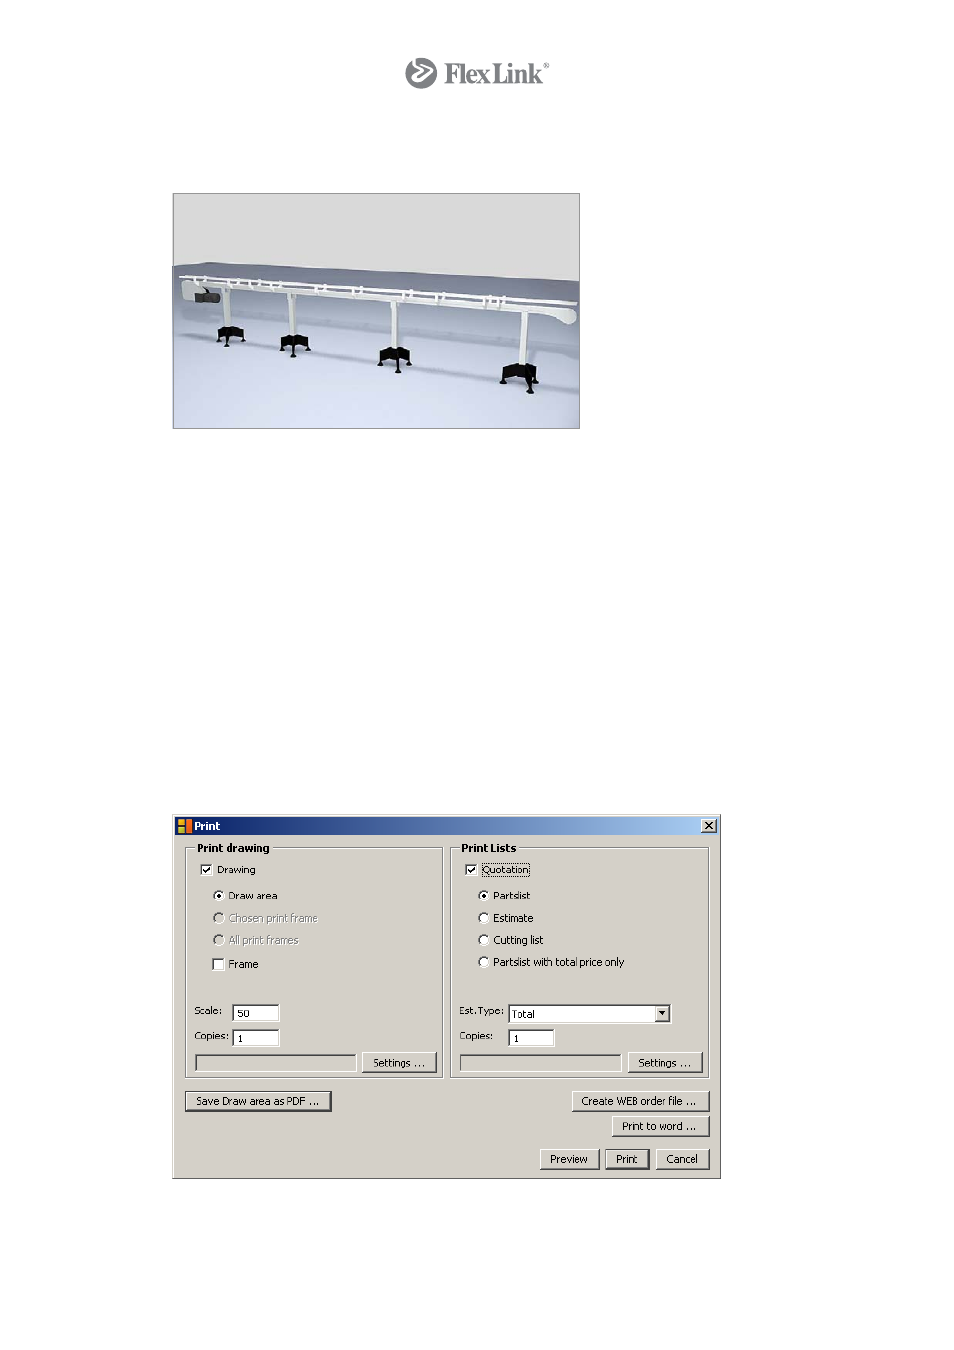
Result in 3D
12. In order to change the type of guide rail, right-click on the beam and choose Remove
all guide rail holders. Go back to the component tab, change the settings and add
the new guide rails to the system.
13. Having done this, you have the possibility to visualize your choice of guide rails. Right-
click on a component in your system, e.g. a beam. Select Add Cross-section at the
bottom of the menu that appears. The cross-section is now attached to your mouse
pointer and you can place anywhere on your drawing.
14. Save your drawing by selecting Save in the File menu or by clicking the save icon in
the toolbar.
15. To print the drawing, click the print icon in the toolbar. In the dialog that opens, check
the two boxes Drawing and Quotation. Click Settings in both frames to select
printers. You can have two different printers selected, i.e. a color printer for the
drawing and a laser printer for the quotation. Select Preview to watch the result on-
screen and Print to print your drawing and the quotation.
31
© Copyright Configura Sverige AB 2004. All rights reserved. Reproduction, copying or distribution to a third party is prohibited unless
consent in writing has been given by the owner.