Datamax-O'Neil E-Class Mark III Operator’s Manual User Manual
Page 33
Chapter 3 – Printer Operation
27
3.7.2
Manual Calibration
The Manual Calibration can be performed using the NETira CT Utility (see Section 3.5) or using the front panel
buttons via the printer’s menu, see Section 4.4.
Manual Calibration provides dynamic readings, which can be helpful when using media with small position-
critical notches or marks.
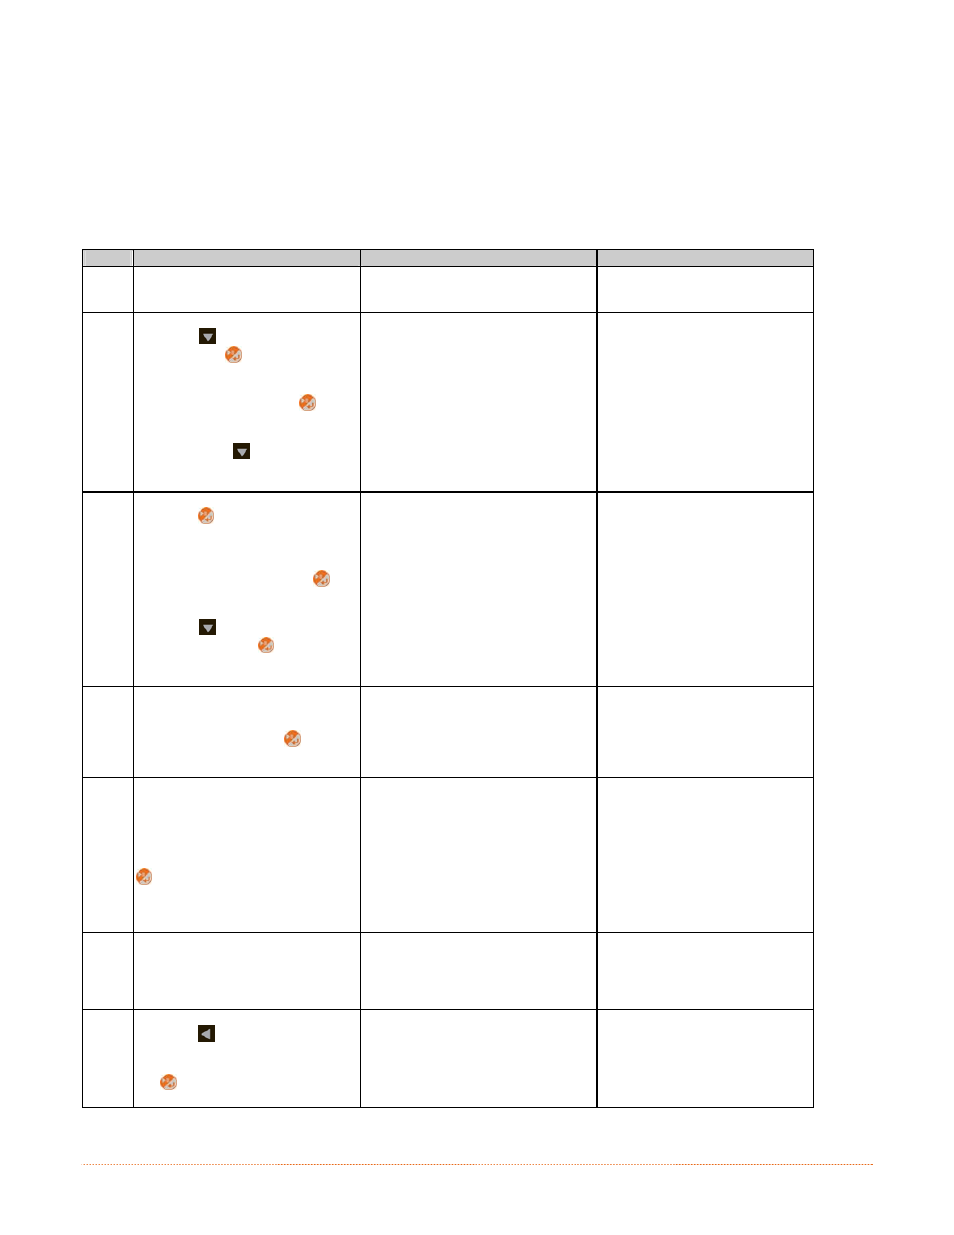
Calibrate the Media Sensor using the steps below:
Step
Action
Displayed Message
Comment
A
Turn ON the printer.
Wait briefly for initialization to
complete.
B
Using the
button scroll to MENU
and press the
button.
Make sure MEDIA SETTINGS is
highlighted and press the
button.
Then using the
button, scroll to
SENSOR CALIBRATION.
(Printer Menu)
C
Press the
button to access
SENSOR CALIBRATION.
Make sure MANUAL CALIBRATION
is highlighted and press the
button.
Using the
button, scroll to YES
and then press the
button to
proceed.
Manual Calibration
No
>Yes
Select NO to abort this
procedure.
D
With no media installed and the
cover closed, press the
button.
Remove Label Stock
Press Enter
Yyy
This sets the empty value, where
“yyy” represents the current
sensor reading.
E
Load the media. Be sure the Media
Sensor is positioned correctly.
With the media installed and the
cover closed, press and hold the
button until at least 2 full labels
have been fed from the printer and
then release.
Please Reload Media
Press/Hold Enter Key
yyy
Unless otherwise noted, do not
move the Media Sensor after this
step.
F
Observe the calibration result.
Calibration Complete
Calibration was successful.
If WARNING LOW BACKING is
displayed, calibration was still
successful.
G
Press the
repeatedly
to exit
the menu, select YES at the SAVE
CHANGES prompt and then press
the
button.
The printer is now ready for use.