4 rack mount installations – Alpha Technologies APX Series User Manual
Page 20
20
016-030-B0-005, Rev. C
Procedure:
To mount the APX into a standard 19" rack, secure the APX to the rack rails, using 10-32
screws and cup washers (not supplied). To provide clearance when other equipment is
installed in the rack, leave an inch above and below the 7” panel height.
The APX is supplied with an additional 3 three-foot (1.0m) power cord to connect the
short cord on the rack mount APX to the standard receptacle box.
The APX is now ready for operation (see Section 3.1, Start-up and Test).
1.
2.
3.
NOTE:
Install and connect all optional features, before installing the MTA.
2.0 Installation,
continued
2.4 Rack Mount Installations
The APX is also available in a rack mount version that can be installed into a standard 19"
rack.
You can stack other APX power supplies in the same rack without additional clearance
between the power supplies, as long as you leave suffi cient clearance between the top and
bottom supplies in the stack, adjacent equipment, and walls.
If you are using an enclosed rack or cabinet, leave at least 2" clearance between the
transformer and surrounding wall panels, and provide ventilation through the use of louvered
rear panels (or leave open if possible).
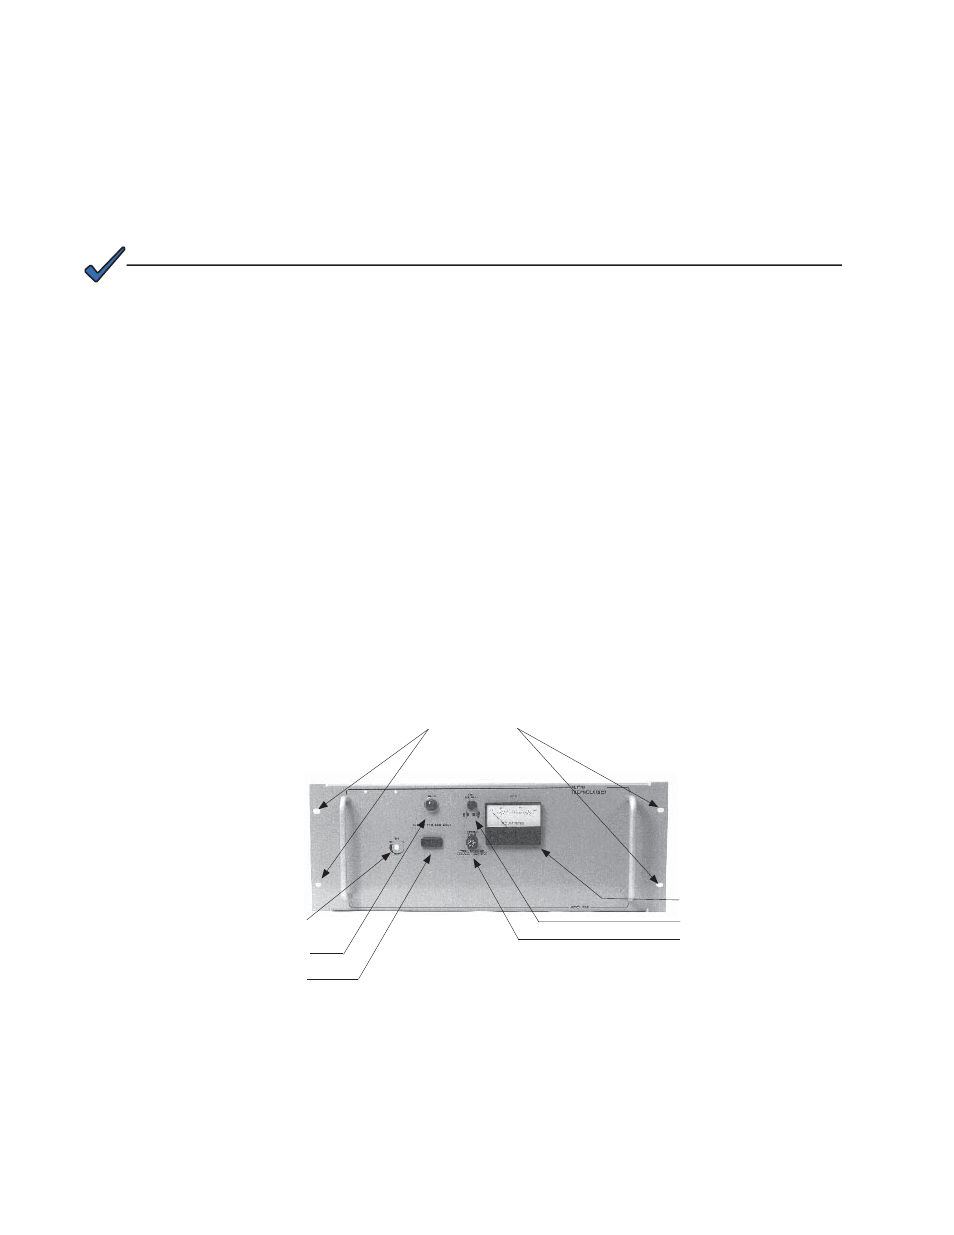
Fig. 2-7, APX Rack Mount (120VAC Version)
LA-P Receptacle
Rack Mounting Slots
Fuse
Push-Push Circuit Breaker
TDR-M Adjustment Access Hole
SIL-C
Ammeter