3 pedestal mount installations – Alpha Technologies APX Series User Manual
Page 17
17
016-030-B0-005, Rev. C
2.0 Installation,
continued
2.3 Pedestal Mount Installations
The pedestal mount (PED) is constructed of weather-resistant steel and is ideal for ground
mount applications. The PED model is supplied with a stake for soil-mounting applications.
An optional concrete mounting kit may be ordered for mounting to a concrete pad.
NOTE:
Before you install the MTA, fi rst install and connect optional features.
NOTE:
Install the pedestal enclosure above the fl ood plane and locate it in an area safe from damage caused
by traffi c accidents, lawn equipment, or other hazards.
When you sink the stake into the soil be extremely careful not to damage any underground cabling,
utility wires, water or gas pipes. Your local utility company can tell you the location of these items.
Procedure
:
(Soil Mount)
Before proceeding, loosen the hex screw located on the right side of the enclosure. Lift off
the hood and remove the MTA (if installed), and Universal Bracket (UB1) from the PED. The
UB1 is secured by a wing-nut located near the top of the PED.
Locate the area to install the PED. Create a slight depression in the soil, 6" deep x 14"
wide. This provides room to work while you are installing the PED, and additional security
and stability.
Drive the mounting stake into the soil at the chosen location, leaving about 6" of the stake
above the soil depression. The stake must be completely vertical.
Place the PED over the utility and cable feeds. Align two of the holes in the back of the
enclosure with two holes in the stake. Secure the enclosure to the stake using the two
bolts, washers and nuts provided.
Move soil around the outside of the enclosure to level the area. For additional stability,
soil can be added inside of the enclosure to bring it level with the outside soil line.
Reinstall the UB1 Bracket and place the MTA on the bracket. Tighten the captive screw
on the bottom of the UB1 to secure the MTA, (See Section 2.6 Connecting Utility Power,
and 2.8 Modular Transformer Assembly).
1.
2.
3.
4.
5.
CAUTION!
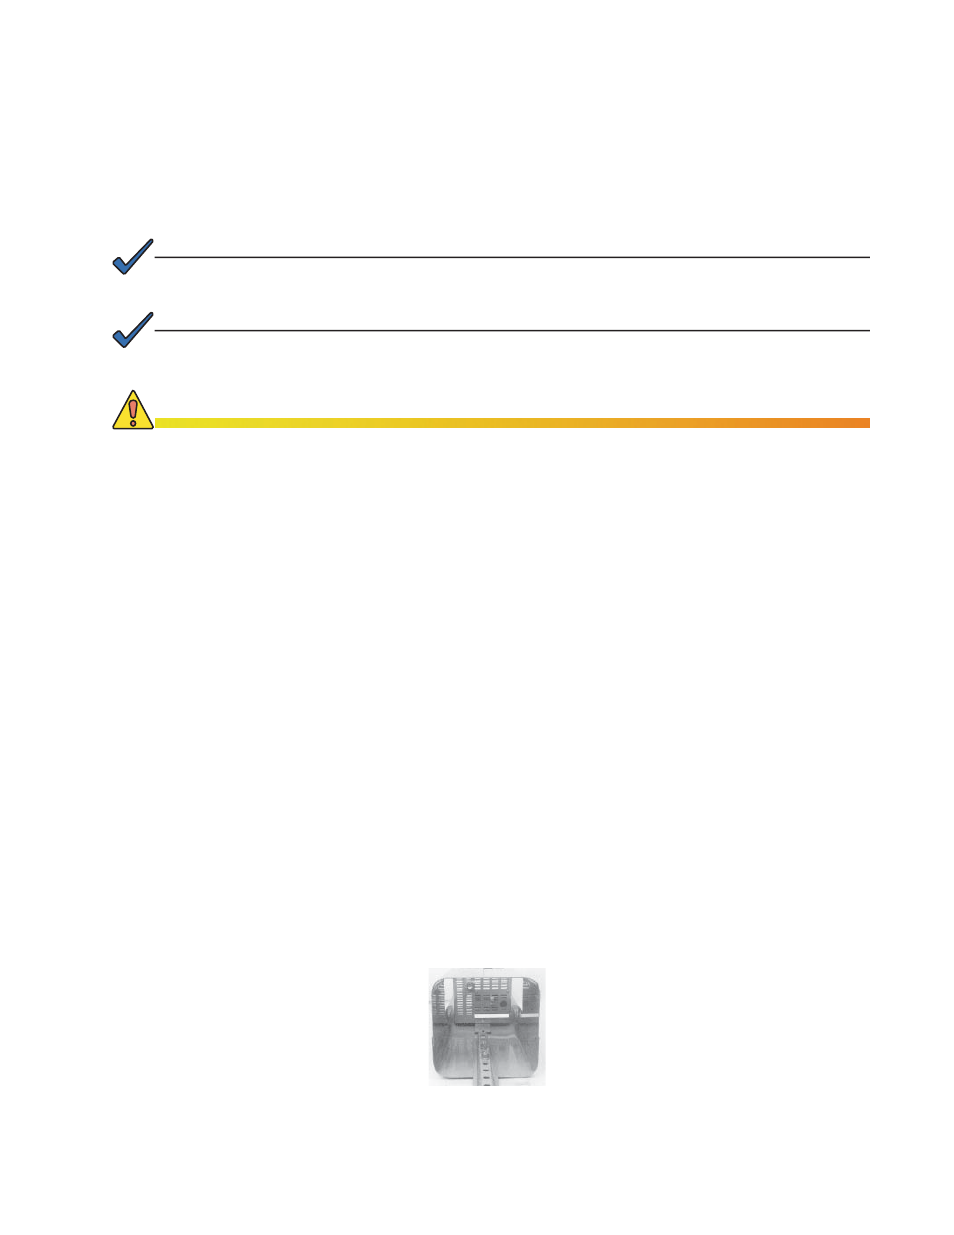
Fig. 2-3, Stake Mount
Installed in PED