Figure #17 sidewall construction instructions, Figure #16 – Grain Systems PNEG-366 User Manual
Page 18
Grain Systems, Inc. Assumption, Ill.
18
18' Autoflow
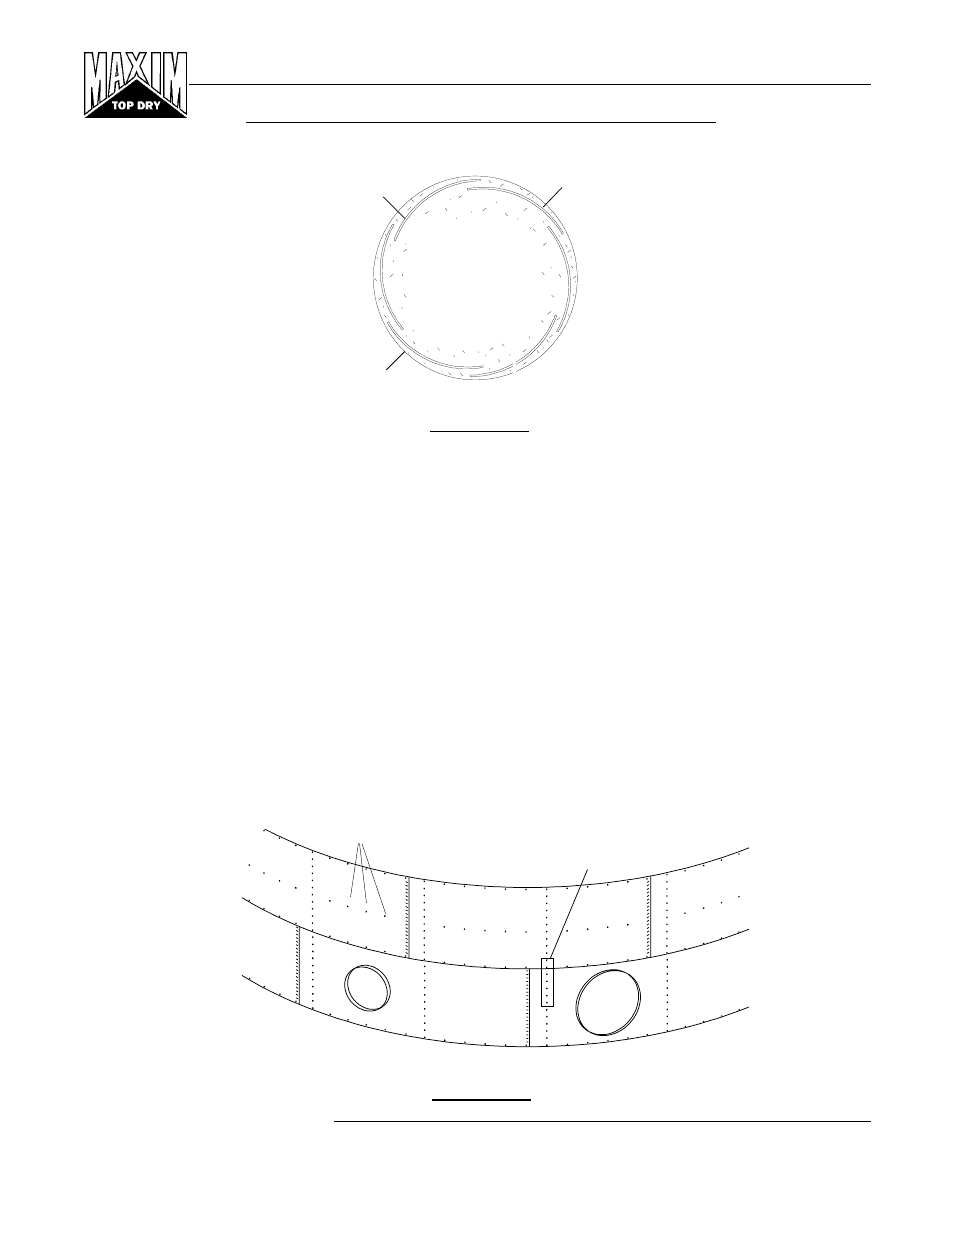
Leave these 7
bolts out of each
stiffener
Eave flashing
holes
Top Two Rings
After assembling the second ring, lift the top ring sheets in place, add top stiffeners, build the Top Dry floor, then the
roof.
Note: The sidewall sheets used for the top ring are punched to accommodate the eave flashing bolts.
Note: The fan entrance sheet and access door are located in the second ring. Attach the top stiffeners, leaving out the
(7) bolts indicated in Figure #15 at each stiffener location. Install the flashing bolts from the outside.
Figure #17
SIDEWALL CONSTRUCTION INSTRUCTIONS
Right
Sidewall
Left
Sidewall
Concrete
Foundation
Using correct size bin bolts throughout, begin assembling sidewall sheets end to end (overlapping the same way
throughout) until the ring is complete. All body sheet bolts are to be installed with the bolt head and its neoprene washer
to the outside and the nut on the inside. Do not tighten bolts until all sheets are assembled and form a complete ring.
Tighten the bolts in sequence, starting from the center and work to the edge in both directions. This permits the sidewall
sheets to draw-up evenly.
Figure #16
SECOND RING
TOP RING
REV. 11-20-96