Printronix T2N User Manual
Page 98
98
Gap Media Type
1. Change the
values for “Sensor Intensity”, “Reading Intensity”, and “Threshold Value” if
necessary.
2.
Click the “Manual Setup” button to set up the printer for the manual calibration. The message
“Load Liner and Press Next” displays.
3. Load the liner, close the printhead
, and press “Next”. The message “Load Media and Press
Next” displays.
4. Load the media, close the printhead, and click
“Next”.
If successful, the same parameters updated in the Auto Calibration process are updated in the
Media/Sensor tab.
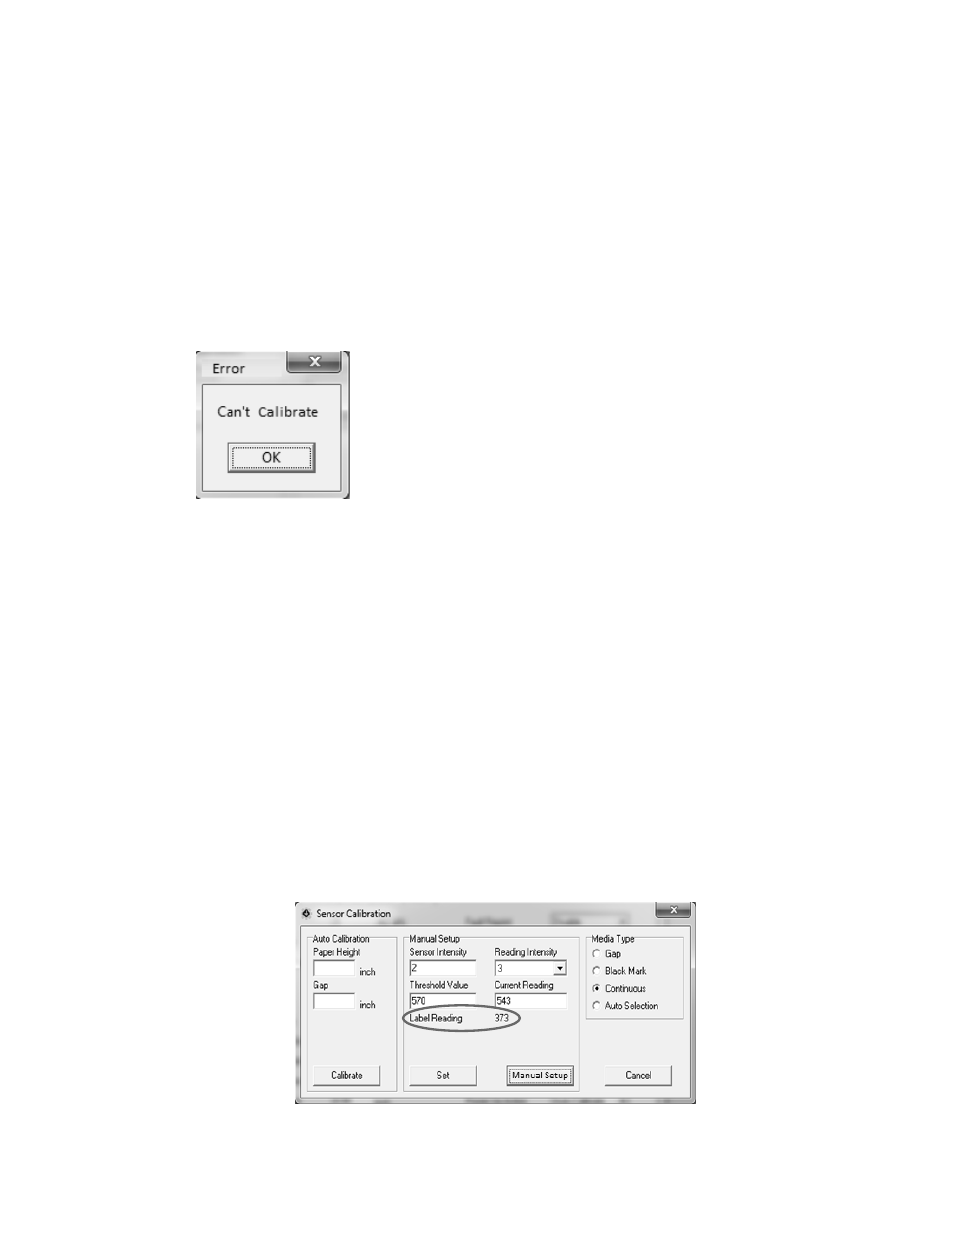
If unsuccessful, the message “Can’t Calibrate” displays.
Black Mark Media Type
1. Change the
values for “Sensor Intensity”, “Reading Intensity”, and “Threshold Value” if
necessary.
2.
Click the “Manual Setup” button to set up the printer for the manual calibration. The message
“Place Black Mark on Top of Sensor and Press Next” displays.
3. Load the liner, close the printhead
, and press “Next”. The message “Move Black Mark away
from Sensor
and Press Next” displays.
4. Load the media, close the printhead, and click
“Next”.
If successful, the same parameters updated in the Auto Calibration process are updated in the
Media/Sensor tab.
If unsuccessful, the message “Can’t Calibrate” displays.
Continuous Media Type
1.
Change values for “Sensor Intensity”, “Reading Intensity”, and “Threshold Value” if
necessary.
2. Click
“Manual Setup” to read the paper transparency. The Configuration Utility displays the
reading as shown in the figure below.