Ftp registration/edit screen – Konica Minolta 7235 User Manual
Page 167
6-2. Registering Destinations
III Scanner
158
Chapter 6 Using the Scanner Functions
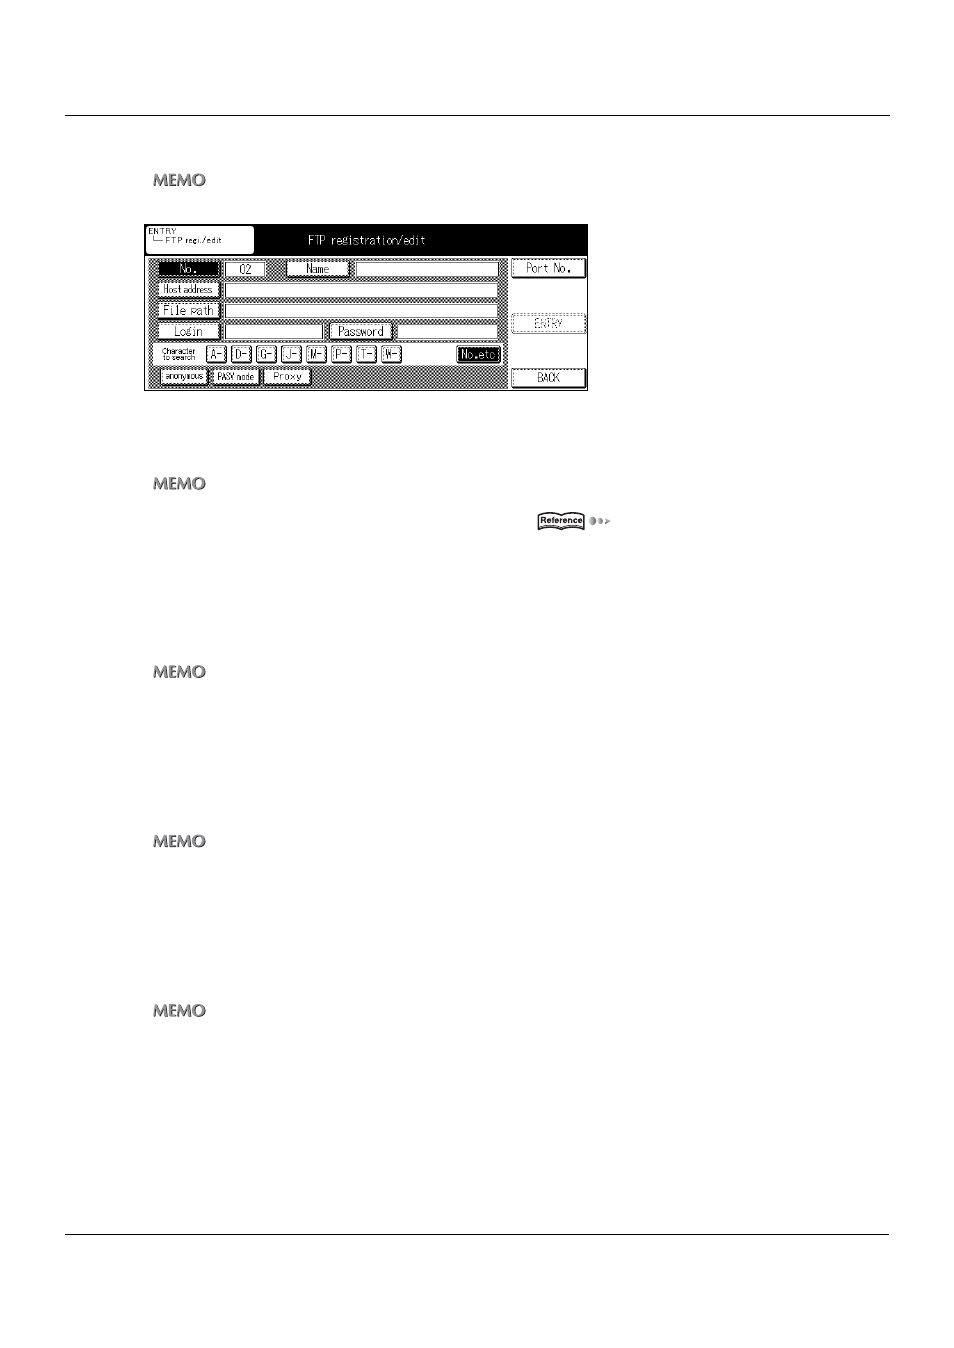
FTP registration/edit screen
z
Up to 50 FTP names can be registered.
1
Touch the [Name] key and specify the name of the profile for the FTP server to send to.
This inputs the destination name displayed in the destination list.
z
The [Name] can be up to 24 characters.
For details on character input, refer to [3-1. Inputting Text] (
Page 16).
2
Touch the [OK] key.
→ The display returns to the [FTP registration/edit] screen.
3
Touch the [Host address] key, then input the IP address of the FTP server to send the data to.
z
Up to 63 alphanumerics and symbols can be input as the [Host address].
4
Touch the [OK] key.
→ The display returns to the [FTP registration/edit] screen.
5
Touch the [File path] key and input the FTP server file storage location.
z
Up to 127 alphanumerics and symbols can be input as the [File path].
6
Touch the [OK] key.
→ The display returns to the [FTP registration/edit] screen.
7
Touch the [Login] key and input the account necessary for logging on to the FTP server.
z
Up to 47 alphanumerics and symbols can be input as the [Login].
z
Touch the [anonymous] key for logging onto an FTP server that does not require an account.
8
Touch the [OK] key.
→ The display returns to the [FTP registration/edit] screen.