2. registering destinations, Registering destinations – Konica Minolta 7235 User Manual
Page 160
151
III Scanner
Chapter 6 Using the Scanner Functions
6-2. Registering Destinations
Registering destinations for scanned data
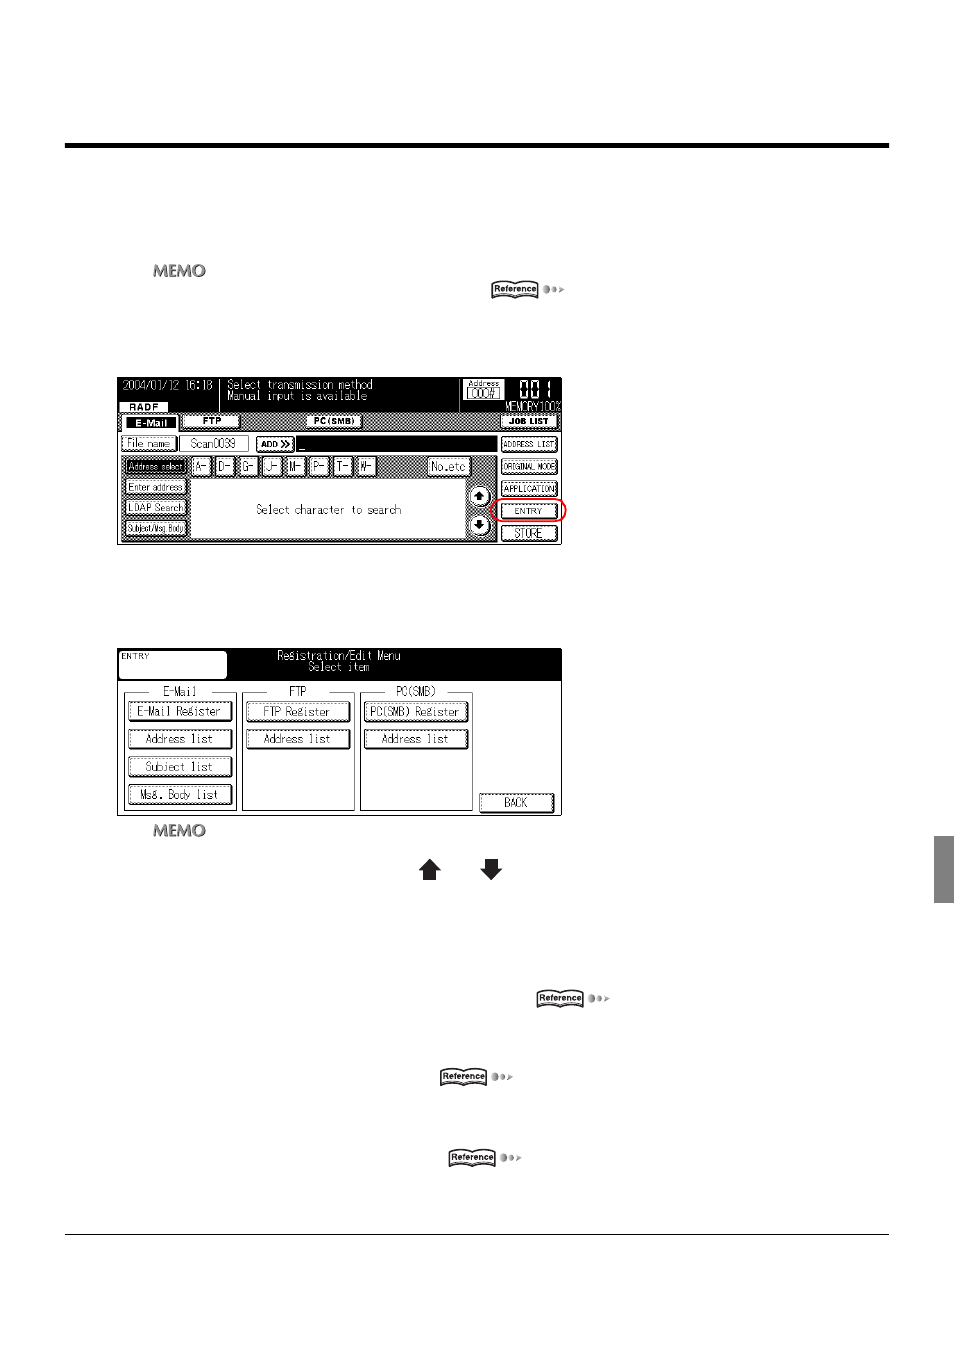
1
Operate from the [Scanner mode basic] screen.
z
For details, refer to [6-1. Selecting the Destination] (
2
Touch the [ENTRY] key.
→ The [Registration/Edit Menu] screen is displayed.
3
Select the registration item.
z
If the hard disk option is connected, box related items are displayed, while PC (SMB) related items are displayed on
page 2. Switch the screen by using the
[
] or [
]
keys on the touch panel.
[E-Mail Register]
Registering a new E-mail address.
→The [E-Mail registration/edit] screen is displayed. (
[Address list ]
The registered E-mail destinations are displayed in a list for editing and deleting.
→The [E-Mail list] screen is displayed. (
[Subject list]
Registering a new E-Mail subject.
→The [Subject list] screen is displayed. (