Dubbing scenes selected (“select”) – Hitachi DZ-HS803A User Manual
Page 85
85
Du
bb
in
g on
DV
D
You can select your favorite scenes
from all those recorded on the HDD,
for dubbing.
Dubbing Scenes
Selected (“Select”)
1
Connect the AC adapter/charger to
the camcorder (p.38).
• Dubbing is not possible if a
battery pack is used as a power
source.
2
Turn the power switch to “HDD”
(p.24).
3
Press DUBBING.
The Dubbing Menu appears.
4
Select “Select”, then press the
confirmation button.
5
Choose a disc for dubbing and insert
it into the camcorder (p.34).
6
Select a scene for dubbing by pressing
the confirmation button.
• You can choose multiple
scenes.
• You can also use PHOTO/
SELECT
to choose a scene.
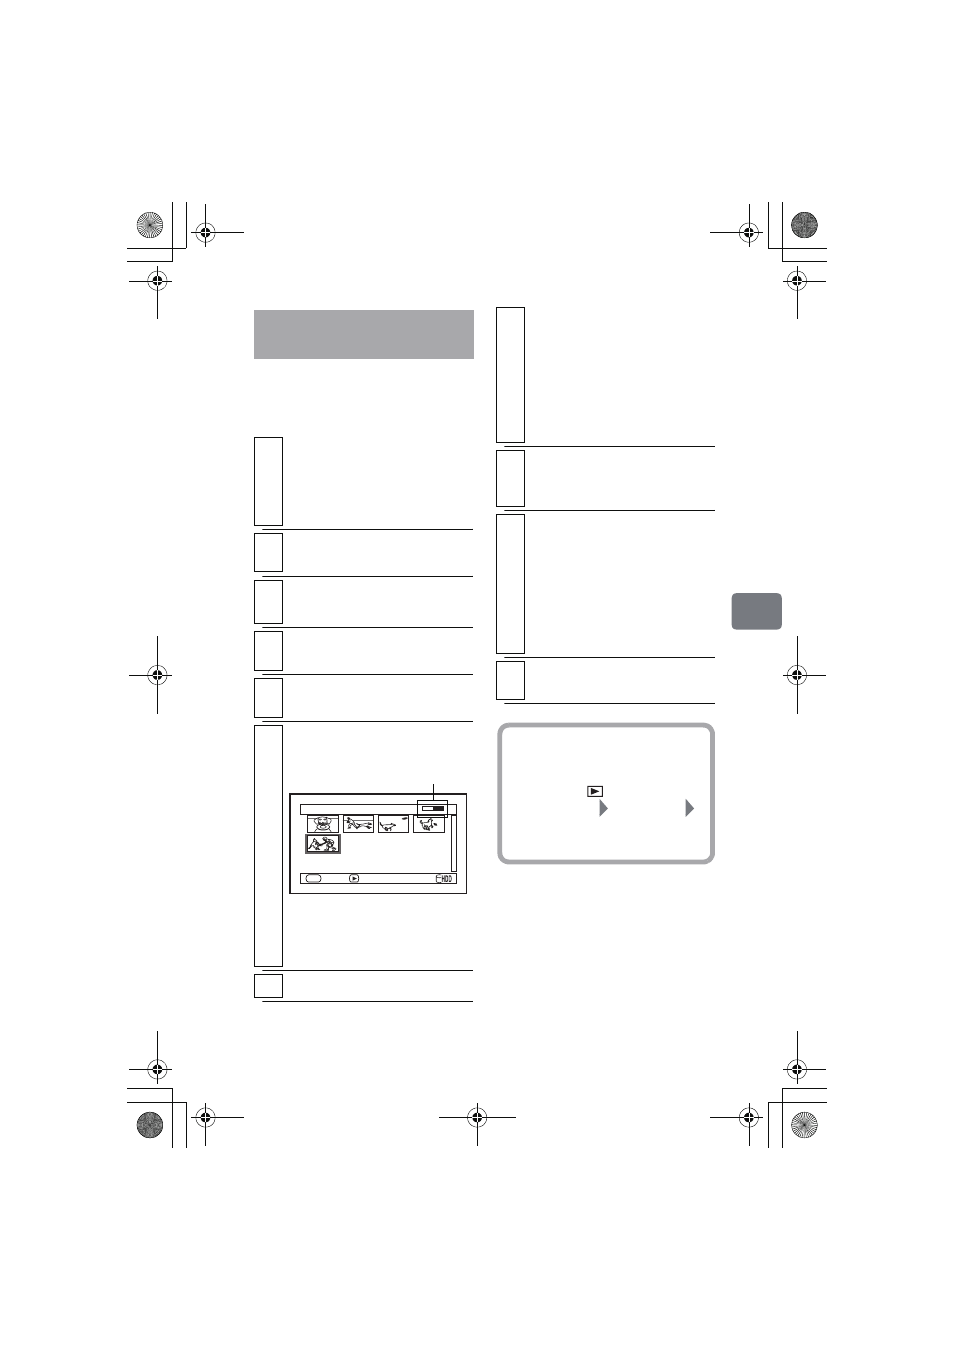
7
Press DUBBING.
D u b b i n g ( S e l e c t )
ENTER
SELECT
DUB
DVD remaining bar
8
Check the screen for finalization
setting.
If you are using a DVD-RW (VF
mode) or DVD-R, you can
finalize the disc continuously
after dubbing is complete.
Select “YES” to finalize or “NO”
not to finalize.
9
Select “YES“, then press the
confirmation button.
Dubbing starts.
10
After the dubbing is complete, the
confirmation screen whether or not
you delete the dubbed scenes
appears.
• If you wish to erase the dubbed
scenes, select “YES”.
• If you wish to leave them on the
HDD, select “NO”.
11
Remove the disc.
• Or press C to end.
Hint
You can also display the Dubbing
Menu from the Disc Navigation
screen. Press
, press MENU,
select “Scene” “Dubbing”
“Dubbing Menu”, and then press
the confirmation button.
DZ-HS903-803-US-Ea_IM_v01d05n02.p.book Page 85 Friday, September 12, 2008 8:22 PM