Installing the kona card, Kona 5 cables – AJA KONA 4 PCI-E Video I/O Card (HDMI Output, Cable Included) User Manual
Page 19
KONA Capture, Display, Convert v15.5 19 www.aja.com
KONA 3G-Box Cables for KONA 4
If you purchased the optional K3G-Box breakout box, it ships with a multi-pin to
multi-pin cable for connecting from the KONA 4 card to the breakout box. The 4x
BNC cable to DIN 1.0/2.3 connectors cable that shipped with the card is needed
to connect the SDI connectors out of the card to the breakout box. Also, the HDMI
cable connects between the KONA 4 card and the box rear panel.
NOTE: KONA 4 breakout cables cannot be used with KONA 5 cards, and vice versa.
KONA 5 Cables
Provided with the KONA 5 card are:
• 1x multi-pin breakout cable, 6 feet
• 5x HD-BNC (twist lock) to full-size BNC adapter cables
Installing the KONA Card
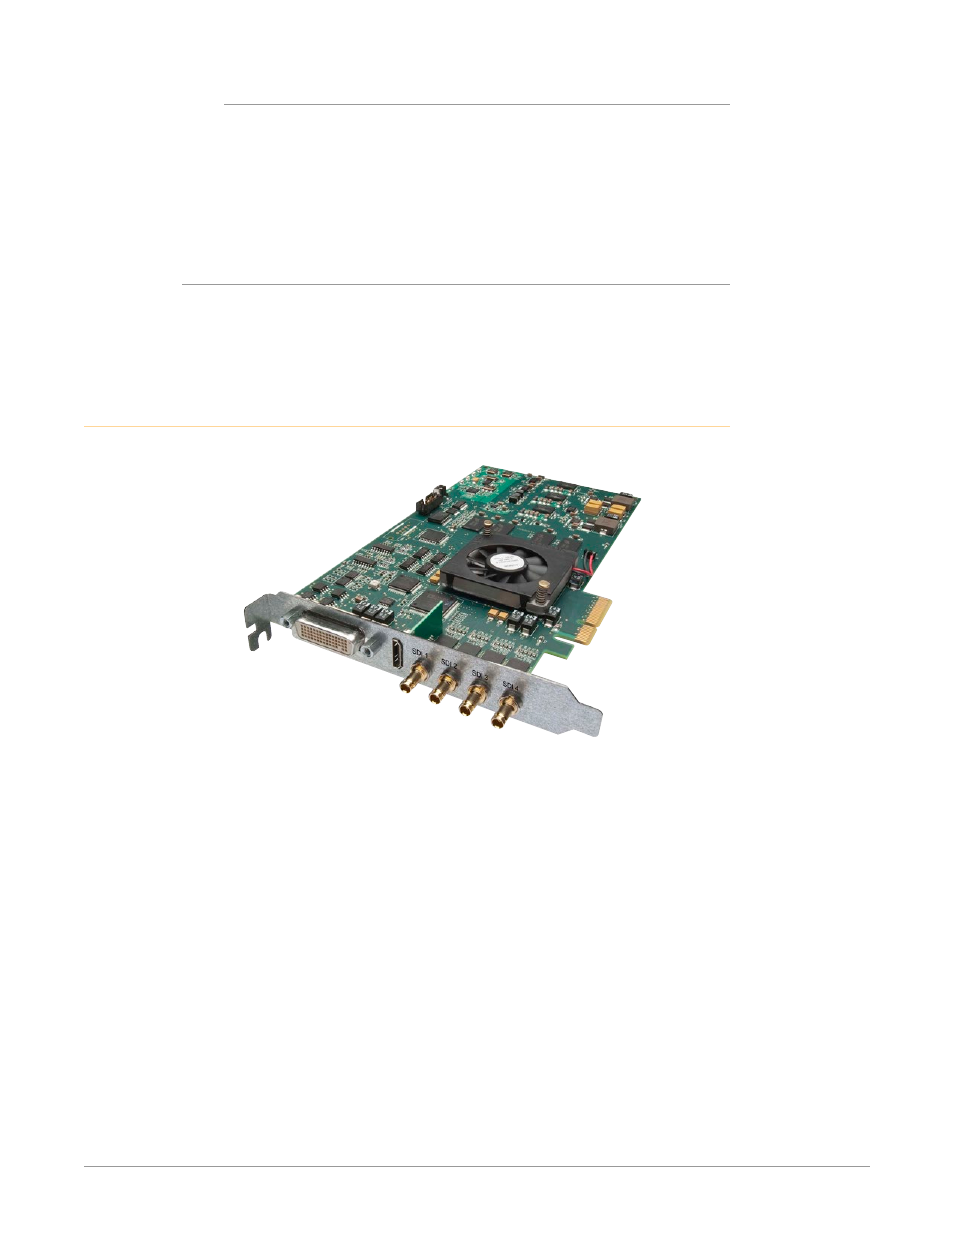
Figure 12. KONA 4 Card Example
The KONA card can be installed into a PC chassis, legacy Mac Pro chassis with PCIe
slots, or into a Thunderbolt PCIe external chassis.
IMPORTANT: The KONA 5 card requires ATX power. For customers who wish to use a
Thunderbolt 3 expansion chassis, the chassis must provide ATX connectivity and
adequate power.
1. Turn off power to the host chassis.
2. Touch the outside of the chassis to discharge any body static.
3. Remove the power cable from the back of the chassis.
4. Open the chassis.
5. Locate a recommended PCIe slot (see
"Optimum PCIe Slot Placement" on
for more information).
6. Remove the backplate from the PCIe slot.
7. Touch the chassis to discharge any body static.
8. Remove the KONA card from its anti-static bag.
9. Carefully insert the card by rocking it slowly into the slot. Ensure the card
aligns properly with the slot opening and is fully seated.
10. (KONA 5 card only) Connect an ATX power cable from the host motherboard
to the rear of the KONA 5 card.