Removing and installing ink cartridges – Epson CX7000F User Manual
Page 48
48
Maintaining Your CX7000F Series
Removing and Installing Ink Cartridges
Note:
Leave the expended cartridge installed until you have obtained a replacement or the ink
remaining in the print head nozzles may dry out.
Make sure you have a new ink cartridge before you begin. Once you start replacing a
cartridge, you must complete all the steps in one session.
Do not open ink cartridge packages until you are ready to install the ink. Cartridges are
vacuum packed to maintain reliability.
If you remove a cartridge that is low (for which you have received an “Ink low”
message), you cannot reuse it.
1. Press the P
On
button to turn on the CX7000F
Series, or press the y
Cancel/Back
button until
you see a screen like this:
2. Press the
Setup
button. You see this display:
3. Press the u or d button, or press the
5
key on the
numeric keypad, to display this option:
4. Press the x
Start Color/OK
button.
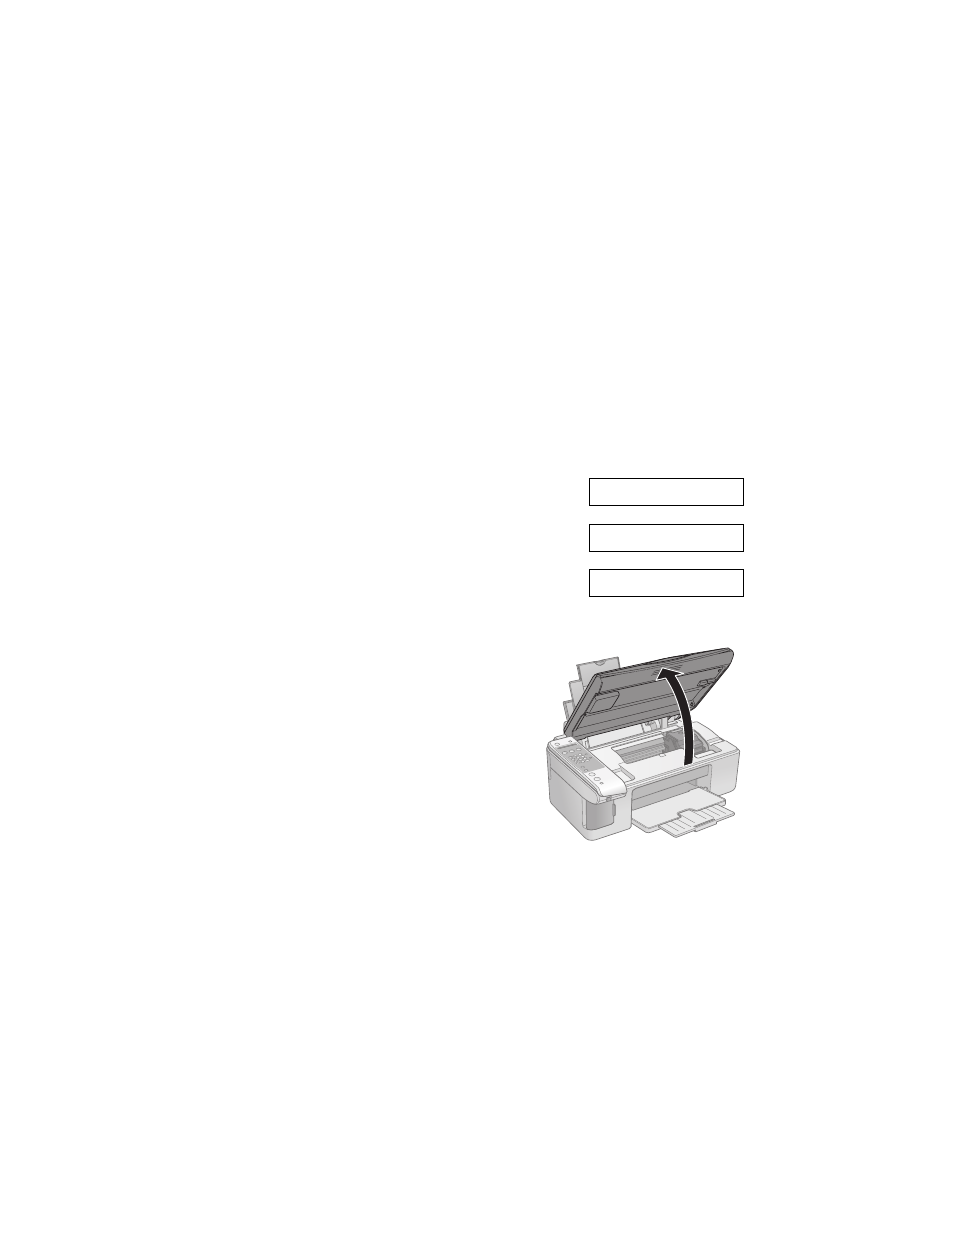
5. Make sure that the document cover is
closed, then open the scanner.
Caution:
Do not open the scanner when the document
cover is open.
Do not move the print head by hand; this may
damage the CX7000F Series. Always select
5.Replace Cartridge from the display to move
it.
Never attempt to open the cartridge cover
when the print head is moving. Wait until the
cartridges have moved to the replacement
position.
12:00 PM Y
1.Load/Eject
5.Replace Cartri