Setting up your fax features, Creating header information – Epson CX7000F User Manual
Page 30
30
Faxing a Photo or Document
You also need to set up your CX7000F Series to receive faxes manually. See
page 39 for details.
Setting Up Your Fax Features
Before sending or receiving faxes, you may want to create a fax header, select your
fax preferences, and set up a speed dial list of frequently used fax numbers.
Creating Header Information
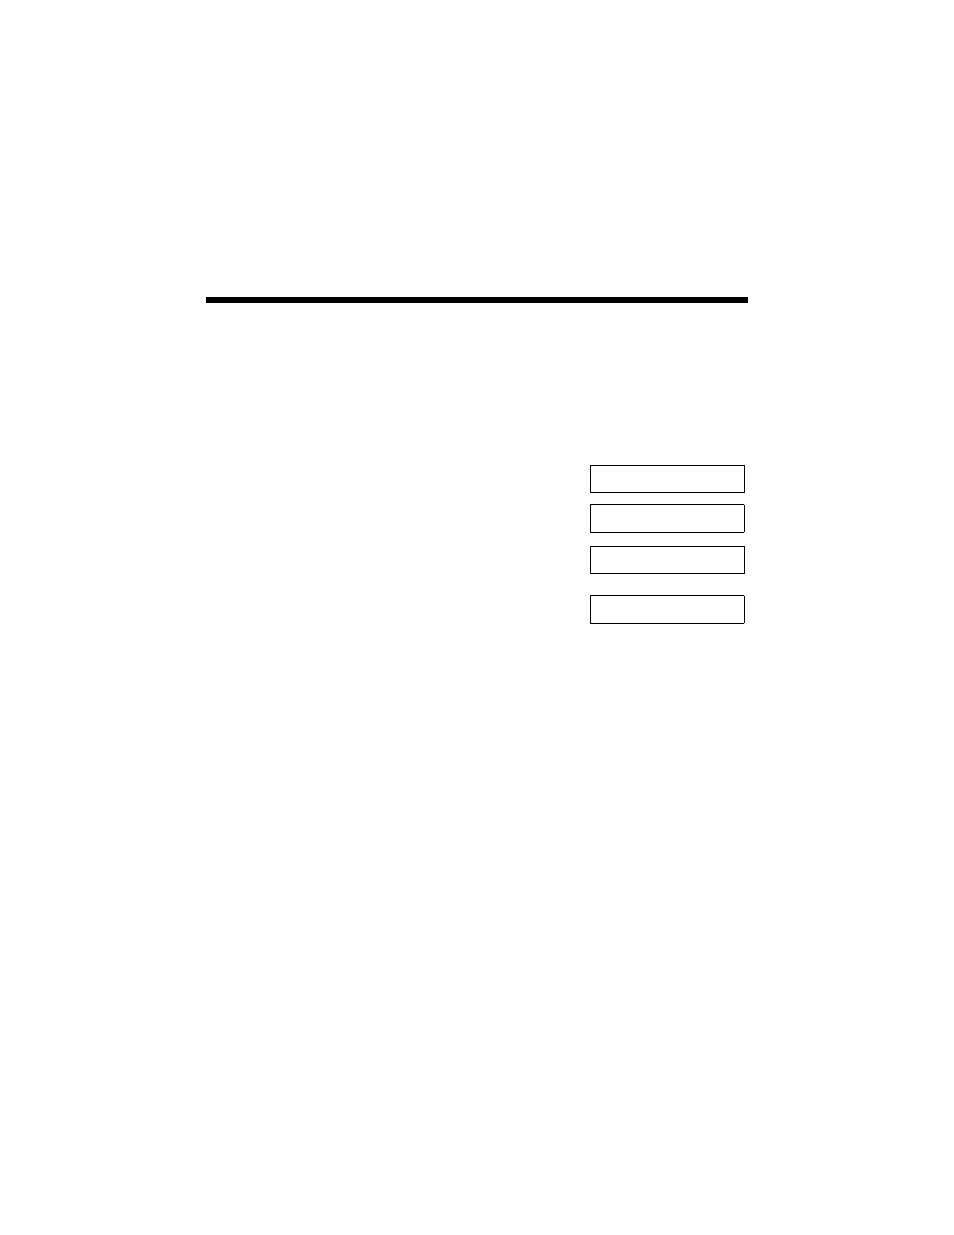
1. Press the
Fax
button once to enter Fax mode. The
Fax
button lights up and you see this display:
2. Press the
Setup
button. You see this display:
3. Press the u or d button, or press the
6
key on the
numeric keypad, to display this option:
4. Press the x
Start Color/OK
button. You see this
display:
5. Press the x
Start Color/OK
button again. The display goes blank except for
the cursor (_).
6. Press the keys on the numeric keypad to enter up to 28 digits of header
information. Use the number keys to enter the letters A to Z (in uppercase or
lowercase), the numbers 0 to 9, and various symbols.
Press a key repeatedly to display first the numbers and symbols (if available),
then the uppercase and lowercase letters, as indicated on the key. Then wait a
moment or press the
r
button to move to the next character space. When
you’re finished, press the
r
button to move to a blank space.
Note:
If you need to change a character to the left, press the l key to delete the character
and re-enter it. Press the r key if you need to move the cursor to the right.
7. Press the x
Start Color/OK
button. You return to the
1.Fax Header Setup
display.
Enter Fax Number
1.Select Speed D
6.Header & Time
1.Fax Header Set