Setting up your speed dial list – Epson CX7000F User Manual
Page 34
34
Faxing a Photo or Document
10. To change the Dial Mode setting, press x
Start Color/OK
and go to step 11.
To change another Communication setting, press the u or d button, or press
the
2
,
3
,
4
, or
5
key on the numeric keypad, to display one of these options:
■
2.DRD
■
3.ECM
■
4.V.34
■
5.Rings to Answer
Then press the x
Start Color/OK
button.
11. Press the u or d button until the setting option you want is displayed, then
press the x
Start Color/OK
button to select it.
12. Repeat steps 10 and 11 to change any other settings. When you’re finished,
press the y
Cancel/Back
button to return to the screen displaying the date.
Setting Up Your Speed Dial List
You can create a speed dial list of up to 60 fax numbers so you can quickly select
them for faxing. You can also add names to identify the recipients and print the
speed dial list.
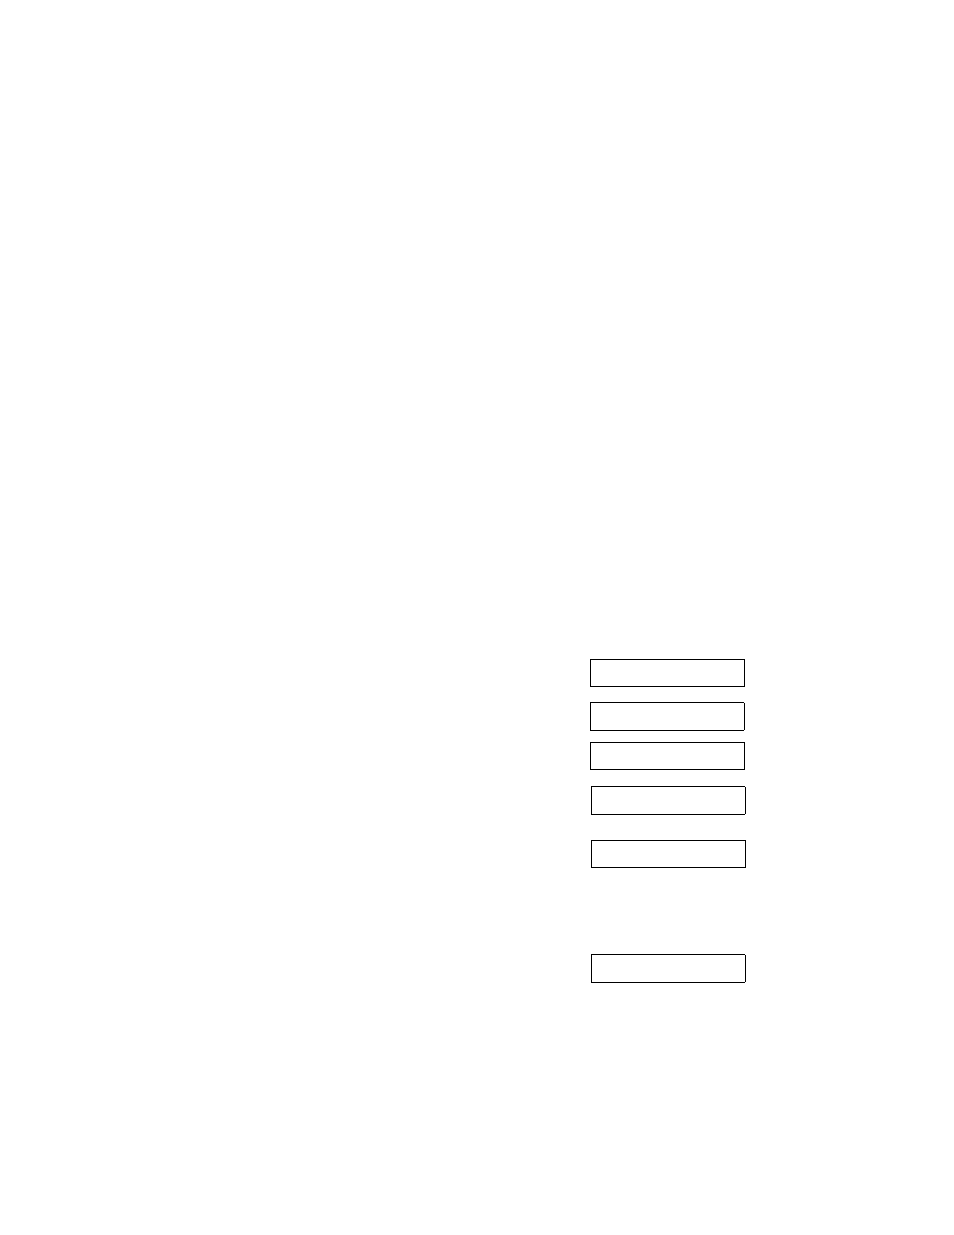
1. Press the
Fax
button once to enter Fax mode. The
Fax
button lights up and you see this display:
2. Press the
Setup
button. You see this display:
3. Press the u or d button, or press the
3
key on the
numeric keypad, to display this option:
4. Press the x
Start Color/OK
button. You see this
display:
5. Press the x
Start Color/OK
button again. You see
this display:
6. Press the x
Start Color/OK
button again. The
screen displays
Telephone Number.
Press the
x
Start Color/OK
button.
Enter Fax Number
1.Select Speed D
3.Speed Dial Set
1.Add Entry
[01]
1234567890