Checking the ink status – Epson CX7000F User Manual
Page 46
46
Maintaining Your CX7000F Series
6. If there are still gaps or lines, or the test patterns are faint, run another
cleaning cycle and check the nozzles again.
Note:
If you don’t see any improvement after cleaning the print head four times, turn off
the CX7000F Series and wait at least six hours. This lets any dried ink soften. Then
try cleaning the print head again. If quality still does not improve, one of the ink
cartridges may be old or damaged and needs to be replaced (see page 47).
Tip:
If you do not use your CX7000F Series often, it is a good idea to print a few pages at
least once a month to maintain good print quality.
Checking the Ink Status
You can check the status of ink in your cartridges using the control panel.
1. Press the P
On
button to turn on the CX7000F
Series, or press the y
Cancel/Back
button until
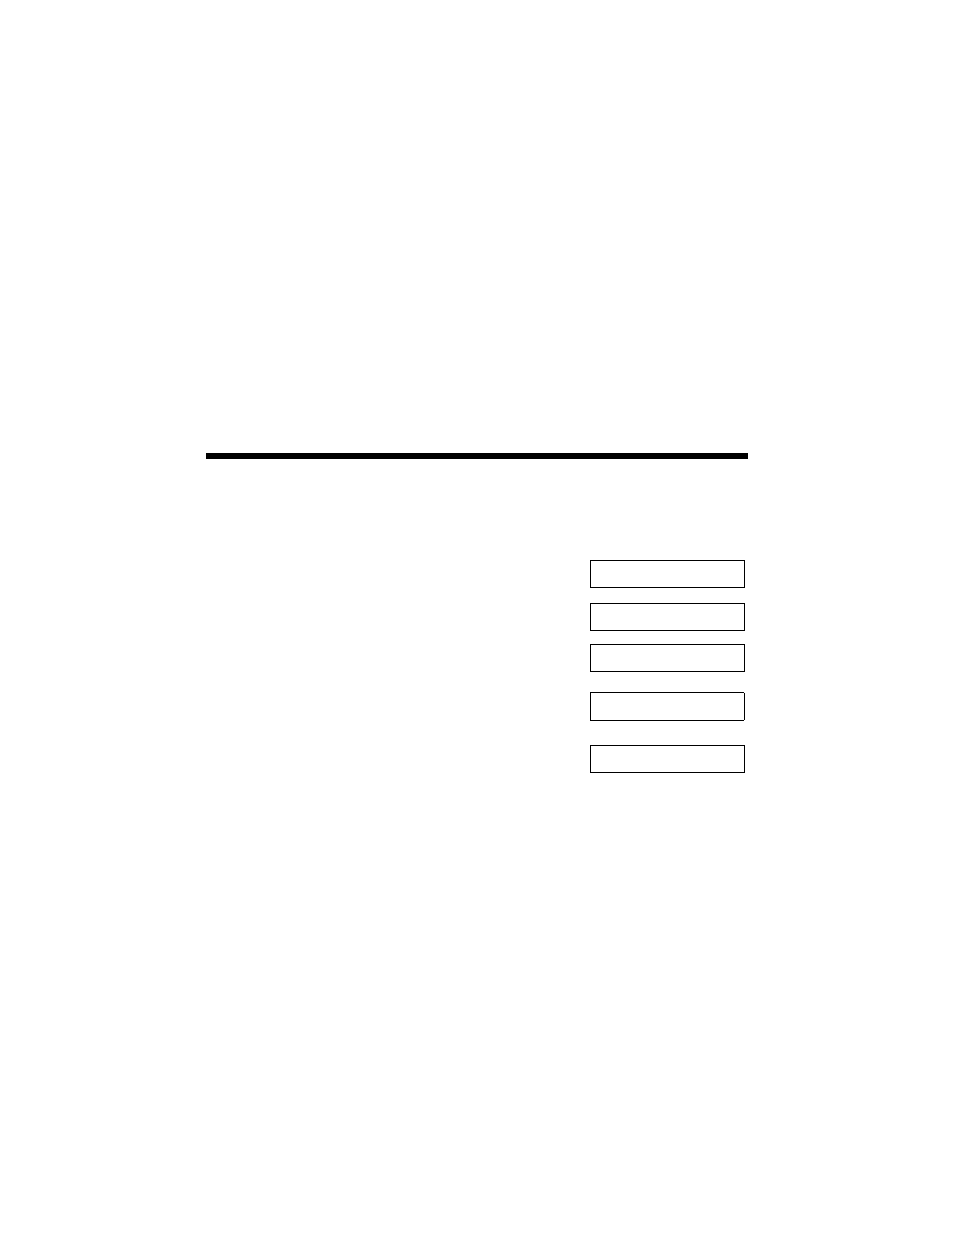
you see a screen like this:
2. Press the
Setup
button. You see this display:
3. Press the u or d button, or press the
2
key on the
numeric keypad, to display this option:
4. Press the x
Start Color/OK
button. You see a
display like this:
If one or more cartridges are low on ink, you see a
display like this:
5. Press the x
Start Color/OK
or y
Cancel/Back
button to return to the screen displaying the date.
If you need to replace an ink cartridge, see page 47.
Note:
You can also check the ink status using software when the CX7000F Series is
connected to your computer. See the User’s Guide for instructions.
12:00 PM Y
1.Load/Eject
2.Ink Levels
C:50% M:50% Y:50
C:Ink low M:50%