Creating a new rslogix 5000 project – ProSoft Technology MVI56E-DNPNET User Manual
Page 13
MVI56E-DNPNET ♦ ControlLogix Platform
Contents
DNPNET Ethernet Client/Server Communication Module
User Manual
ProSoft Technology, Inc.
Page 13 of 140
February 13, 2015
2
With a firm, steady push, snap the module into place.
3
Check that the holding clips on the top and bottom of the module are securely in the
locking holes of the rack.
4
Make a note of the slot location. You must identify the slot in which the module is
installed in order for the sample program to work correctly. Slot numbers are identified
on the green circuit board (backplane) of the ControlLogix rack.
5
Turn power ON.
Note:
If you insert the module improperly, the system may stop working or may behave unpredictably.
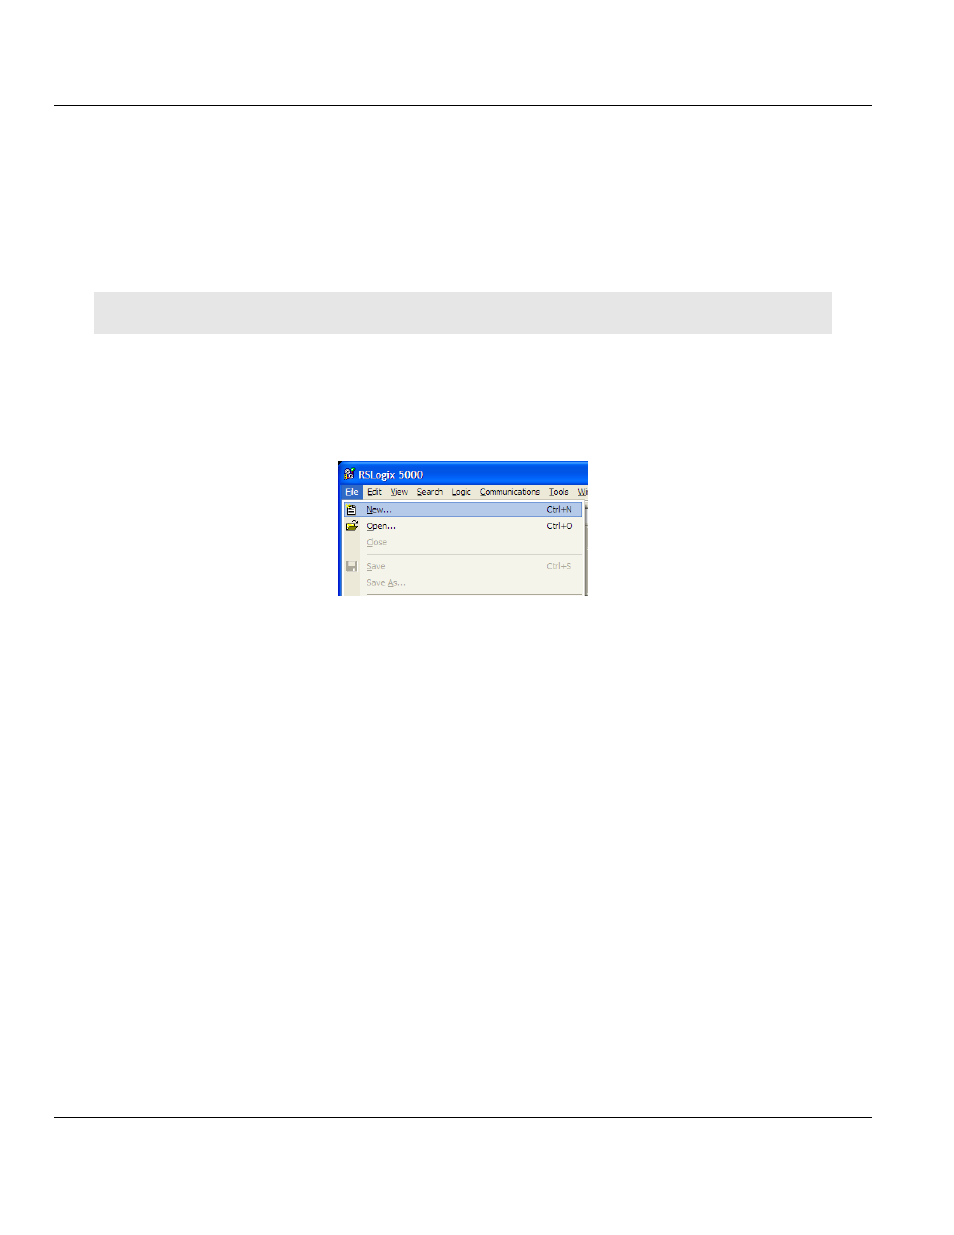
1.6
Creating a New RSLogix 5000 Project
1
Open the F
ILE
menu, and then choose N
EW
.
2
Select your ControlLogix controller model.
3
Select R
EVISION
20
. You can select an earlier revision number if necessary, but there
may be some small differences in the appearance of dialog boxes from the ones shown
in this Guide.
4
Enter a name for your controller, such as My_Controller.
5
Select your ControlLogix chassis type.