PLANET NAS-7450 User Manual
Page 75

74
On the NAS server which acts as the SmartSync client, set up a SmartSync task, which
defines the schedule settings and the source folder.
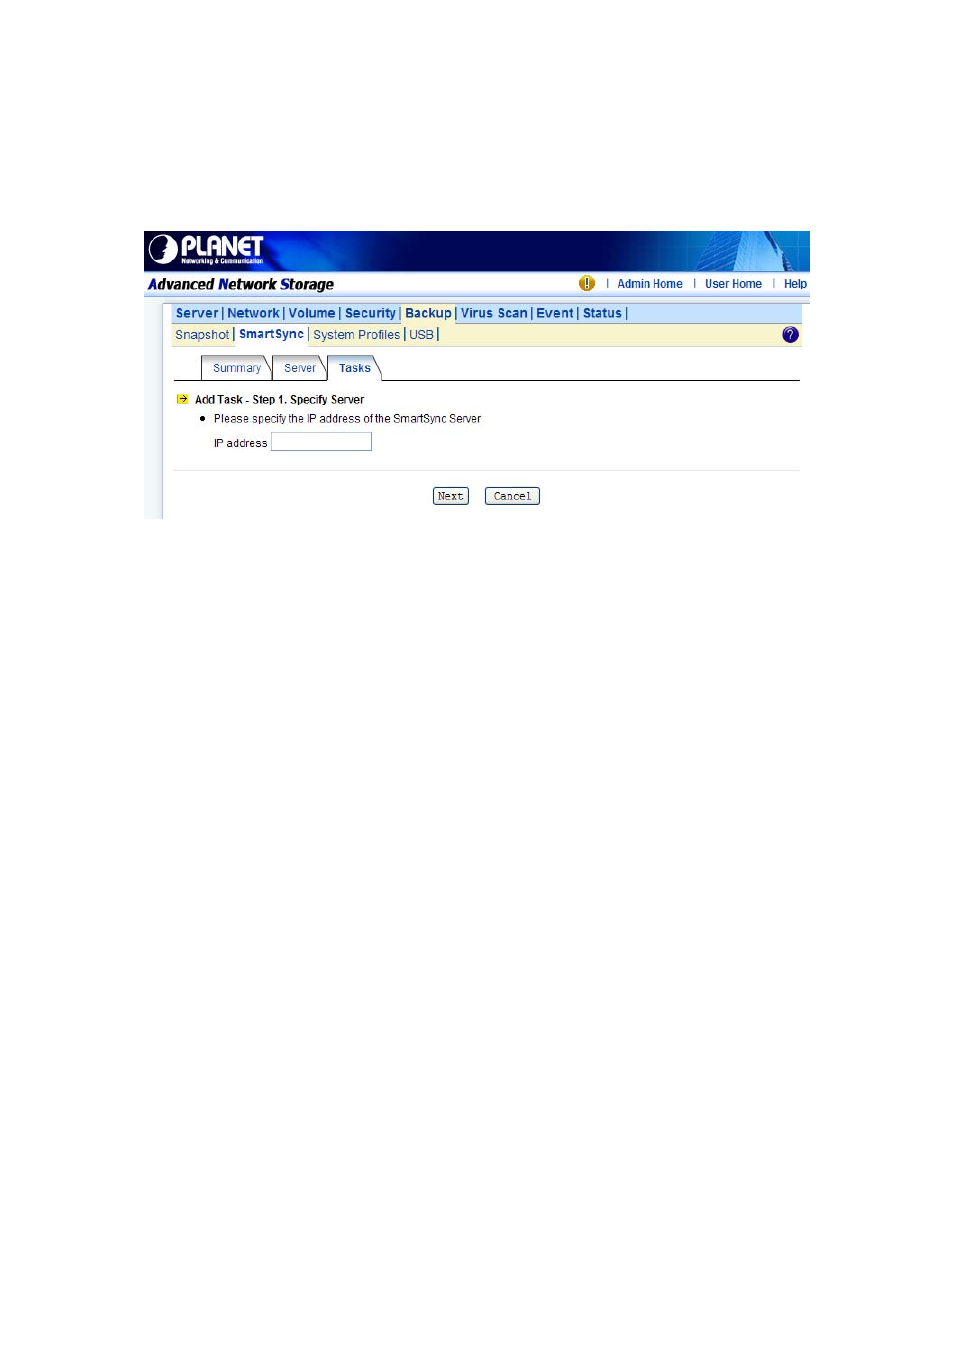
To set up a SmartSync task, please go to the “Backup → SmartSync” →”Task” menu on the
“Administration” Page. Click the “Add Task” button.
There are four steps to take when adding a SmartSync task.
Step 1 is to specify the IP address of the SmartSync server. Please enter the IP address of the
NAS server where you create the sync point.
Step 2 is to choose a sync point of “Mirror” mode in the SmartSync server. Please also provide
a user account with the privilege to replicate data to the sync point.
Step 3 is to complete the task settings. On the page you should provide the task name, select
the source folder to replicate, specify the schedule and configure the SmartSync options.
Step 4 is for confirmation, showing the brief information of the task settings.
Making Disk-to-disk Backups
Two or more NAS server are required, one as the SmartSync server, the rest as the
SmartSync clients. It will backup data from the SmartSync clients to the SmartSync server.
On the NAS server which acts as the SmartSync server, create a sync point of “Backup” mode,
which receives data from SmartSync clients and creates data backups in it.
To create a sync point, please go to the “Backup→ SmartSync →Server” menu on the
“Administration Page”. Click the “Add” button to open the page below. On the page you should
provide the sync point name and specify which group is allowed to replicate data to this sync
point. Set the mode to “Backup”.
