6 accessing from nfs clients – PLANET NAS-7450 User Manual
Page 69

68
volume01. These will be the accounts which are allowed to login the NAS using ftp software.
Note that the Inherited List will be cleared if you uncheck the Inherit from parent folder
check-box and click “Apply” button.
Now, run an FTP client to connect to 192.168.170.172. Login as the user you assign in step 3
above. Then you will be able to access volume01.
7.6 Accessing from NFS Clients
The security control of the NAS server for NFS clients follows the traditional UNIX-style
trust-host mechanism and UID/GID checking. Follow the steps below to enable NFS support
and export the volume for NFS clients to mount.
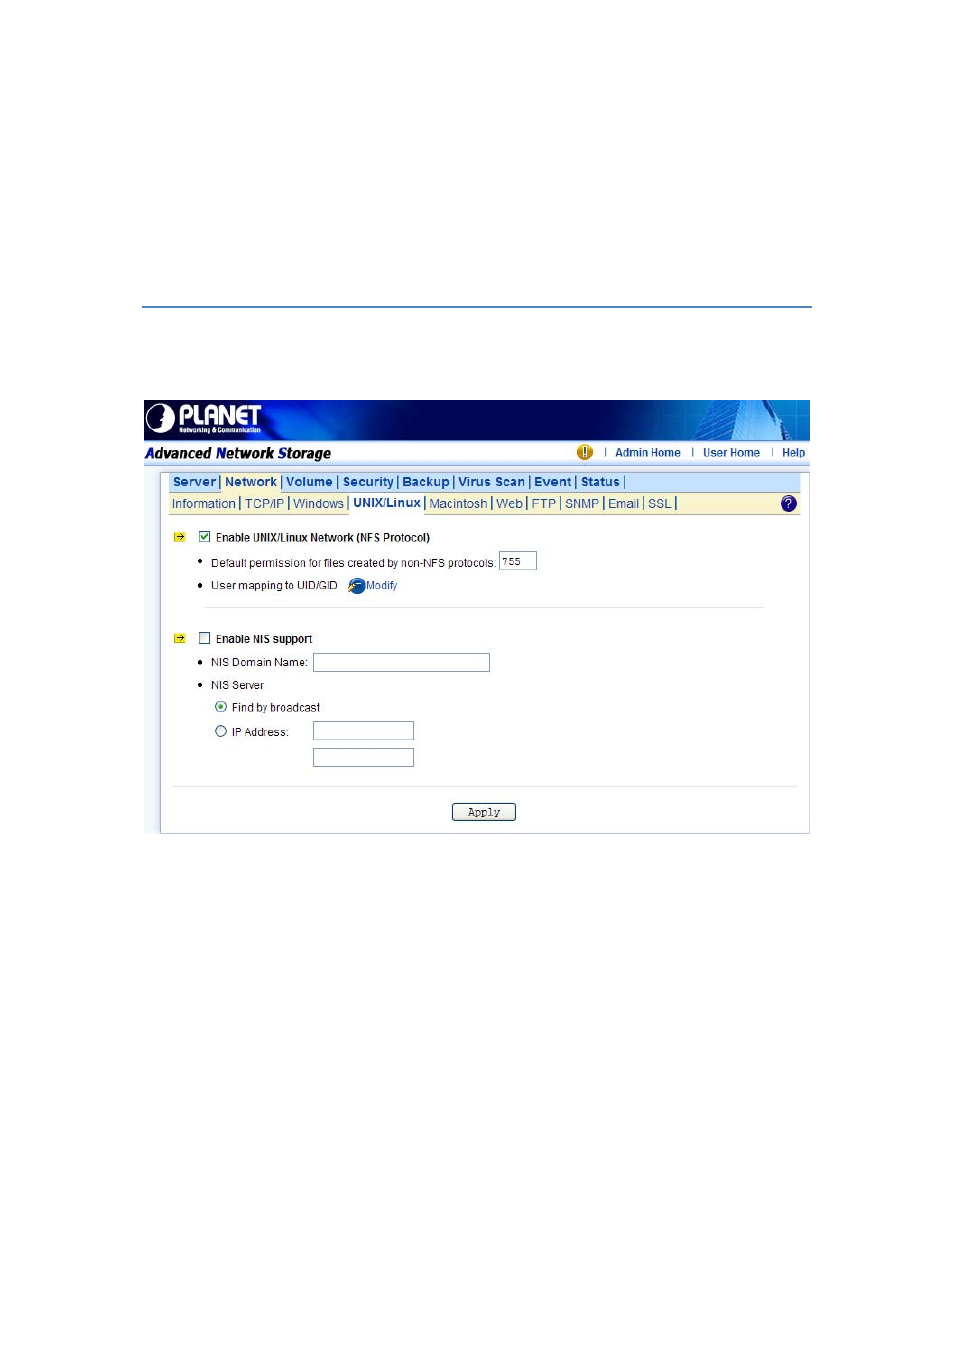
1. Enable the UNIX/Linux Network support (the NFS protocol).
Open the administration page and enter the “Network → UNIX/Linux” menu. Check the
“Enable UNIX/Linux Network” check-box and click “Apply”.
2. Go to the “Security → Account → UNIX/Linux Host” page and add the hosts that might be
trusted to access the NAS server.
3. Export the volume to NFS clients.
Go to the “Security → File/Folder” menu. Find the “volume01” entry and click “Create” in the
“Sharing” column (or Modify if the volume has been shared). On the “Property” page, check
the “UNIX/Linux Network” (NFS) check-box and click “Apply”.
4. Enter the “UNIX/Linux Setting” tab. Add NFS clients to the privileged host list. And assign
UID, GID and permission octets to the exported volume.
After the volume is exported, use one of the NFS clients in the privileged host list to mount the
volume. Please login as the root and use the following command to mount “volume01” under
the /mnt directory. mount 192.168.0.100:/volume01 /mnt
