PLANET NAS-7100 User Manual
Page 63

3. Configure this screen as follows:
IPP Server
Enter the Internet IP address used to connect to the NAS, as follows.
http://ip_address:631/printers/printer_name
Where:
• ip_address represents the IP Address used to access the NAS.
(As explained earlier, this may be the Internet address of a
Gateway, rather than the NAS itself.)
• printer_name is the name of the printer, as set on the NAS
System screen.
• The other text is fixed, and can NOT be changed. It must be
entered exactly as shown.
Example:
http://203.70.212.52:631/printers/LKLKG974163_p1
Proxy Server
If Internet access from your PC is via a Proxy Server, check Access
IPP Server via Proxy Server, and enter details of your Proxy Server.
(These will be the same as your Browser configuration, so check
your Browser settings.)
4. Click
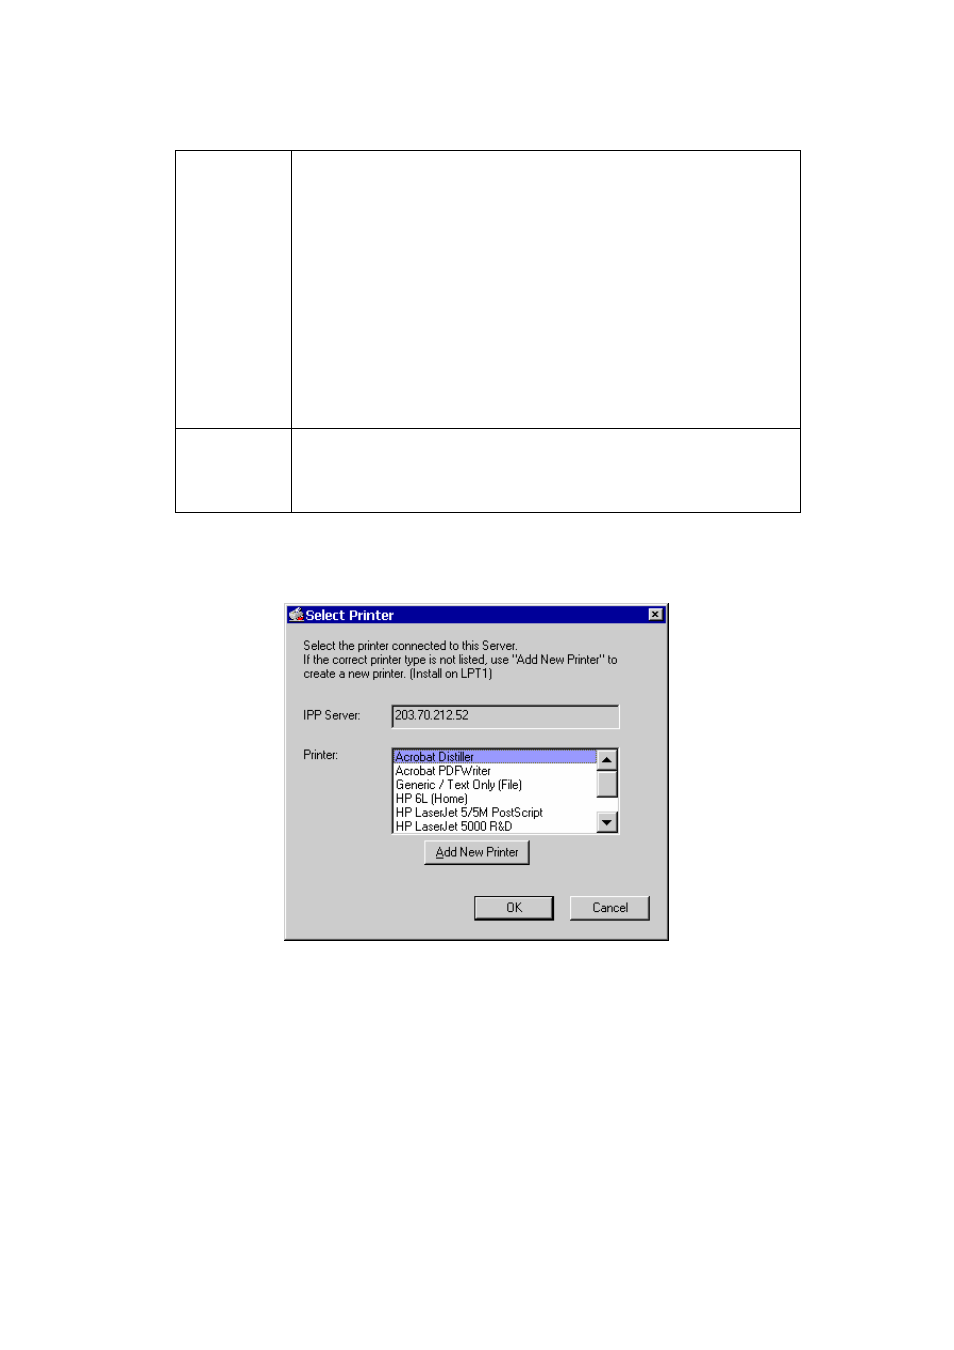
Save to create the IPP port on your system. You will see the following dialog:
Select Printer for IPP Port
5. Either selects an existing printer to use the new port, and click OK.
OR
a) Click the "Add New Printer" button to start the Add Printer wizard.
b) Complete the Wizard, installing the desired printer as a local printer on your PC.
c) When returned to this screen, select the new printer and click OK.
6. The selected printer is now associated with the remote NAS, and installation is complete.
Page 63
