Epson PhotoPlus User Manual
Page 97
Pro Scanning: More Things You Can Do
9-5
A
B
9
3
Choose the secondary image from the drop-down
list, if necessary. The image appears in the second
image window.
4
Choose the position of the secondary image in
relation to the primary image: Right, Left, Top, or
Bottom. The image windows may change positions
to reflect the location you choose.
5
Use the slider to set the amount of blending you
want between the two images. Setting the Blend to
100 gives you the smoothest transition between the
two images.
6
To indicate where you want the two images to
overlap, click in the image windows to move the
stitch marks.
It’s best to locate the marks in areas that have
similar colors and brightness. Use the Zoom buttons
to magnify the images if necessary.
7
Click Adjust to refine the stitch mark positions
automatically.
8
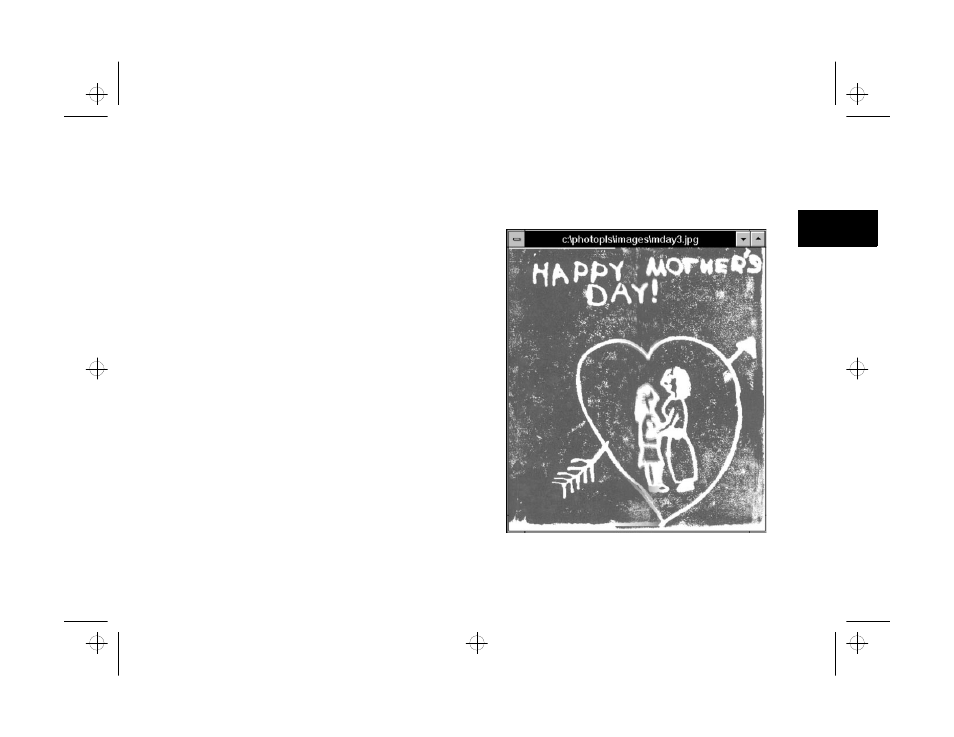
Click OK to stitch the two images together.
Here’s an example of the resulting combined image:
php_9.fm5 Page 5 Monday, July 8, 1996 3:35 PM