Epson PhotoPlus User Manual
Page 95
Pro Scanning: More Things You Can Do
9-3
A
B
9
2
Place the picture or image you want to scan on a
flat surface.
3
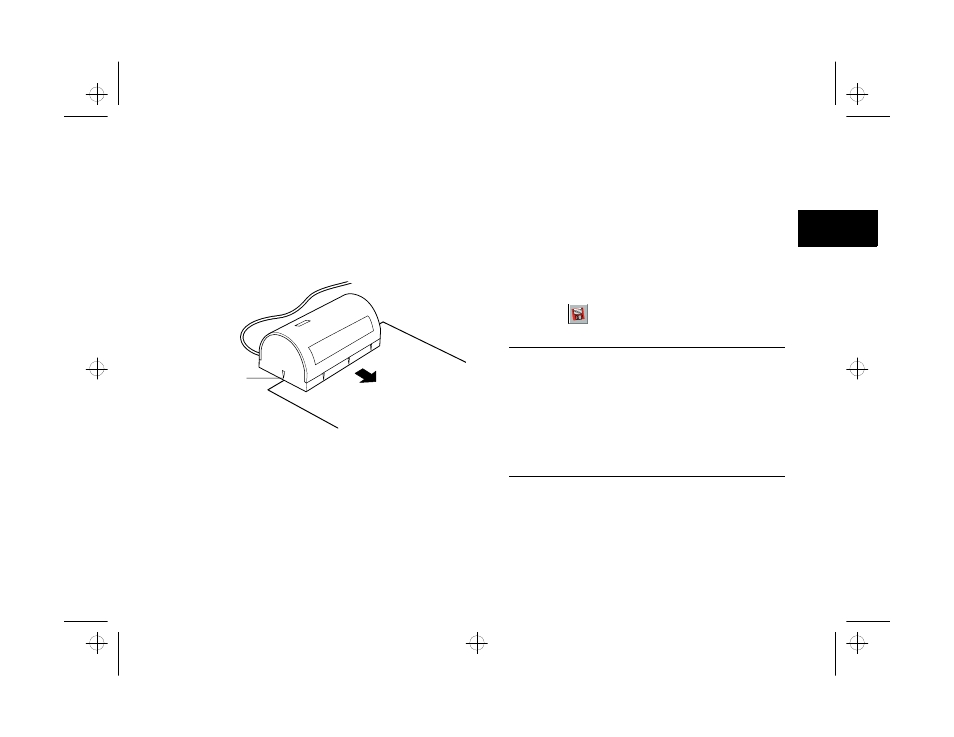
Place the scanning head on the picture, aligning the
front-left scanning guide with the left edge of the
image, as shown below:
4
Click Start or press the button on the scanner.
5
Move the scanner very slowly down the picture,
making sure you keep it straight. Holding a ruler
next to the scanner helps keep it straight. Your
image gradually appears in the scan window.
If the scanner beeps, you need to slow down.
Scanning stops when you reach the set height or
length. If you want to stop before this point, press
Esc. Press the pink button on the scanner to pause.
Then press it again to continue scanning.
6
Click Transfer to complete the scanning process. The
PhotoPlus screen displays your image.
7
Click Save
and type a name for the new image.
NOTE
If the original image is too wide, repeat steps 3 through 7 to
scan the section(s) that didn’t fit in the first scanning pass.
Make sure each scanning pass slightly overlaps the previous
pass. Then follow the instructions below to stitch the
scanning passes together. For the best results, use a straight
edge when scanning and move the scanner slowly.
scanning guide
php_9.fm5 Page 3 Monday, July 8, 1996 3:34 PM