Epson PhotoPlus User Manual
Page 61
5-10
Projects: Fun Things You Can Do
3
Click the down arrows and select the month and
year you want.
4
Click Font. The Select Font dialog box appears, as
shown on page 5-7.
Choose your font, style, size, color, and any effects
you want. The larger the font, the more space the
dates occupy on the page. The Sample box shows
you how your printed dates will look.
Remember that the dates are printed over the
background you select (or over your picture, if you
want). If the background is dark, you should choose
a light color for the dates.
5
Click OK when you’re finished.
6
Click OK again on the Edit Calendar box. The dates
appear on the page with your image.
7
Drag the date box to position it the way you want.
Adding Text and Printing the Calendar
Adding Text and Printing the Calendar
When you finish designing the picture and dates, you
can add a title or caption, and then print your calendar
page. Follow these steps:
1
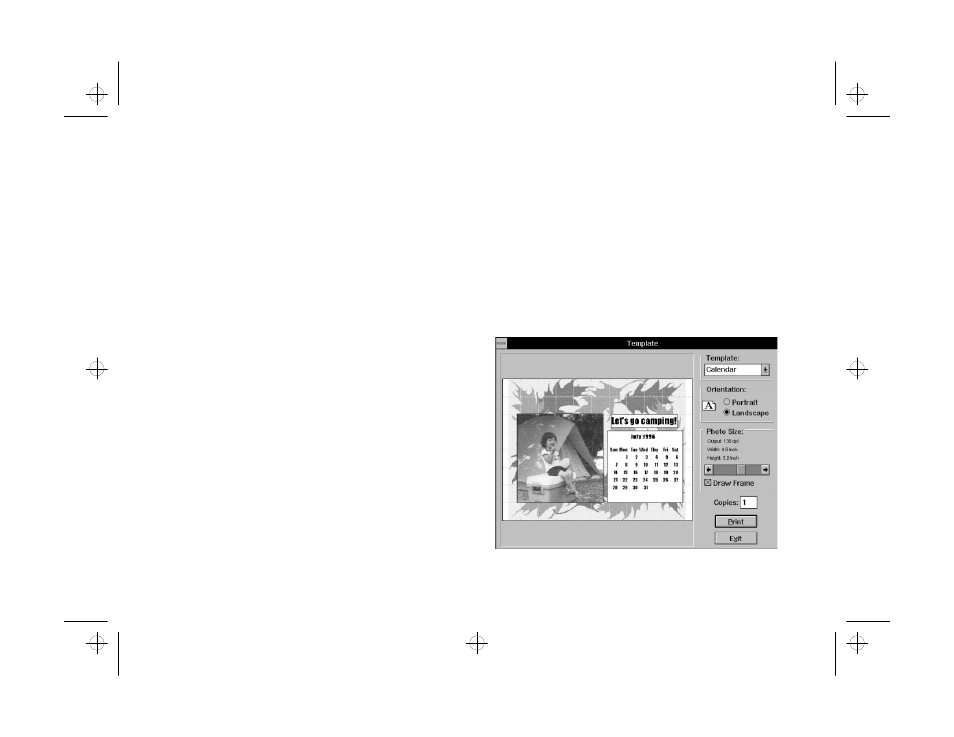
Follow the steps under “Adding Text” on page 5-6 to
add a title or caption. (The calendar has only one
text box.) When you’re finished with the text, you’ll
see something like the following on your screen:
php_5.fm5 Page 10 Monday, July 8, 1996 3:25 PM