Measurement Computing CIO-DAS160x/1x User Manual
Page 6
3.2
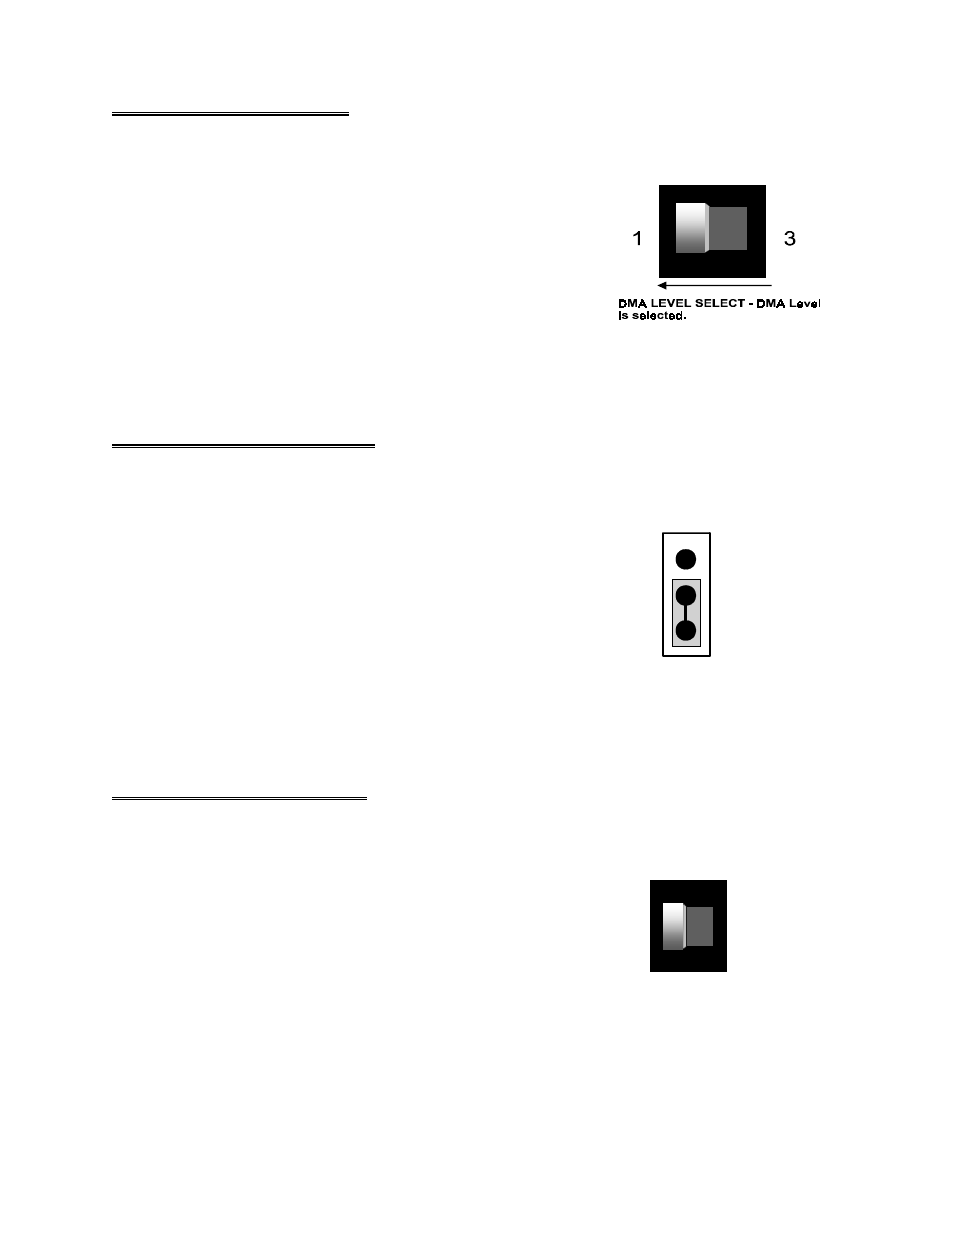
DMA LEVEL SELECT
If you are installing the board in an old XT bus computer, DMA level 3 is
probably used by the hard disk controller. Set the DMA level switch
to level 1 position (Figure 3-2).
If you have a 386 or higher computer, the hard disk controller does
not use either DMA level 1 or 3 so either level can be selected. The
default level is level 1.
Figure 3-2. DMA Level Select Switch
There are other boards that use DMA levels. Some network boards do and so do some IEEE-488
interface boards. Check to see if you have other boards in your computer that use DMA channels 1 or 3.
3.3
1/10 MHz XTAL JUMPER
The 1/10 MHz XTAL jumper selects the frequency of the square wave
used as a clock by the A/D pacer circuitry. This pacer circuitry controls
the sample timing of the A/D. The output driving the A/D converter is
also available at the CTR 2 output pin on the main connector.
To maintain full compatibility with the original DAS-16, the
CIO-DAS1600 required a 1 MHz crystal oscillator. When the DAS-16
was redesigned, a faster 10MHz crystal was added. A jumper is
provided to maintain compatibility with older software. The
CIO-DAS1600 has the jumper because the DAS-16 has the jumper and
some existing software requires the jumper to be in the 1 MHz position
while other software requires a 10 MHz oscillator. The CIO-DAS1600
is shipped with the jumper in the 1 MHz position (Figure 3-3).
Figure 3-3. 1 or 10 MHz Select Jumper
3.4
8/16 CHANNEL SELECT
The analog inputs of the CIO-DAS1600 can be configured as eight differential or 16 single-ended. Use
the single-ended input mode if you have more than eight analog
inputs to sample. Using the differential input mode allows up to
10 volts of common mode (ground loop) rejection and will
provide better noise immunity.
The CIO-DAS1600 comes from the factory configured for 16
single-ended inputs and the 8/16 switch is in the position shown in
Figure 3-4. Set it for the type and number of inputs you desire.
This switch is located under the metal shield. If you need access
to this switch, this shield may be removed by removing the two
screws on the back of the CIO-DAS1600.
Figure 3-4. 8/16 Channel Select Switch
2
1
10
D efault 1M H z S how n
C L K S E L
16/8 CHANNEL SELECT SWITCH
16-
Channel
Single-Ended
I
nput
M
ode
S
hown
16
8