Guralp Systems CMG-DM24 User Manual
Page 15
Operator’s Guide DM-24 Digitiser
Issue G January 2003
13
9. Select ‘Autodetect’
SCREAM will detect, then display the baud rate that the digitisers output is
currently set at.
10. Click on the ‘OK’ button to return to the main Available Streams window.
11. In the Available Streams window the identifier of the digitiser will appear in the
left hand frame (which appears similar to the tree type format of Windows
Explorer) under:-
Network >
Local >
Com1’ (if Com1 is used)
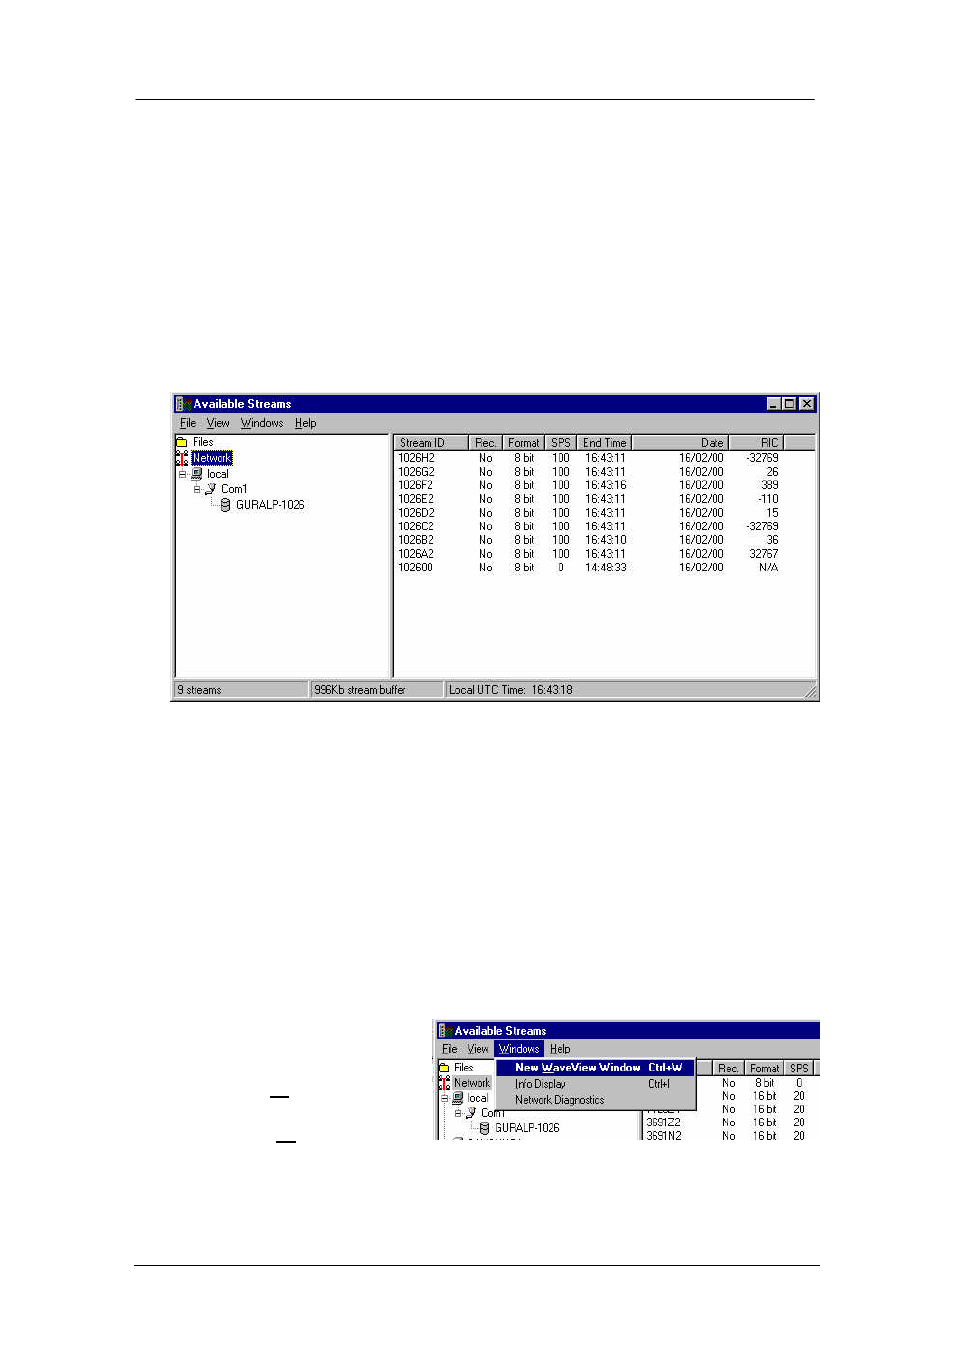
12. The data streams will appear in the right-hand frame.
13. The Stream ID’s are six character strings uniquely identifying each instrument,
component and sample rate. (There may be up-to four different sample rates per
channel)
The stream ending in ‘00’ contains status information from the digitiser.
Depending upon the selected sample rate, then the streams with the higher sample
rates will appear in the display sooner than the slower sample rates.
14. If a digitiser module is running then the format will most likely be 16 or 32 bit
format as indicated in the Available Streams window, due to the seismic data.
15. If a Stand-Alone digitiser is running, then an analogue seismic instrument can now
be connected to a Sensor Input port.
16. From the main ‘Available
Streams’ window,
click on the ‘Windows’ button,
choose ‘New WaveView
Window’ to create a WaveView
window for displaying the data.
17. Select the data streams in the right side of the window and drag them into a
‘Waveview’ window.