Evoko Room Manager System Administrators Guide User Manual
Page 22
Ver 8.0 – 2014-03-31
22
You add groups by using the “Add group” button.
N.B.!
Groups make administration of many rooms easier, but please note that Evoko Room
Managers in different groups will not be able to get booking information of rooms
outside its own group for the Find free room function.
There are two ways of adding rooms in dashboard. There is a “Step by step” option that is
recommended for setting up your first room.
It will guide you through the process step by step.
N.B.!
Once the Room addition process in Step by Step is completed, you can always edit
the same in Dashboard view.
When you are comfortable with the process you might like to use the “Quickly” way.
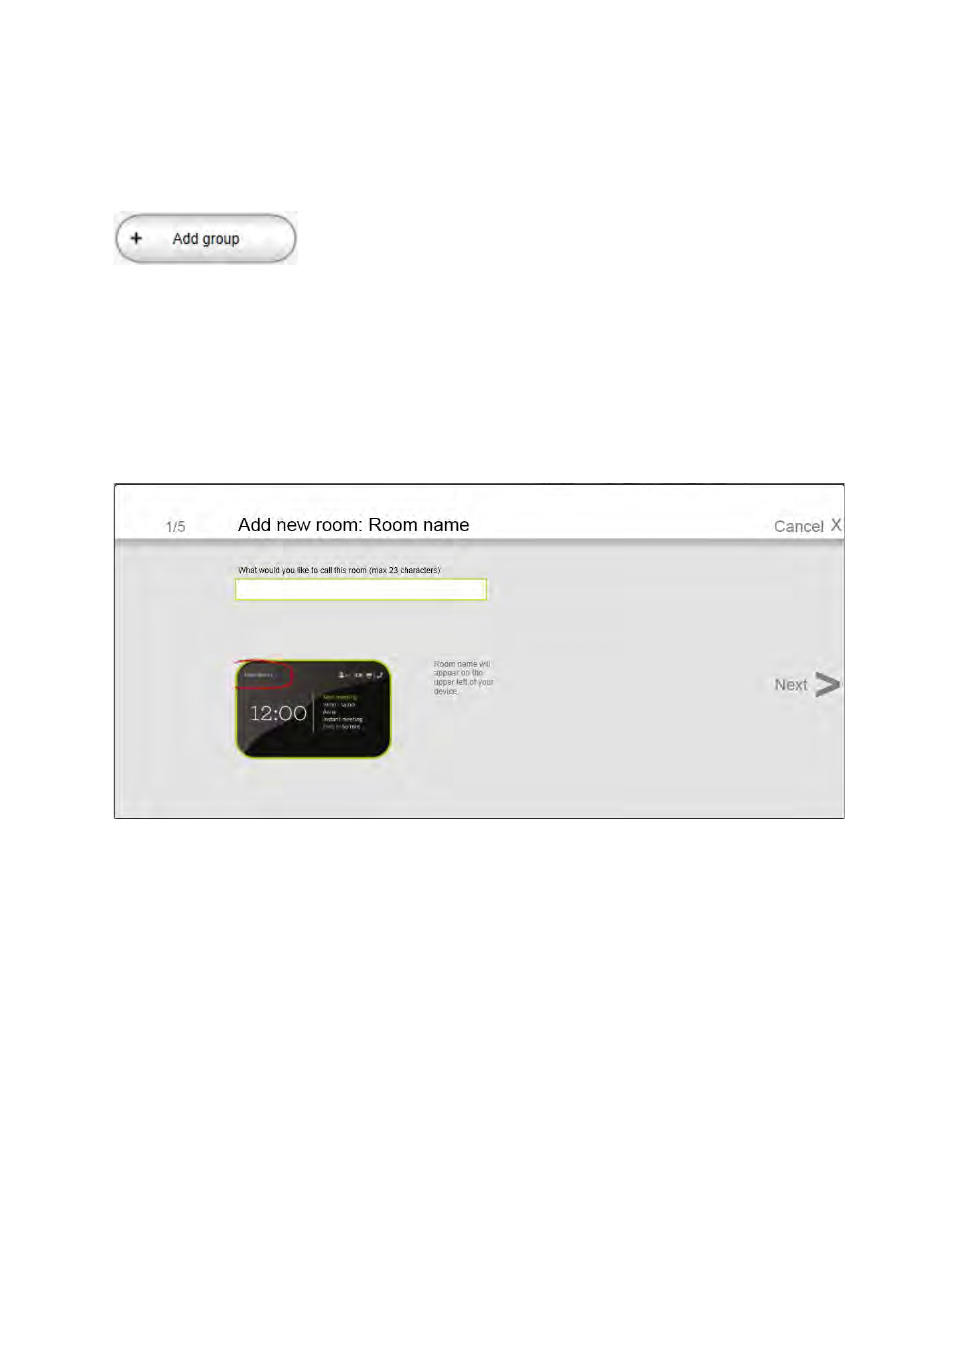
Room name: Enter the name that you want the Evoko Room Manager to display on the
start screen. This name can be “Conference Room floor 1” or anything else. The maximum
length of this field is 23 characters. Special characters like <, >, &, ’ or ’ ’ are not allowed.