Display Devices Lifts up up 35 lbs User Manual
Page 16
IP025-001 V3
IBL Lift Series Installation
07/05
Thor/Sales Info/Installation Materials/IBL Lift
16
9.)
Raise the lift up – keep a close eye as the lower frame enters the enclosure/hole.
Center the closure panel left-to-right and front-to-rear. Tighten the CTB Bracket
and Slider hardware when completed.
NOTE:
• Prepare the ceiling closure panel by painting it to match the existing ceiling.
• Carefully raise the lift using the remote control.
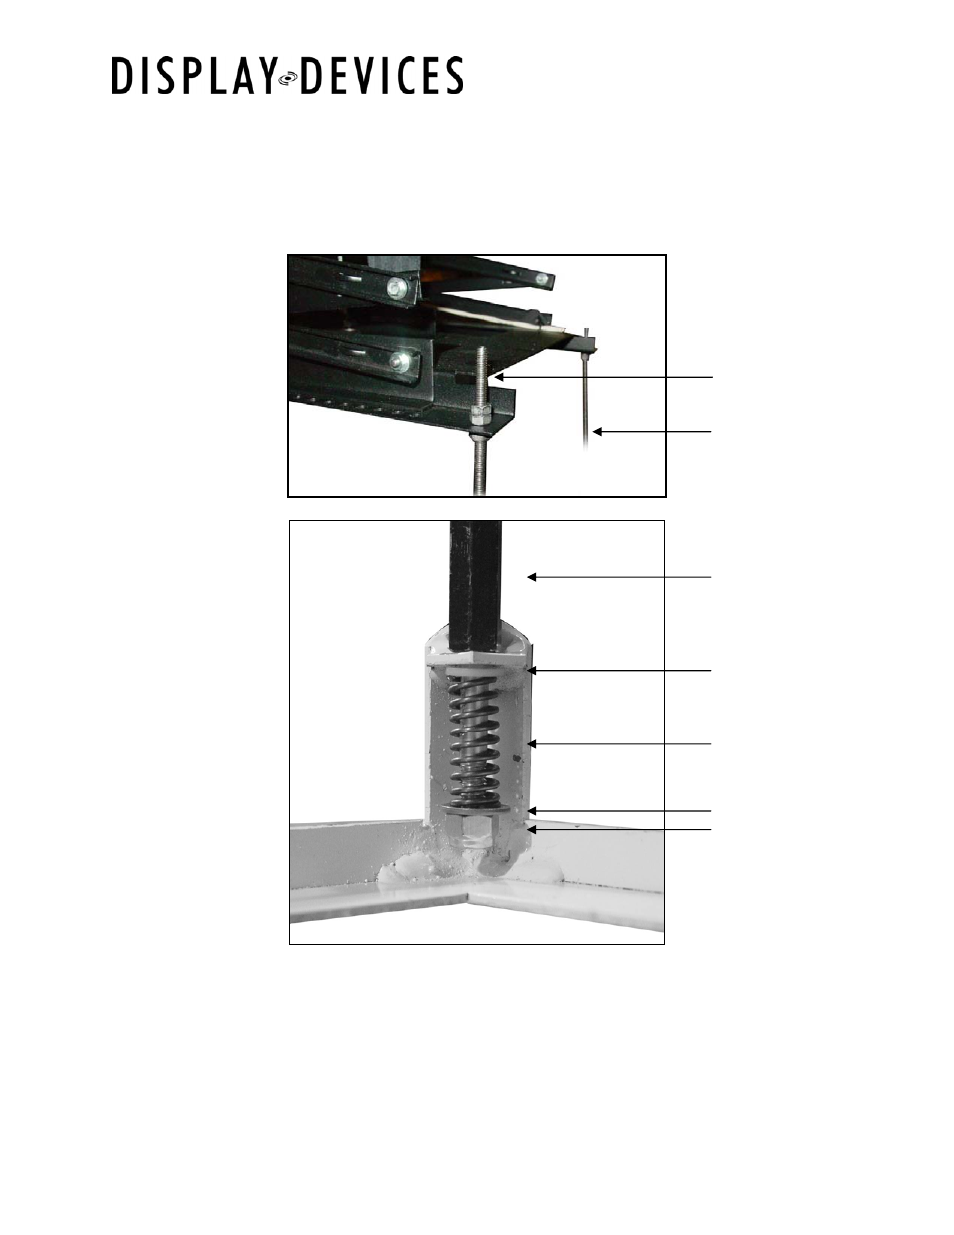
• Finally, adjust the rods so that the ceiling closure panel fits flush with the ceiling.
• When adjusting the Closure Panel, the springs should compress about 1/8” to
1/4”.
¼-20 Rod Nut
Plastic Sleeve
Spring
Flat Washer
¼-20 Nylock Nut
Closure Frame Rod
upper detail
(1522 model)
Closure Frame Rod
lower detail
No longer than 2”
above lift frame
Cut rods to length
for projector