Remote control, Before operation, Remote control before operation – Aiwa CX-NA30 User Manual
Page 6
Attention! The text in this document has been recognized automatically. To view the original document, you can use the "Original mode".
REMOTE CONTROL
BEFORE OPERATION
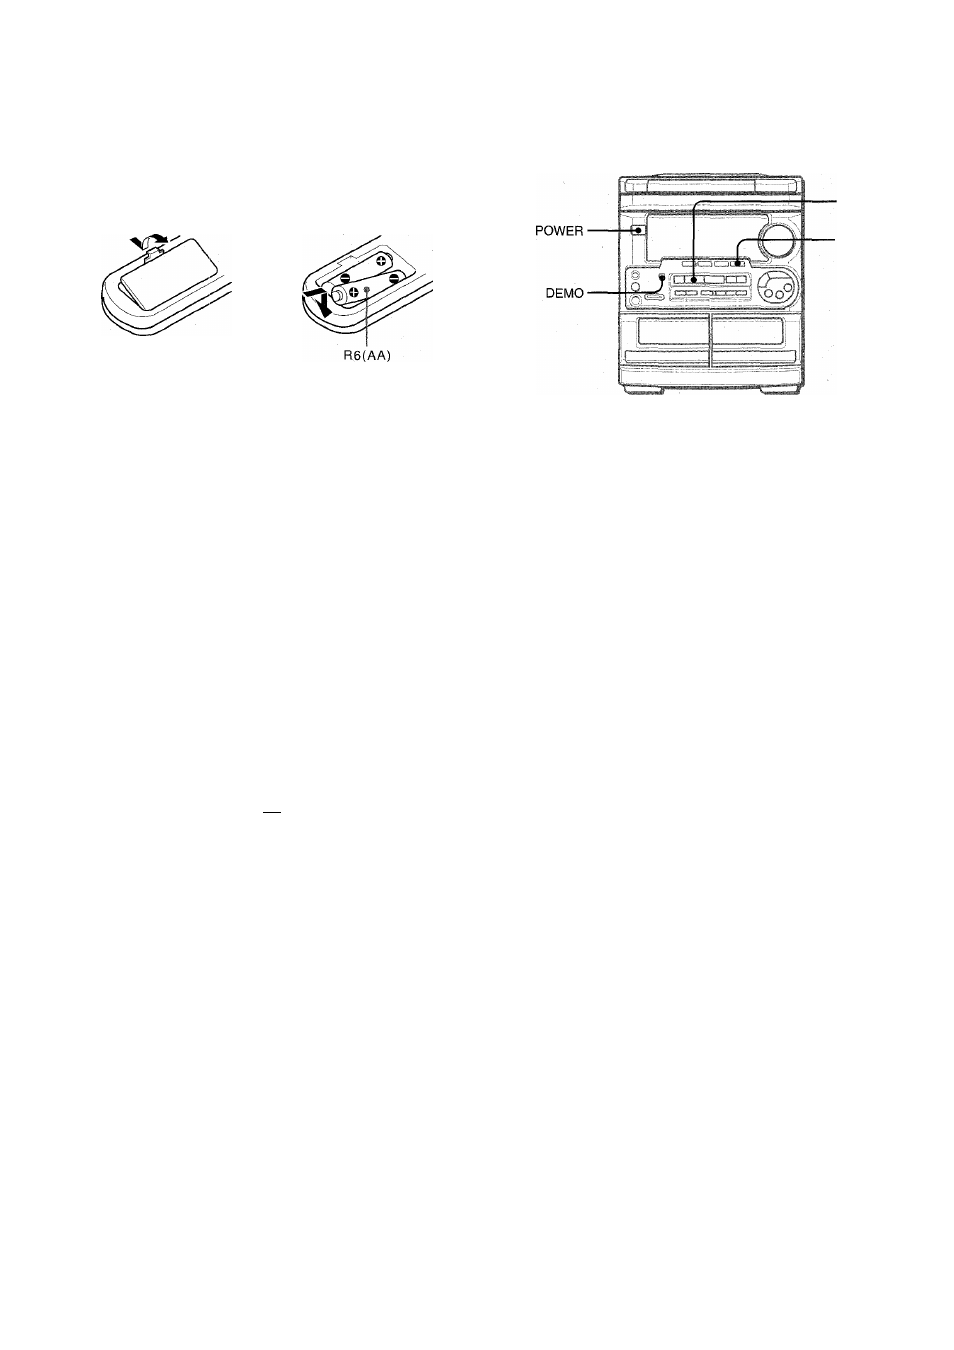
Inserting batteries
Detach the battery cover on the rear of the remote control and
insert two R6 (size AA) batteries.
0
When to replace the batteries
The maximum operational distance between the remote control
and the sensor on the rnain unit should be approximately 5 meters
(16 feet). When this distance decreases, replace the batteries
with new ones.
’
To use the SHIFT button on the remote control
Buttons © have two different functions. One of these functions
is indicated on the button, and the other on the plate above the
button.
To use the function on the button, simply press the button.
To use the function on the plate above the button, press the
button while pressing the SHIFT button.
To use the FUNCTION button on the remote control
The FUNCTION button substitutes for the function buttons (TAPE/
DECK 1/2, TUNER, VIDEO/AUX,CD) on the main unit.
Each time the FUNCTION button is pressed, the next function is
selected cyclically. When tapes are inserted in both decks, both
decks are selected with the FUNCTION button.
SHIFT-
FUNCTION ■
ooo
ooo
ooo
CD
u
■ ◄►/►
PRESET
■CD
To turn the unit on
Press one of the function buttons (TAPE, TUNER, VIDEO/AUX,
CD).
Playback of the inserted disc or tape begins, or the previously
tuned station is received (Direct Play Function).
The POWER button is also available.
When the unit is turned on, the disc compartment may open and
close to reset the unit;
DEMO (Demonstration) mode
When the AC cord is connected, the display window
demonstrates the functions of the unit. When the power is turned
on. the DEMO display is overridden by the operation display.
When the power is turned off, the DEMO mode is restored.
To cancel DEMO mode
Press the DEMO button. The clock display appears. (To set
the current time, see “SETTING THE CLOCK” on page 17.)
To re-activate the DEMO mode, press the DEMO button again.
Flash window
The window on the top of the unit lights up or flashes while the
unit is being powered on.
To turn off the light of the top window, press the
II
button while
pressing the CD button. To turn back on, repeat the above.
To turn the unit off
Press the POWER button.
The ◄►/► PRESET button on the remote control
The function is same as that of the ► PRESET button on the
main unit.
' If the unit is not going to be used for an extended period of
time, remove the batteries to prevent possible electrolyte
leakage.
' The remote control may not operate correctly when:
- The line of sight between the remote control and the remote
sensor inside the display window is exposed to intense light,
such as direct sunlight
- Other remote controls are used nearby (those of a television,
etc.)
ENGLISH