How to adjust stitch length of utility patterns, Stitch length of each stitch pattern, Press to increase stitch length – SINGER XL1000 Quantum User Manual
Page 21: Press (2 to decrease the stitch length, Dddi, Inniqooo, Dto s, 3 e 5
Attention! The text in this document has been recognized automatically. To view the original document, you can use the "Original mode".
How to Adjust Stitch Length of Utility Patterns
Machine’s stitch patterns are automatically set to an optimum length.
By using override touch-screen, pattern length can be adjusted as desired.
How to use stitch length manual
adjustment touch-screen key.
dto
S &-----------
■
T
.
1
■■
1
■'■V
1
1
<:
1
ij
r>
1
1
1
1
1
'■ ■ ■
!
» w M
/^1
0D|
XDC
e-
A B C
DECORATIVE PATTERNS:
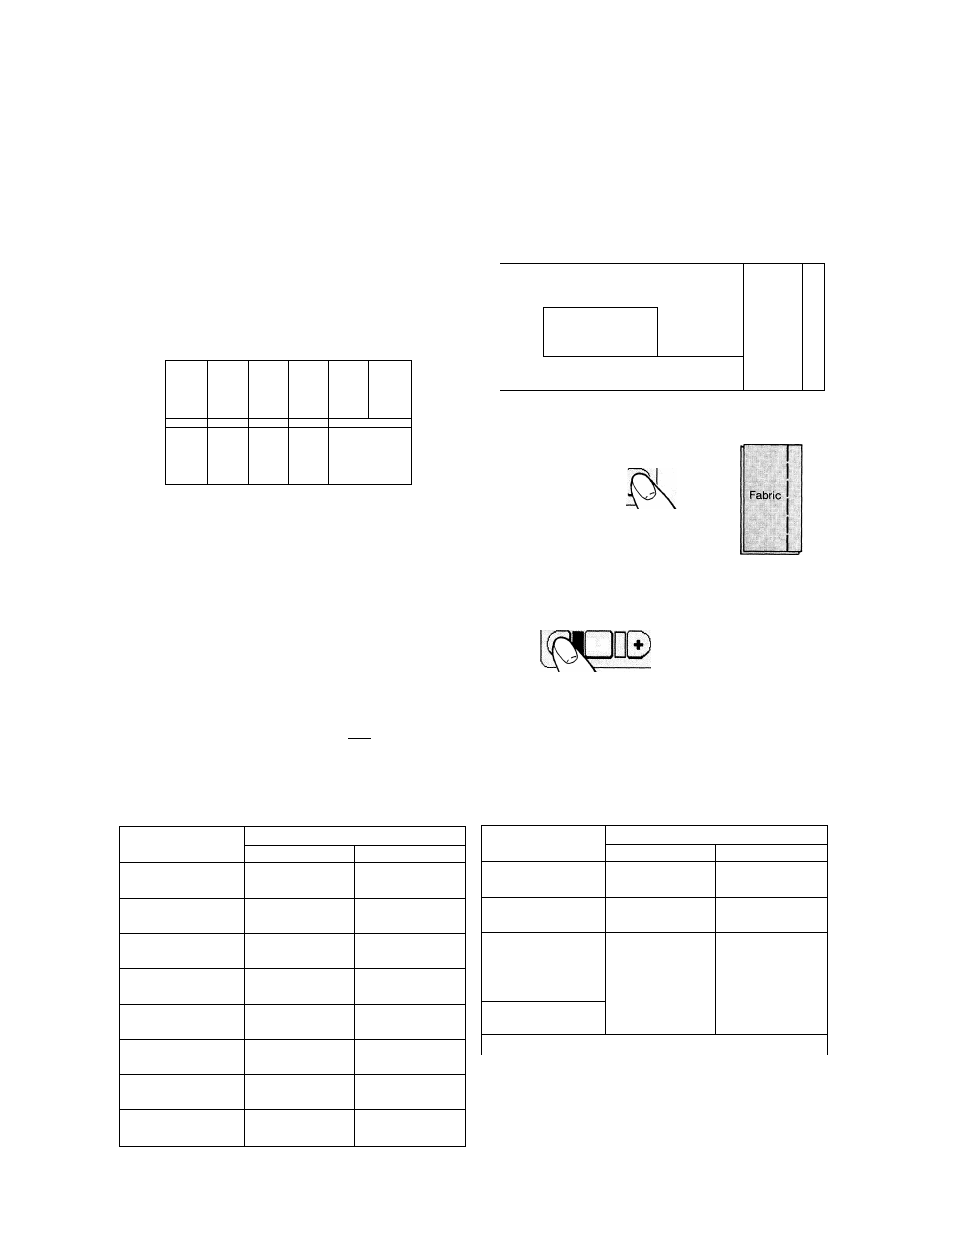
With decorative
patterns the stitch length adjustment does
not automatically appear. To adjust stitch
length of decorative patterns first select
individual pattern. Second press and
a pop-up screen will appear.
stitch Length of Each Stitch Pattern
Example (Straight stitch)
(3E5|
Press
to
increase
stitch length.
Example (Straight stitch)
0 . 5
Press (2 to decrease
the stitch length.
I Example (Straight stitch)
...
...
1
1
1
0
[ÌKE>
1
Fabric
j
1
1
(Automatic)
i
i
-
1 „
Fabric
If the Stitch length adjustment graphic
appears on the pop-up screen then the
selected pattern may be adjusted.
Stitch pattern
stitch length
Automatic
Adjusted
qi:>
1 1
1 1
2.0
0
.
0—4
.
0
1
1,5
0
.
0—4
.
0
;>
1.0
0
.
0—4
.
0
1
fe i
1 is-:
^
iDQgjy
^
ii
tt I'::*
—
—
2.0 0 . 0—4 . 0 DDDI 0.5 0,0-1 . 0 inniQOOO U « 6 0.0-1 . 0 s 1.0 0. 0-2.0 Stitch pattern Stitch length Automatic Adjusted I 2 . 0 0 . 0 - 2 . 0 ; 1 V f i 2 . 0 - 4 . 0 1 ■ ■■ . 1 À # f • § 'iiii' 1 0. 4 0 . 0 — 4 . 0 on xii ) ^ NOTE: Occasionally button will show ( — ) (—) indicates that pattern cannot be adjusted using stitch length button. When stitch length displays (—) the pattern may be (see page 41). 20
able to be adjusted with stitch balance control