SINGER XL1000 Quantum User Manual
Tiaonis
Attention! The text in this document has been recognized automatically. To view the original document, you can use the "Original mode".
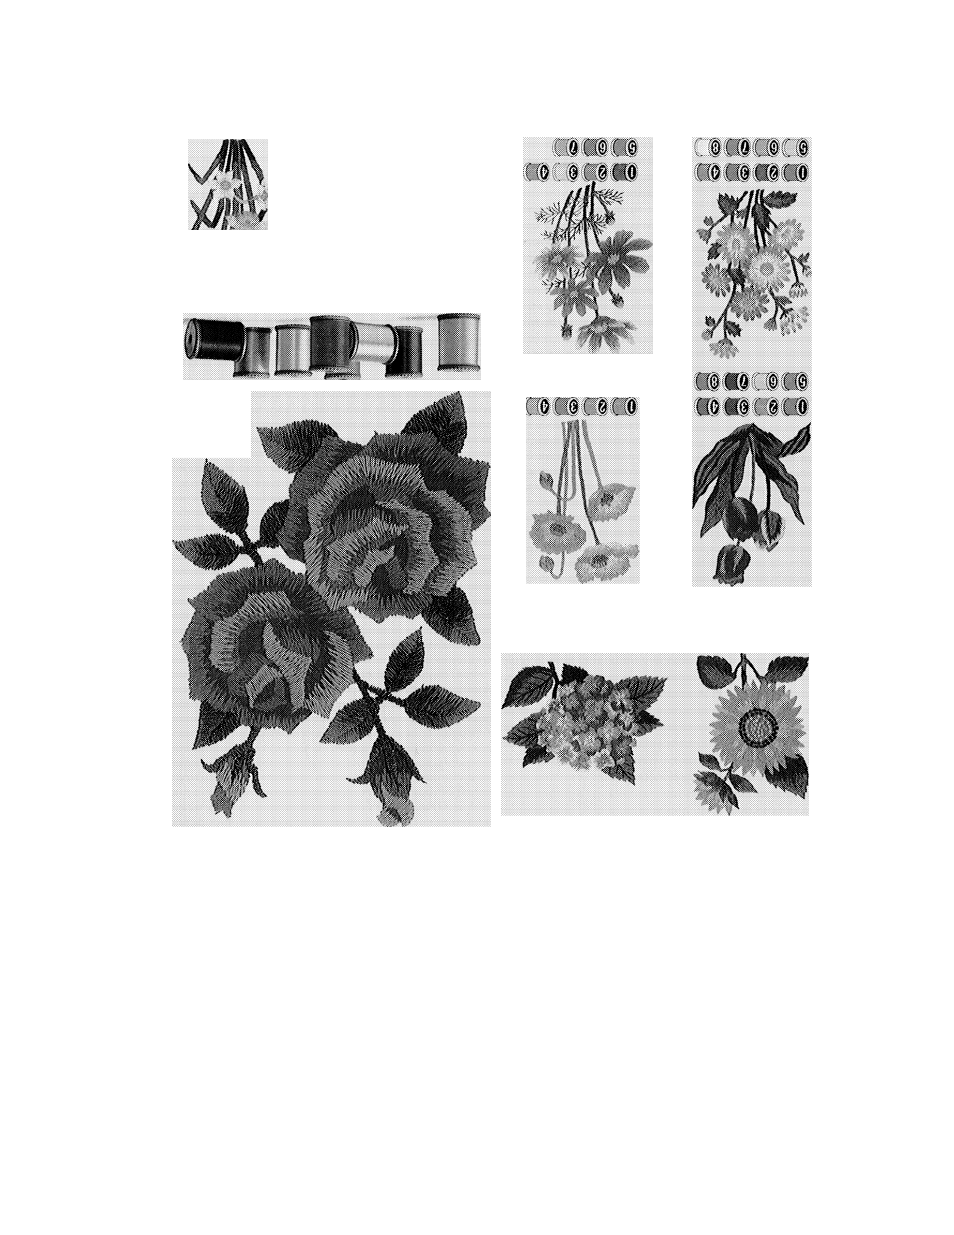
Table of contents
Document Outline
- oooi-ix
- “IMPORTANT SAFETY INSTRUCTIONS”
- “DANGER
- “SAVE THESE INSTRUCTIONS”
- Various Types Of Stitches
- Principal Parts
- Accessories
- Connecting Machine
- Memory Buttons and Pattern Category Buttons
- Adjusting Contrast of Touch-screen
- 1
- 0
- 0
- 8
- 1
- 9
- 3
- 8
- Pulling up Bobbin Thread.
- Trial Sewing!
- How To View Utility Patterns On LCD Touch-Screens
- QDBDE)
- 0
- 0
- 0D|
- 0
- 0
- 0
- 0
- Contents of Machine Usage
- 1
- 1
- a
- a
- a
- a
- Automatic buttonhole steps
- 8
- 10
- 11
- 12
- 1
- 1
- 1
- 1
- a 0
- 0
- How to select a pattern.
- 1. Single pattern
- 2. Enlarge pattern
- 3. Reduce pattern
- 4. Mirror pattern
- 5.2-color pattern
- 6. Position pattern
- 7. Repeat pattern
- Animated Pattern Sewing
- 1
- №
- 1
- 1
- 1
- 1
- o
- 1
- Using |?^| key
- Selection/kinds of alphabet and patterns
- Embroidery Sewing Preparation
- 0.
- 0.
- Order of pattern sewing steps
- To determine location of embroidery of name, word or pattern
- Rotating names, words or patterns and changing size
- 2
- 4
- B
- Saving combination alphabet and patterns in long term files
- How to use and keys
- Filing in long term memory
- Deleting long term memory
- Filing in long term memory when all files are fully occupied:
- Filing in long term complete memory file #1 when it is already occupied (move):
- To recall word or pattern se^ueiica
- From layout screen
- For pattern menu screen
- To embroider small material or edge of material:
- To delete pattern or cancel embroidery:
- Listing of helpful messages
- 8
- 9
- Saving combination alphabet and patterns in long term files
- f
- )
- i
- D
- How to establish ^ needle entry point j J
- 3. How to establish needle entry point k
- How to establish needle enti7 point I
- Multiple Hoop Embroidery [2]
- 1. Select Floral Border Patterns and position on layout screen.
- 2. Select alphabet letter and enter the names “PINOCCHIO” and “CINDERELLA”.
- 3. Adiust size and space of “PINOCCHIO” and “CINDERELLA”.
- 4. Insert optional card No.16 into slot of sewing machine.
- 5. Select Pinocchio and Cinderella patterns.
- Use edit function to individually position each pattern.
- 6. Position embroidery frame and secure material in frame.
- 7. Use touch-screen to establish needle entry points
- 8. Sew all patterns In first hooping position.
- 9. Position embroidery frame ard secure material for 2nd hooping.
- 10. Use touch-screen to establish needle entry points for 2nd hooping.
- 11. Sew all patterns in second hooping position.
- 12. Position embroidery frame and secure materiai for 3rd hooping.
- 13. Use touch-screen to establish needle entry points for 3rd hooping.
- 14. Sew all patterns in third hooping position.
- 15. Position embroidery frame and secure material for 4th hooping.
- 16. Use touch-screen to establish needle entry points for 4th hooping.
- Pattern/Alphabet Stitch List
- /\/\ Je*v.
- ± 9 E
- o