Darning – SINGER 5160 User Manual
Page 78
Attention! The text in this document has been recognized automatically. To view the original document, you can use the "Original mode".
S t N C E R
Darning
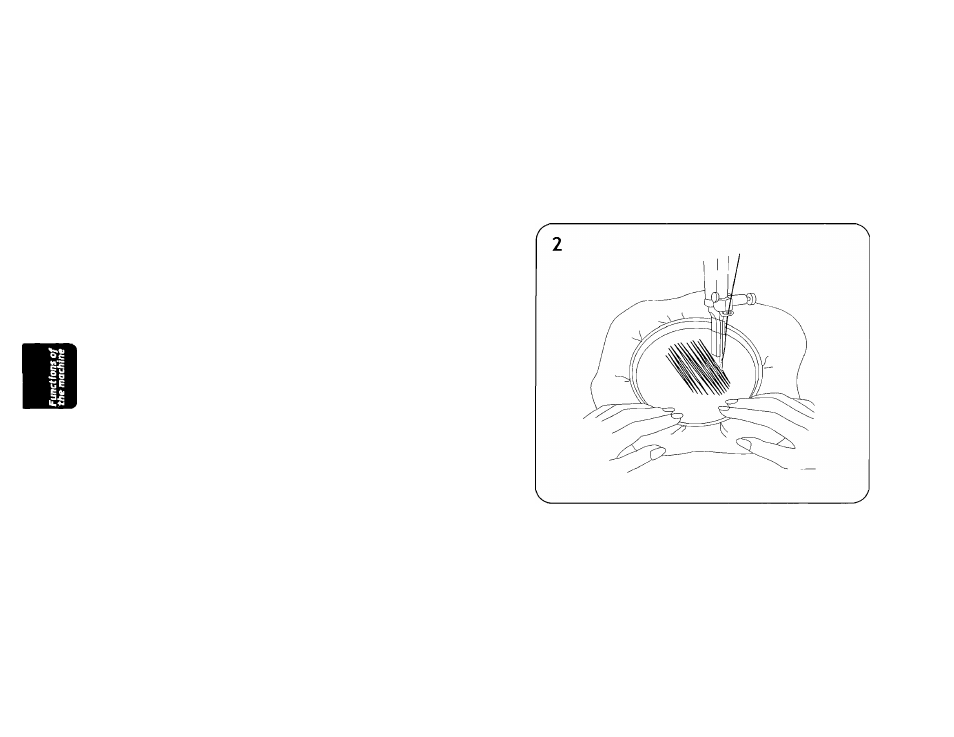
Torn and worn-out clothes may be easily and quickly
darned with a bit of practice. If you need more sewing
control, you may use a hoop (not supplied), as shown
in the illustration.
RECOAAMENDED INITIAL SETTINGS
Pattern: Straightstitch
Needle position: Center
Needle thread tension: Between 2 and 5
Attach: Feed cover plate
Note: If the darned area is open, such as a hole, baste
a patch of cloth under the hole before darning
thearea.
1. Remove the presser foot (page 24), place the work
area under the needle and lower the presser bar.
2. To start darning, make uniform movements forward
and backward, over the area to be darned. Note
that the stitch length is being controlled by your
movement of the fabric. Smoother movement will
produce close stitches.
3. Continue darning until al
parallel lines.
surface is covered with
76