SINGER 5160 User Manual
Page 74
Attention! The text in this document has been recognized automatically. To view the original document, you can use the "Original mode".
S I N G E R
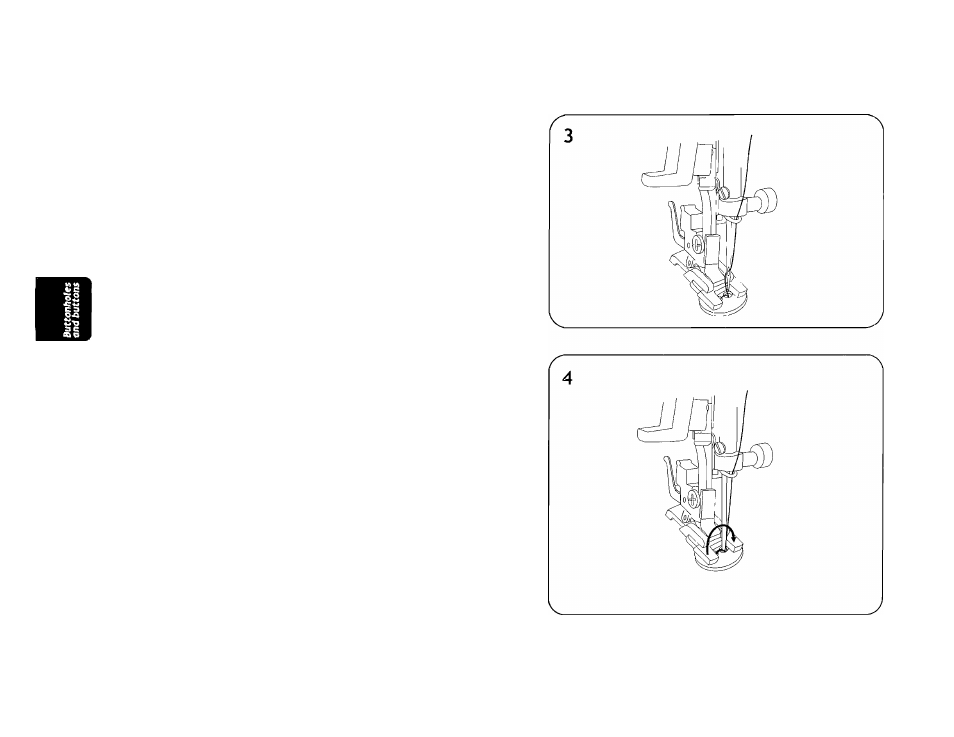
5. Set stitch width to the first mark. Carefully turn the
hand wheel to observe if the needle will enter both
holes of the button without striking the button. Adjust
stitch width or the button/fabric as needed (illustration
3).
6. In this position, take a couple of stitches (illustration A).
7. To fasten stitching, turn the hand wheel again until the
needle is out of the fabric, adjust the stitch width for
straight stitch position and make a couple of more
stitches.
8. For 4-holes buttons, repeat the operation with the other
2 holes.
72
See also other documents in the category SINGER Sewing machines:
- 401A (116 pages)
- Simple 3116 (94 pages)
- 1507 (88 pages)
- 1507WC (88 pages)
- 112W140 (32 pages)
- 147-2 (30 pages)
- 114-33 (43 pages)
- 119-3 (23 pages)
- 14K1 (10 pages)
- 147-104 (34 pages)
- 116-1 (20 pages)
- 115-2 (38 pages)
- 14U286 (40 pages)
- 14U286B (21 pages)
- 114-4 (29 pages)
- 142W25 (10 pages)
- 147-81 (28 pages)
- 118 (16 pages)
- 136W105 (22 pages)
- 114-41 (20 pages)
- 147-4 (28 pages)
- 105-3 (30 pages)
- 1027 (36 pages)
- 147-26 (37 pages)
- 12W208 (25 pages)
- 128-4 (25 pages)
- 109-320 (14 pages)
- CP17 (47 pages)
- 147-6 (56 pages)
- 132B26 (9 pages)
- 114-2 (36 pages)
- 1371A3 (86 pages)
- 14CG754 (53 pages)
- 147-50 (39 pages)
- 14T967DC (3 pages)
- 109-520 (13 pages)
- 14SH654 ULTRALOCK (48 pages)
- 147-86 (30 pages)
- 105-20 (23 pages)
- W303 (13 pages)
- 147-38 (53 pages)
- 114-22 (45 pages)
- 1375A1 (33 pages)
- 107-2 (31 pages)
- 1200A (4 pages)